Vægspejl

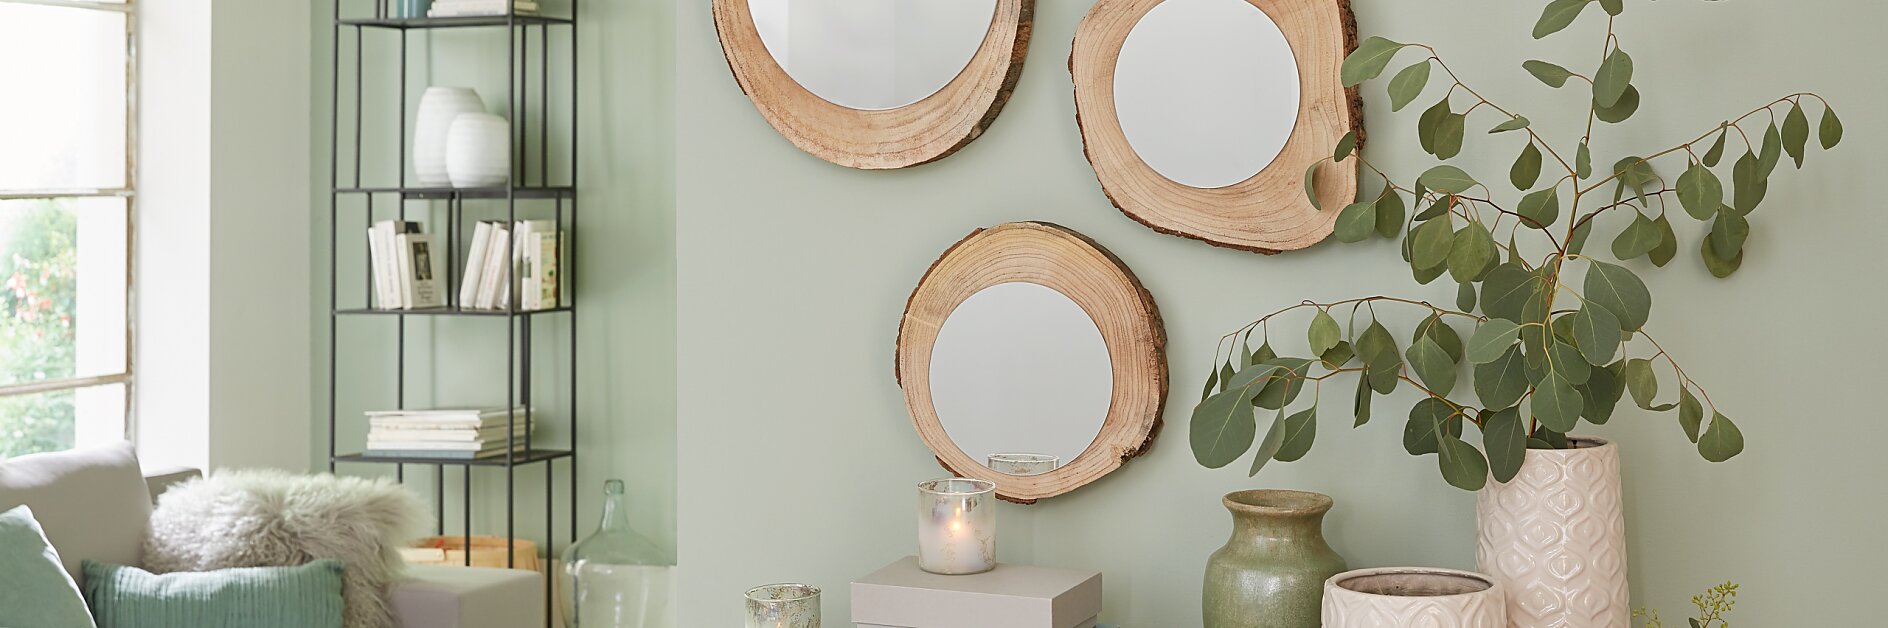
Vi ved ikke, hvem der er den smukkeste i landet, men vi ved, hvordan man laver et dekorativt spejl - ved at klæbe det fast på en træskive.

Sværhedsgrad Let
Varighed 30

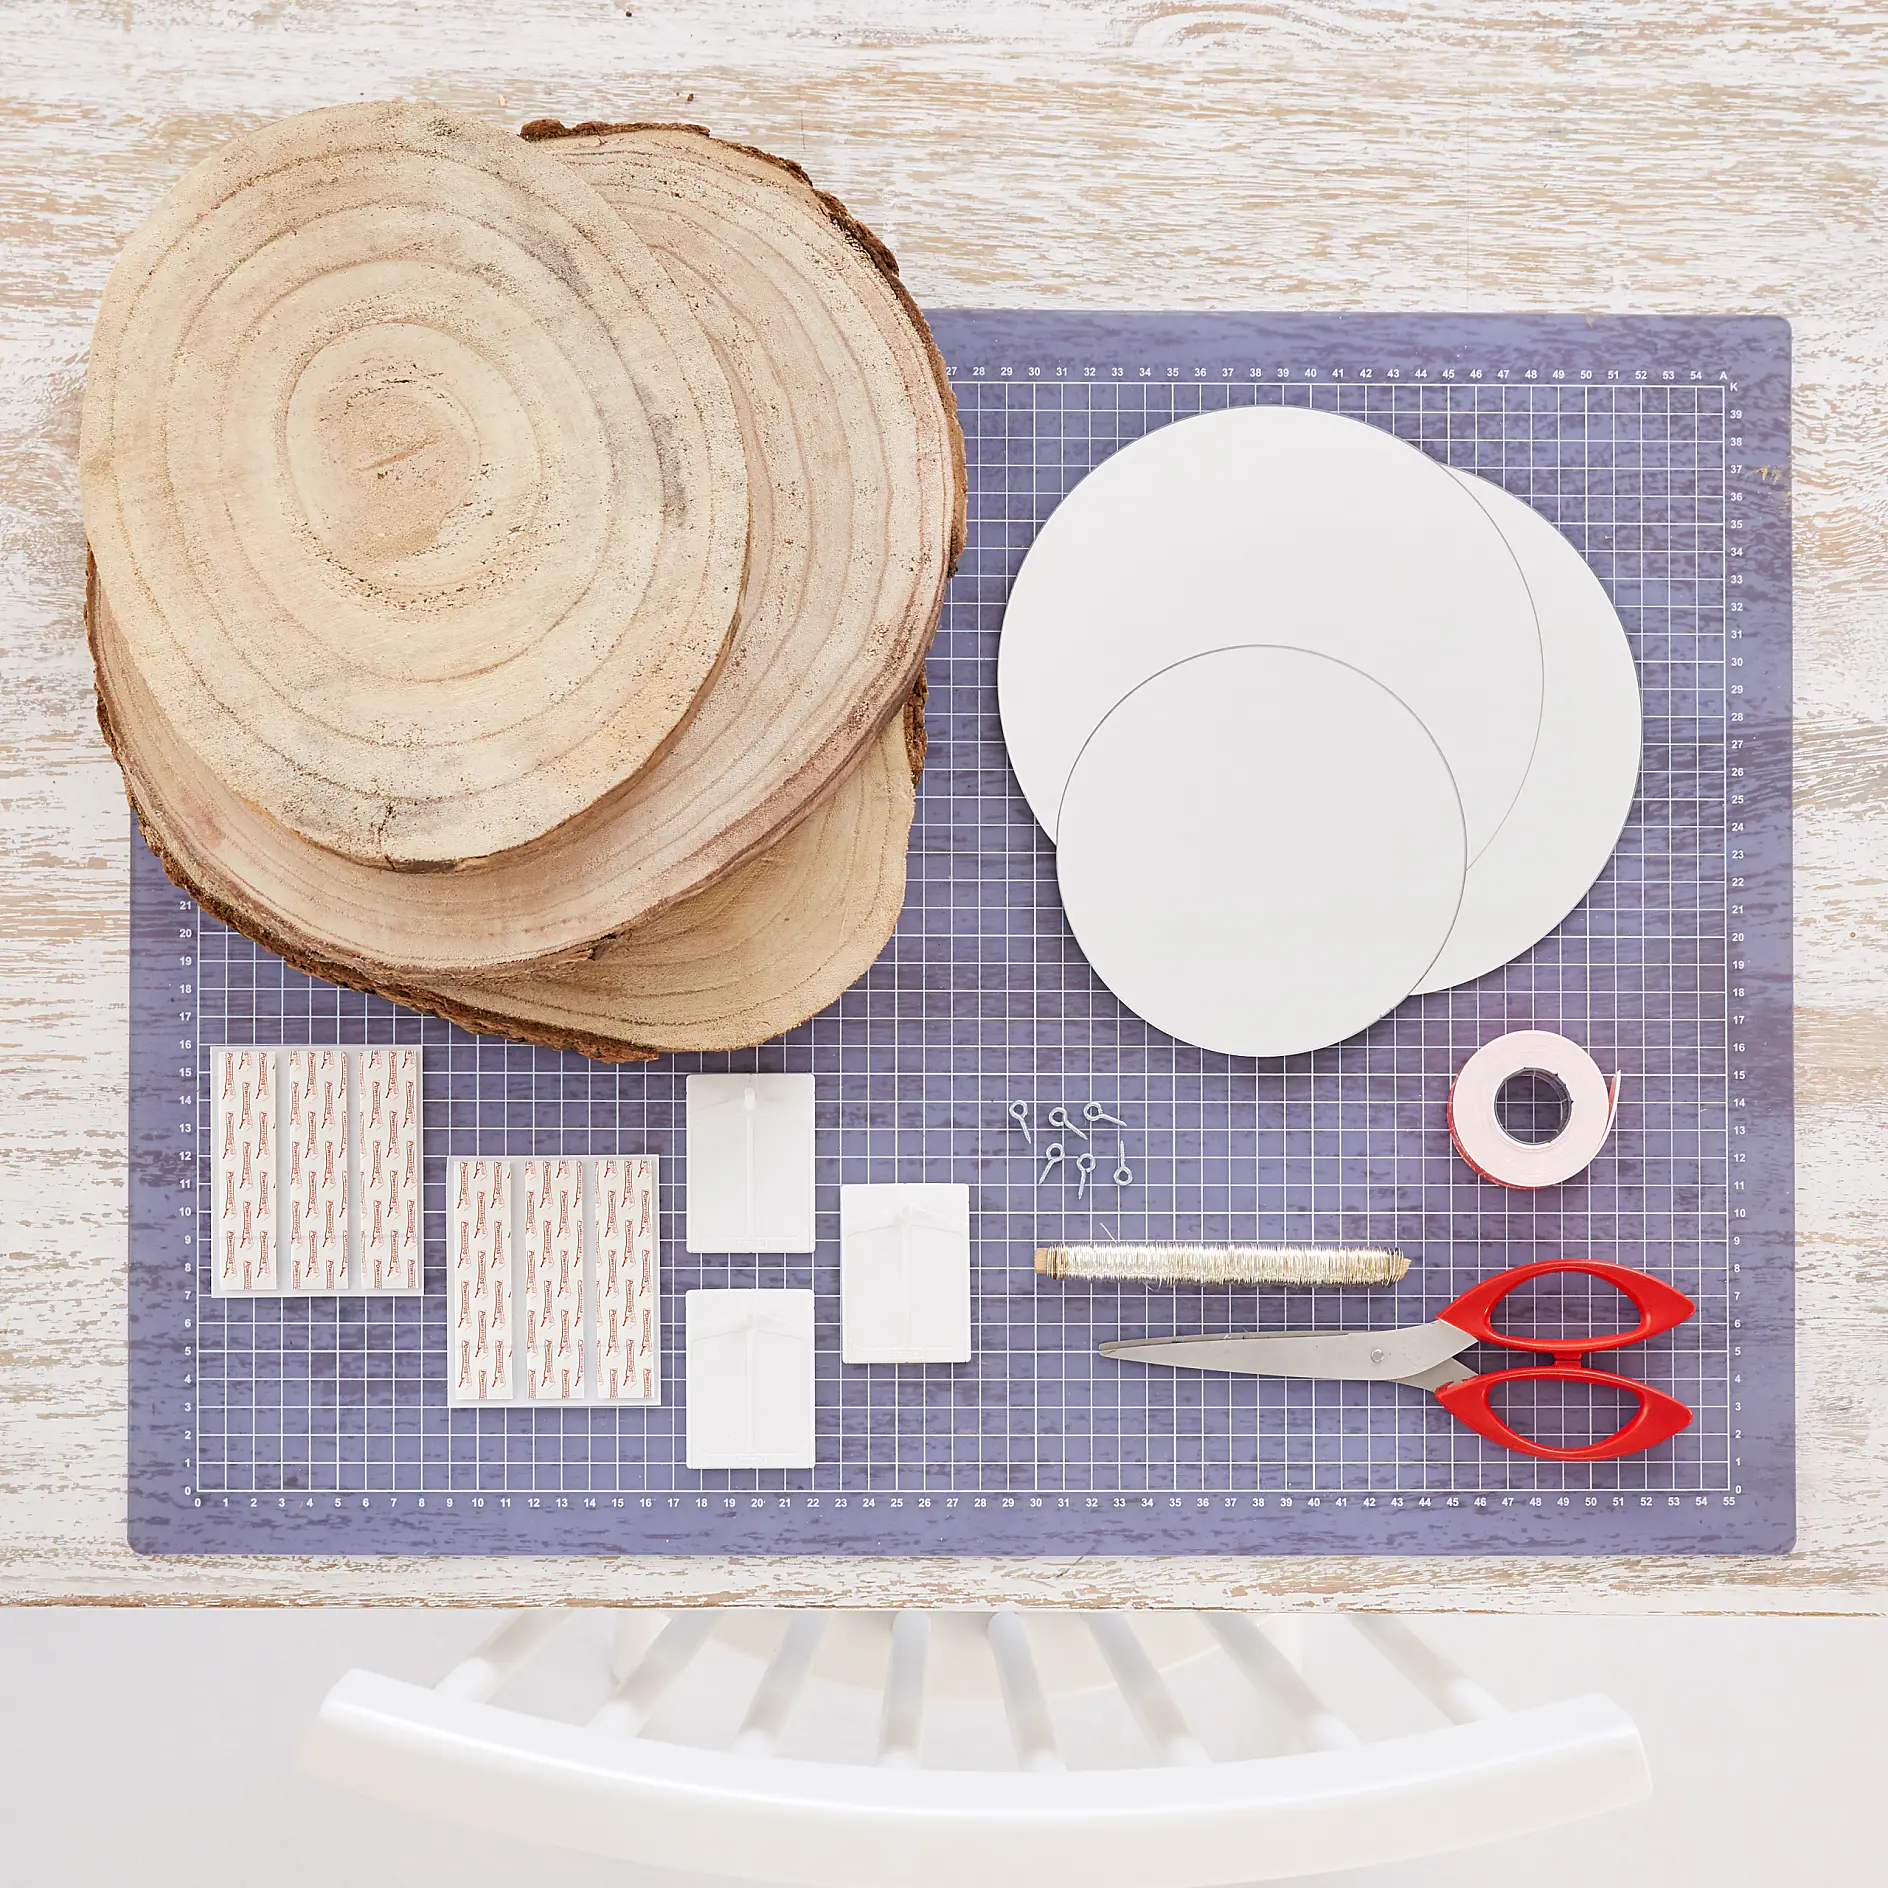
Du skal bruge:

Gennemtørrede træskiver i forskellige størrelser runde spejle, der hver især er lidt mindre end træskiverne små øjebolte metaltråd saks tesa Powerbond® Ultra Strong tesa® Klæbesøm til tapet og gips, 2 kg.


Tidsforbrug: ca. ½ time

Sådan gør du:

A crafting setup with wooden slices, round white papers, tesa tape strips, string, a paper roll, scissors, and a wire cutter on a cutting mat. A white chair is partially visible at the bottom. (This text has been generated by AI)
01

Saml alle delene og lad os komme i gang!
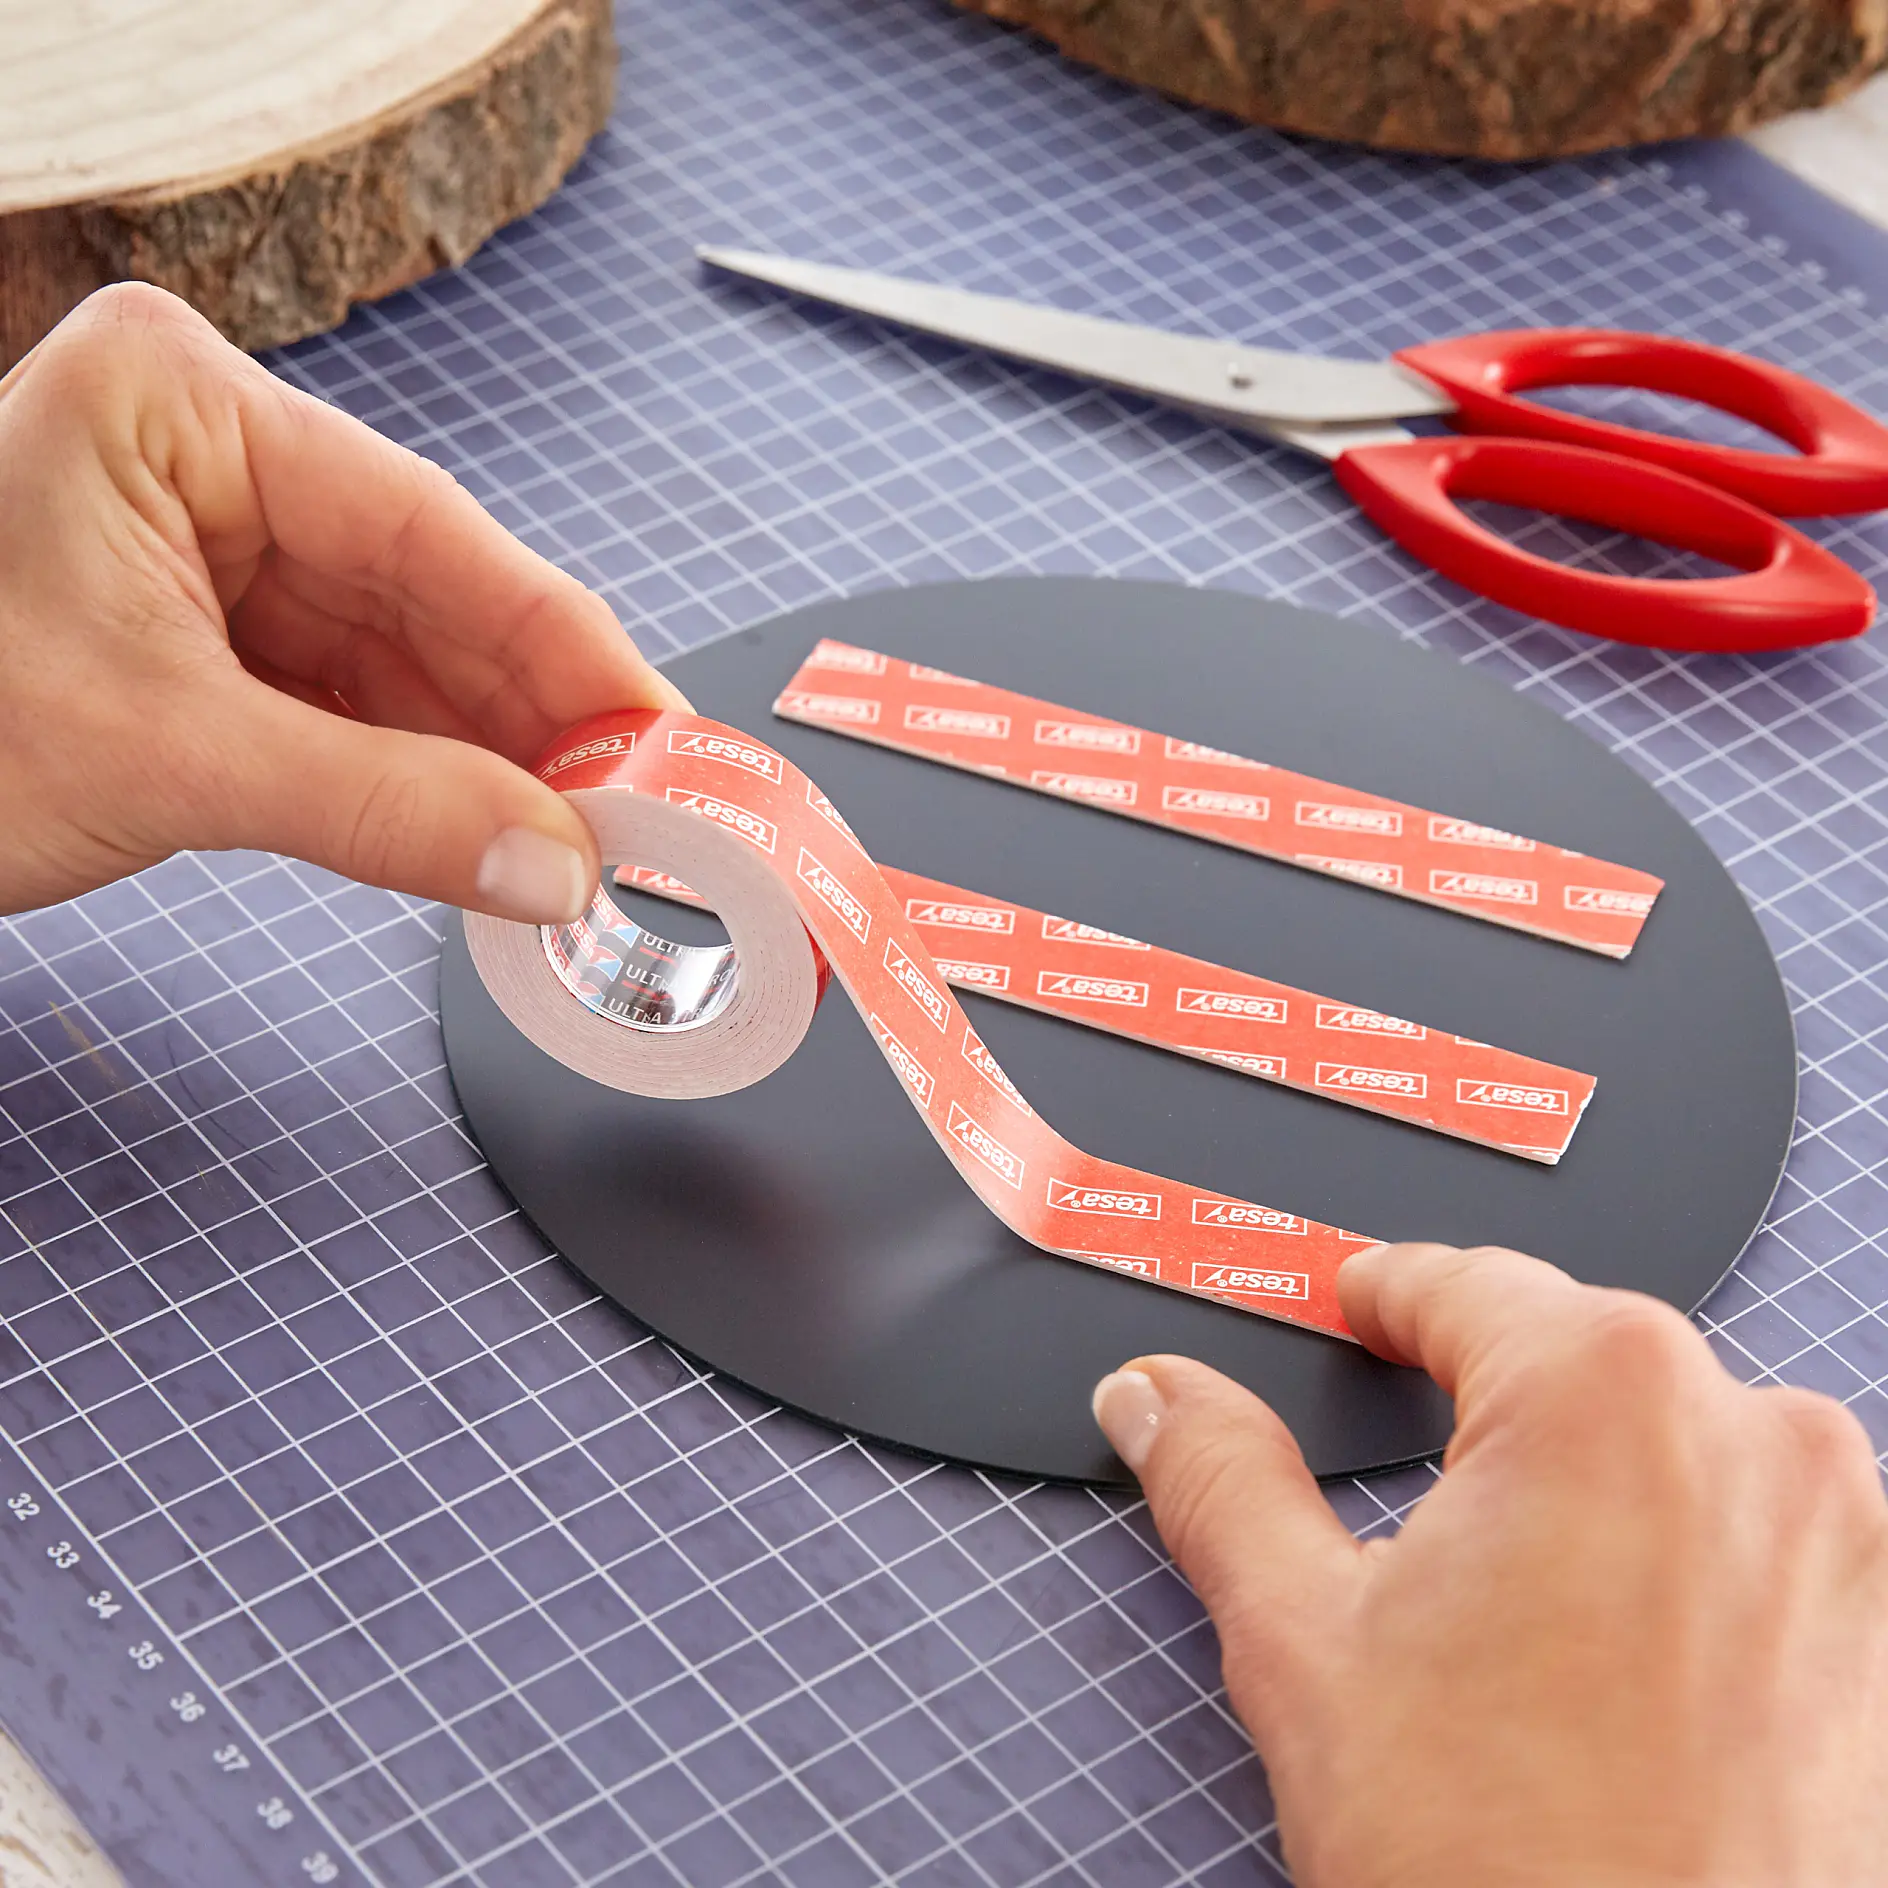
A person is applying strips of red tesa tape onto a round black surface. A pair of red scissors and a grid-patterned cutting mat are in the background. (This text has been generated by AI)
02

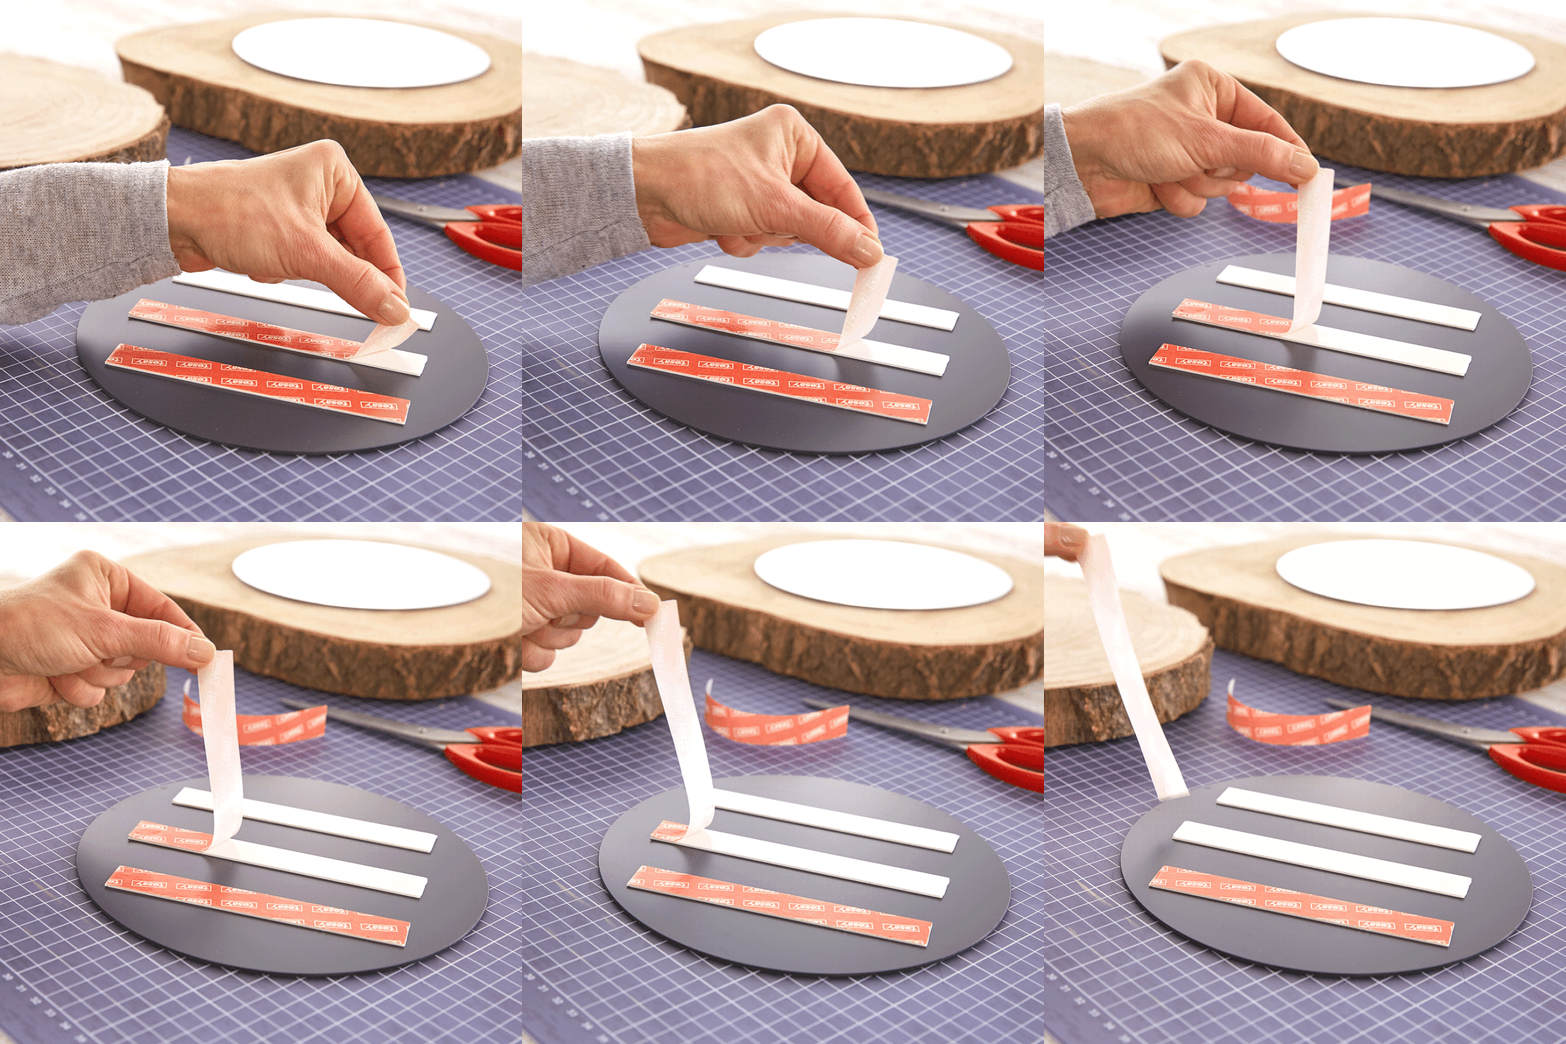
For at komme i gang med dette simple træprojekt, skal du omhyggeligt rengøre spejlets bagside, mens du også skal rengøre træskiverne og fjerne alle løstsiddende dele. Lim flere strimler Powerbond® parallelt på bagsiden af spejlene. Giv hver strimmel et fast tryk i 5 sekunder.
 

A person peels the backing off adhesive strips on a circular black object, placed on a cutting mat. Scissors and a piece of round wood are nearby, alongside tesa tape. (This text has been generated by AI)
03

Fjern den beskyttende film.


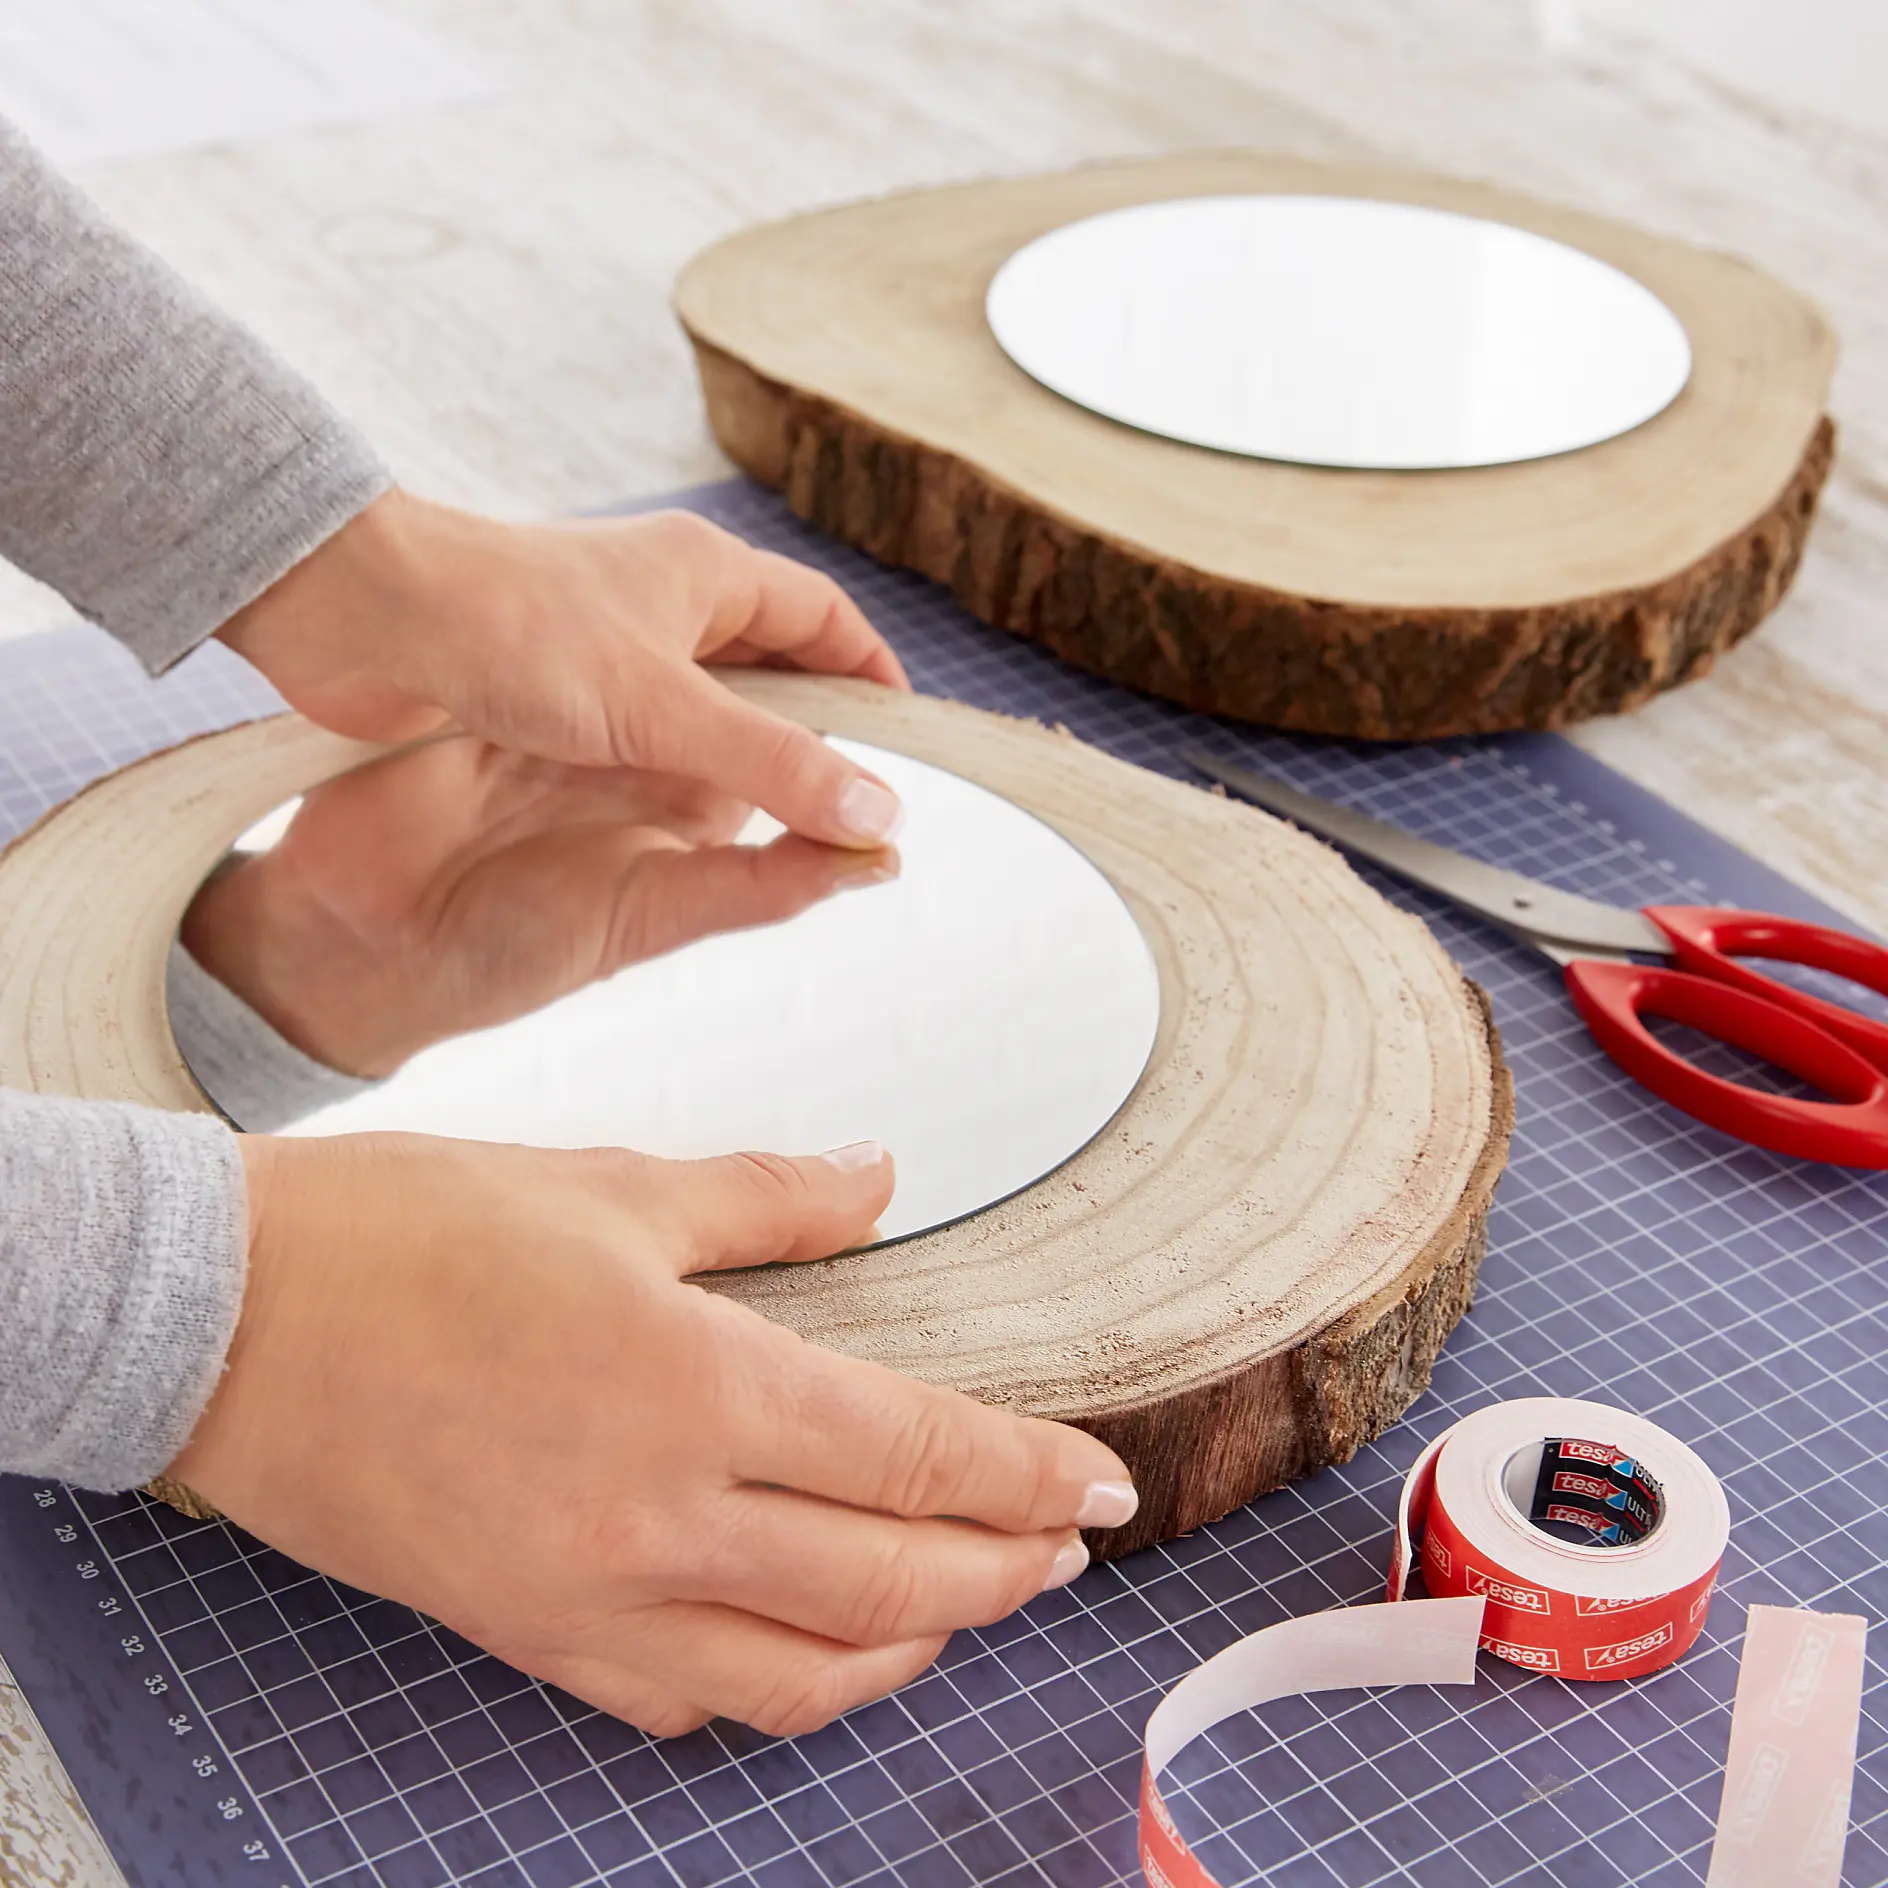
Close-up of a person placing a round mirror on a wood slice. Another similar mirror is nearby. The scene includes a cutting mat, red scissors, measuring tape, and tesa tape on a wooden surface. (This text has been generated by AI)
04

Tryk hvert spejl fast mod en træskive Skru to øjebolte til ophængning i hver træskive med jævn afstand, og sæt tråden fast på dem.
 

A person applies a tesa tape strip to the back of a frame. The tesa tape has a blue tab for easy peeling and text printed in red on the sticky side. The background includes a light-colored wall and part of a wooden surface. (This text has been generated by AI)
05

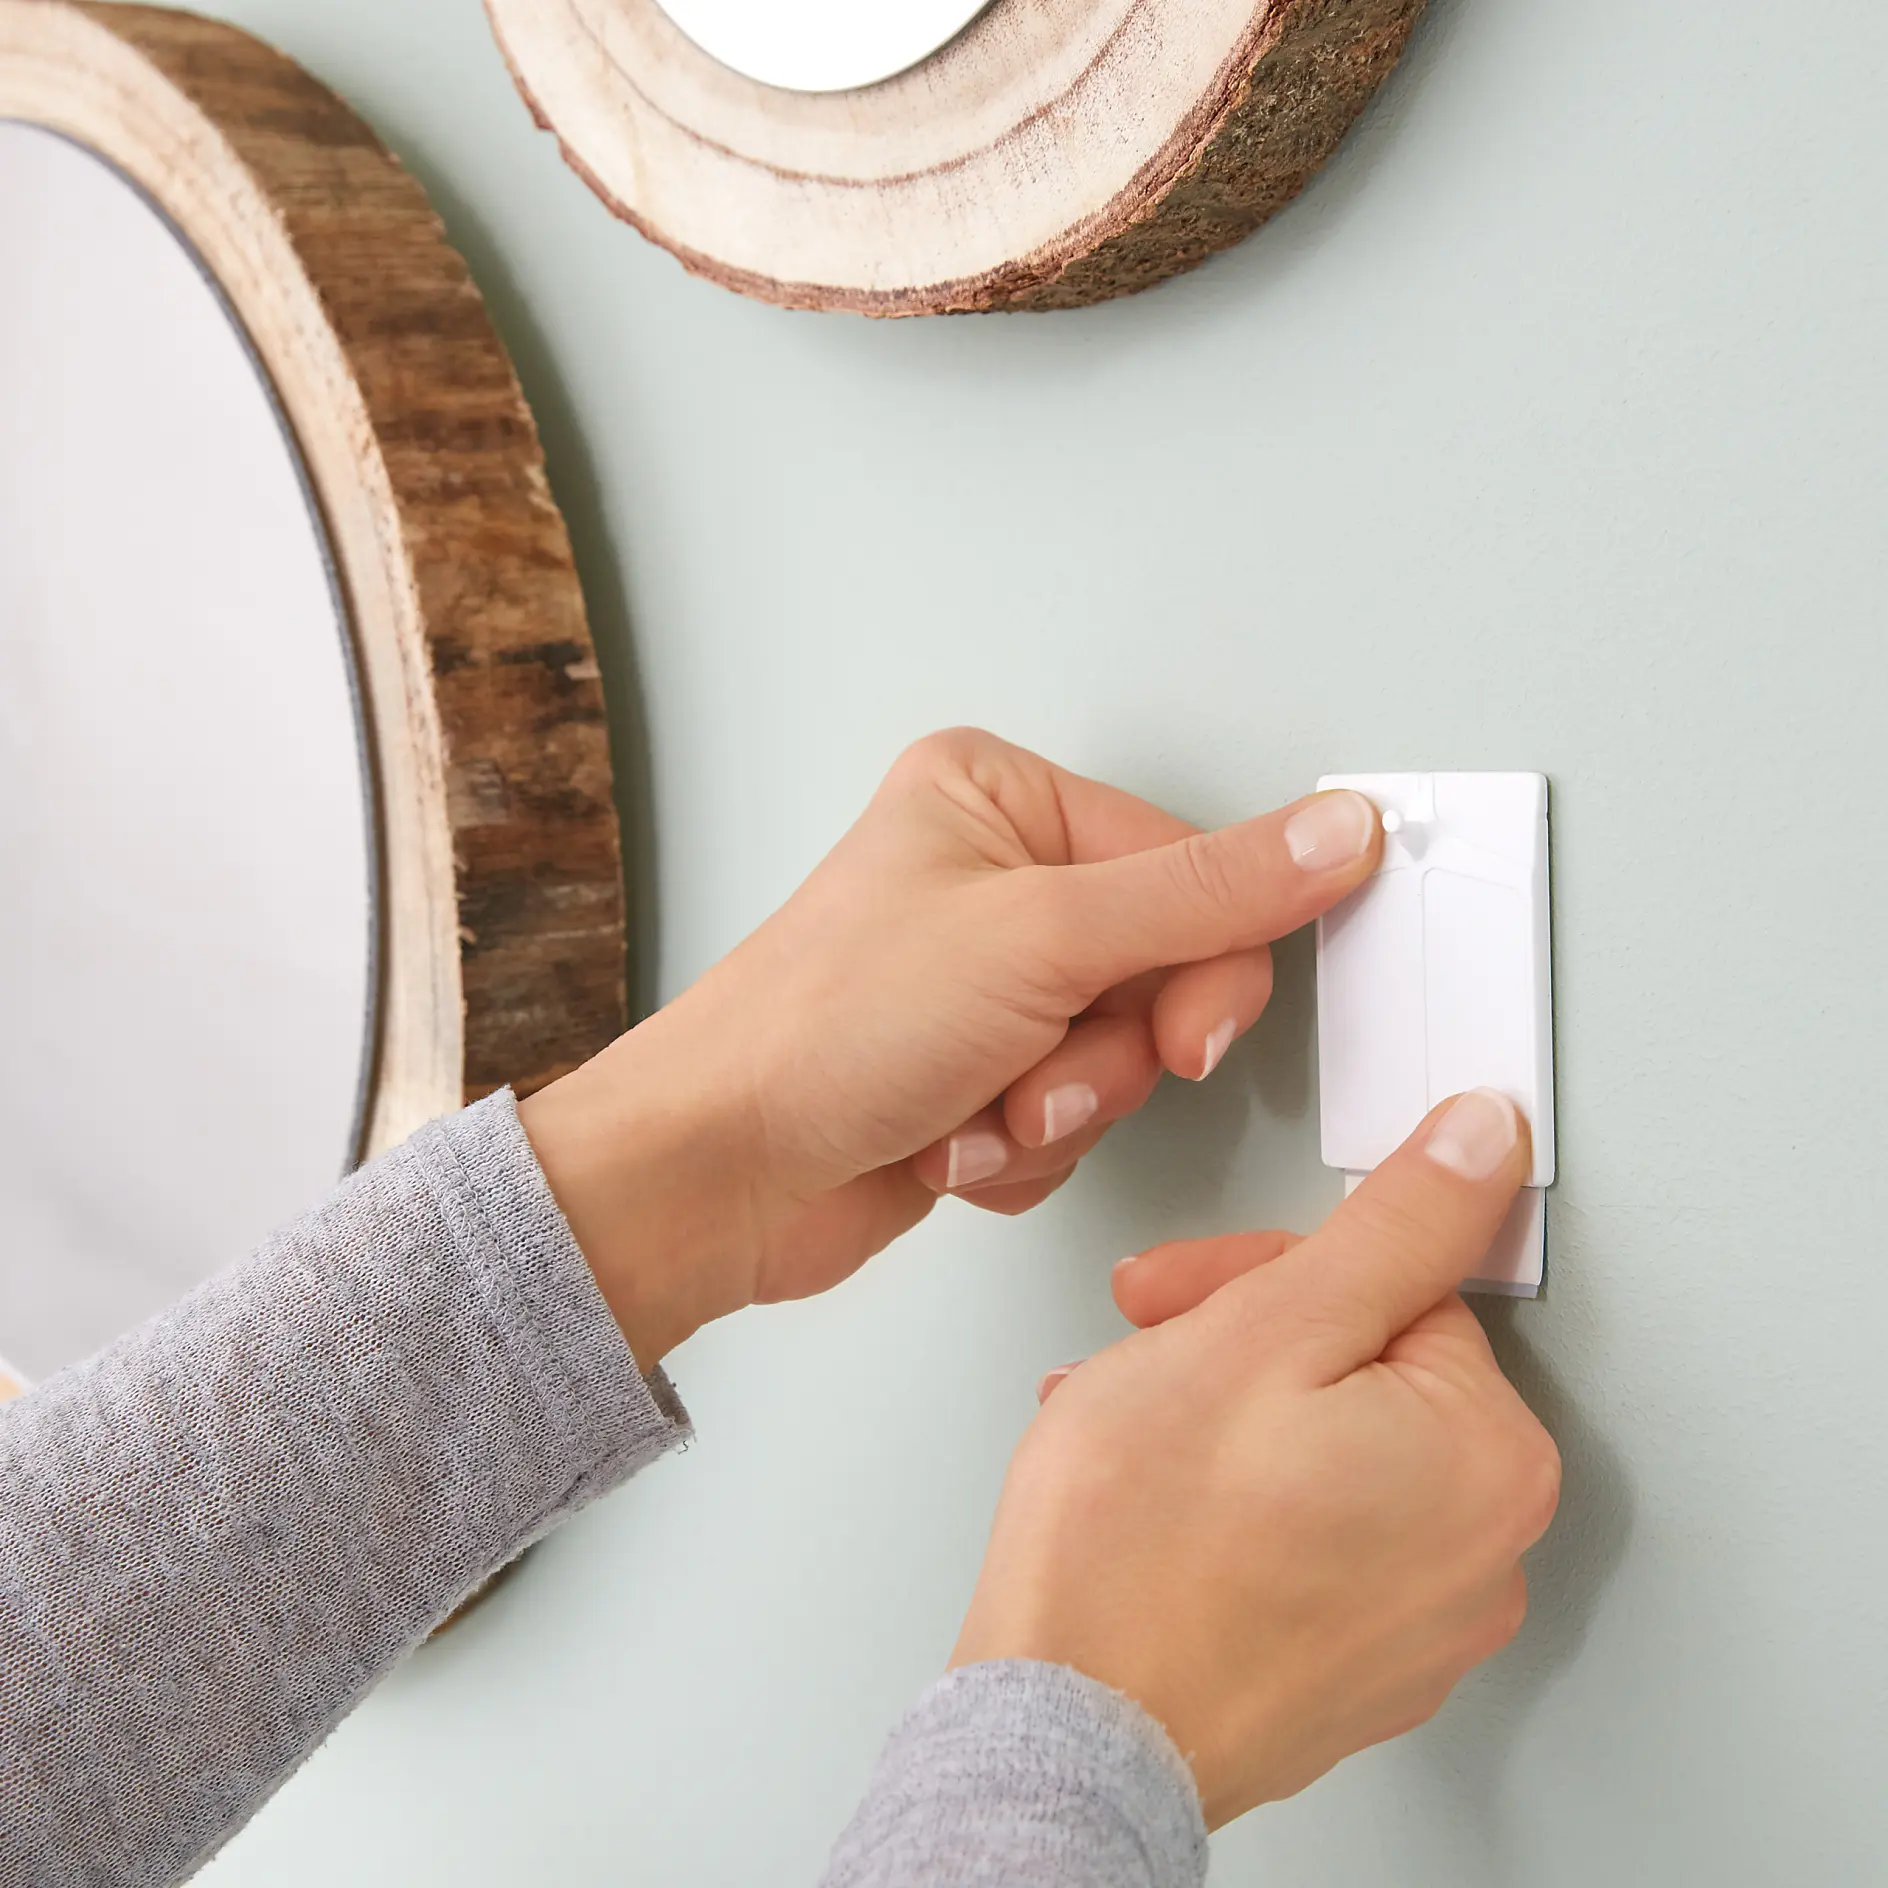
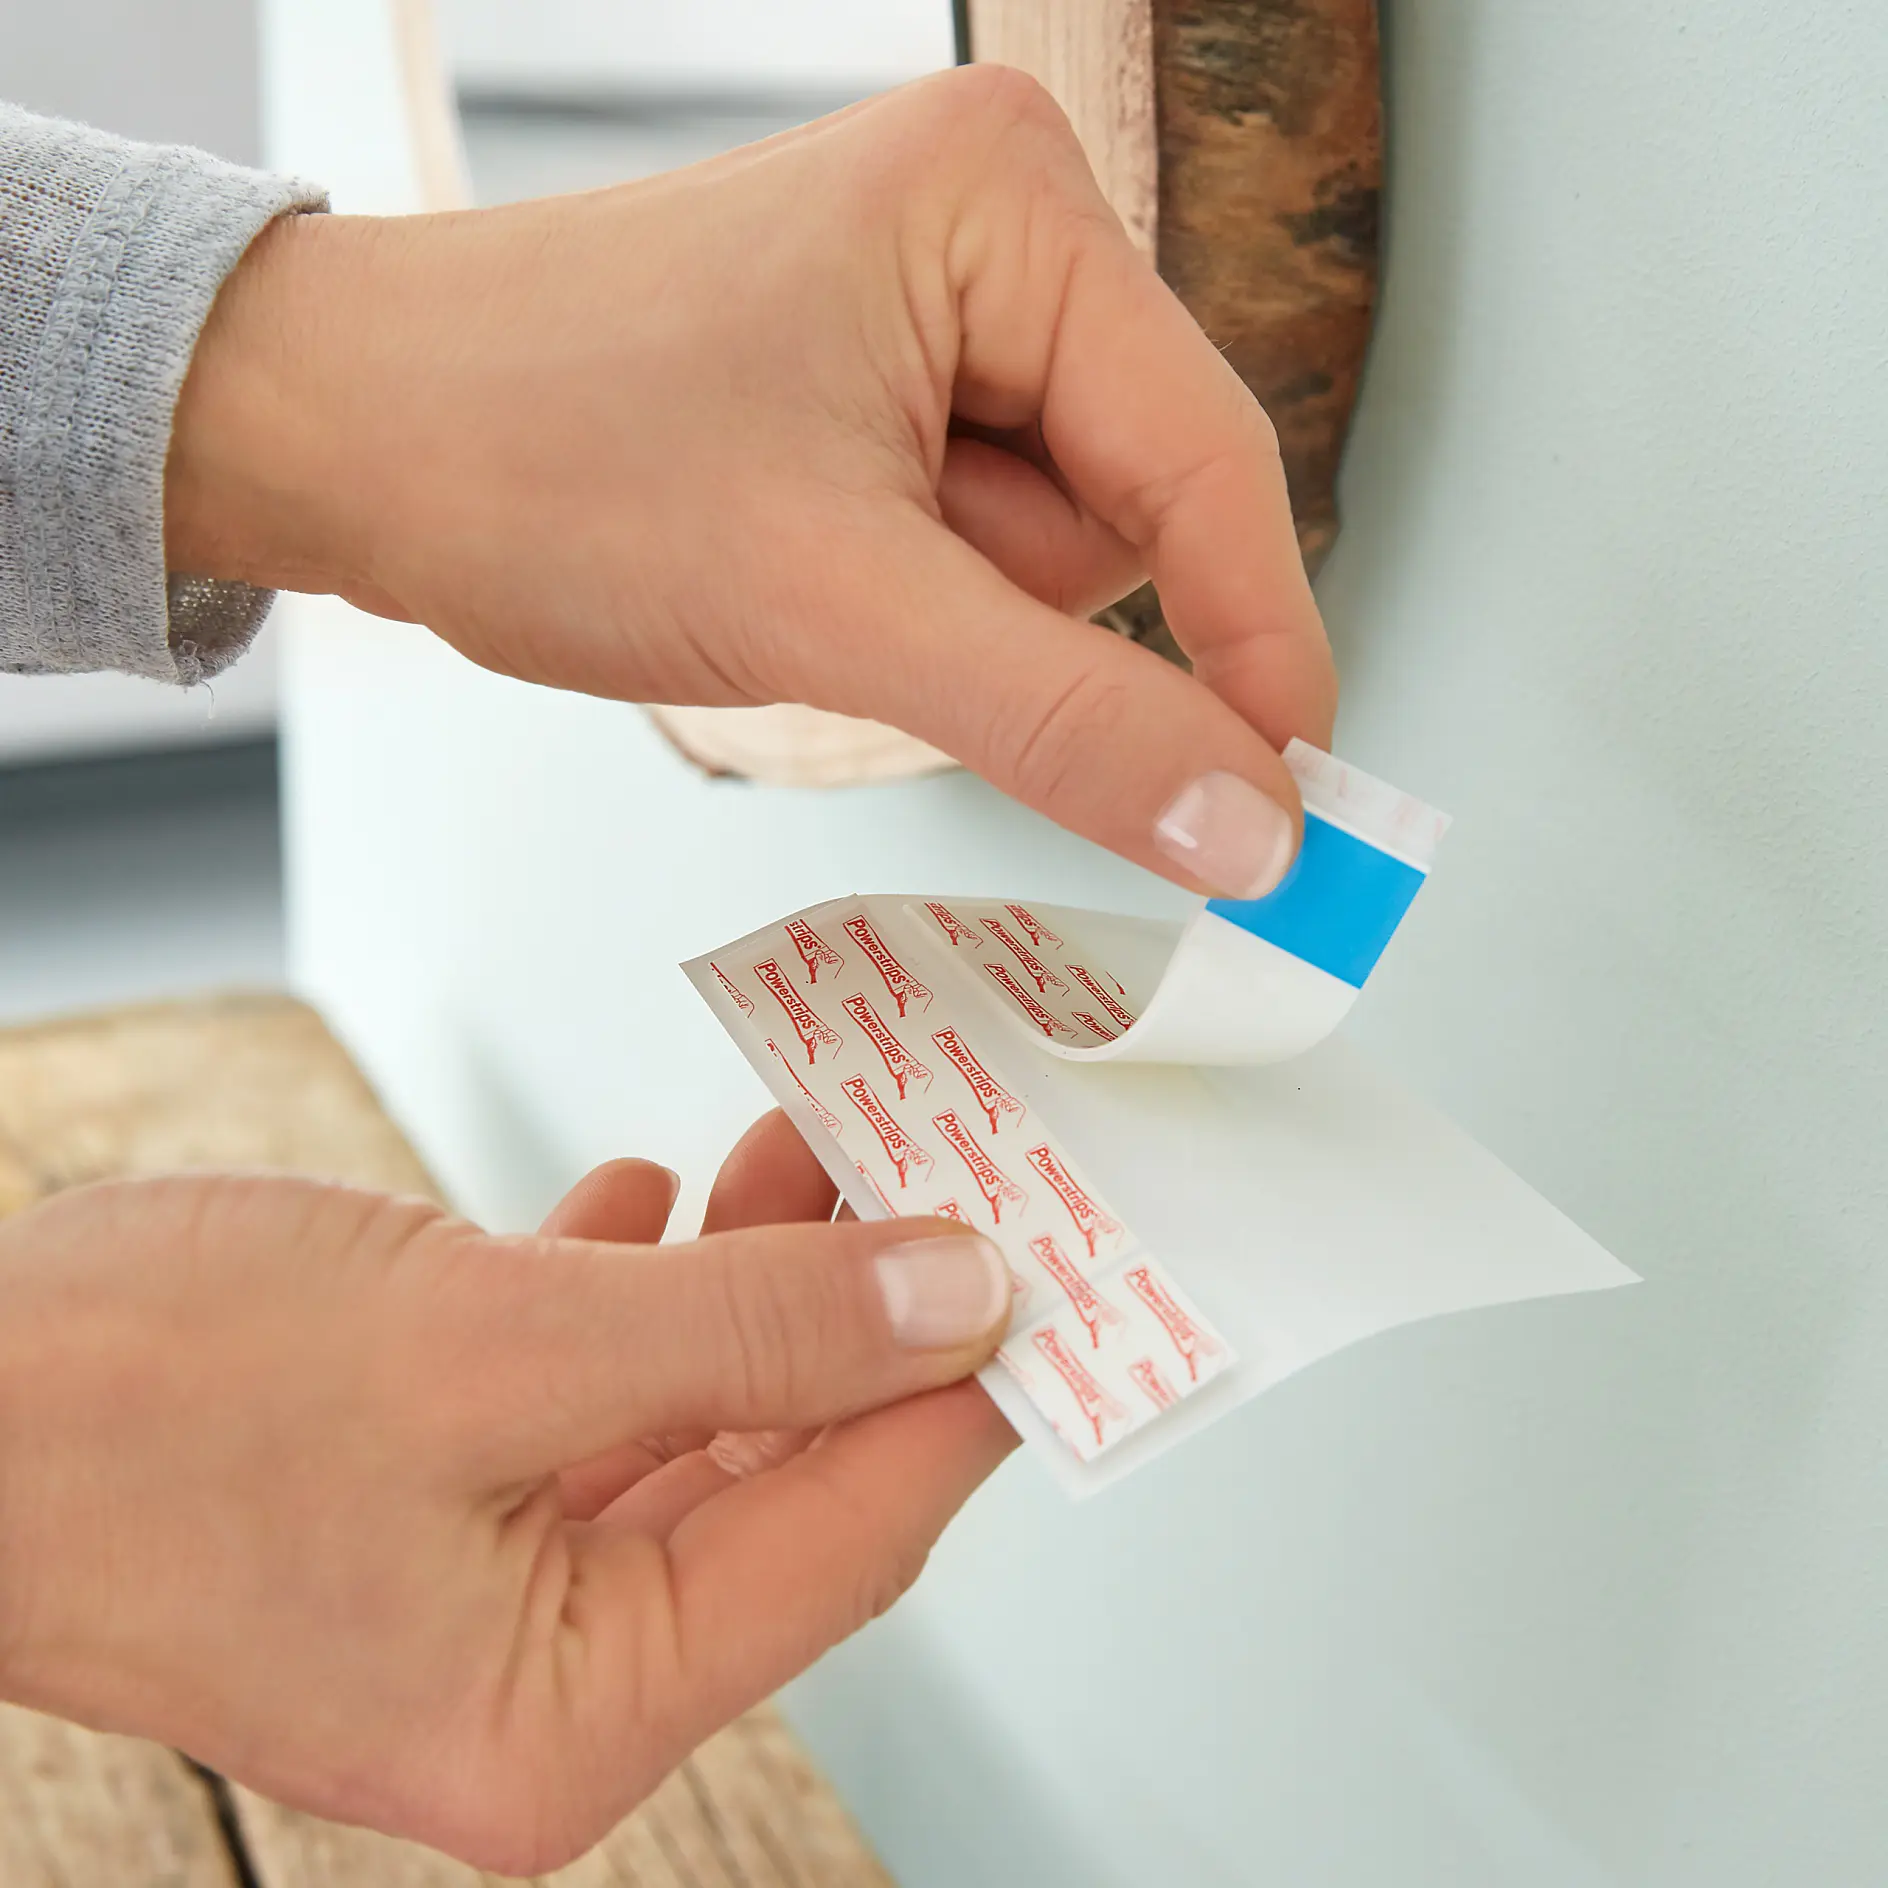
Rengør væggen for støv, og pil en Powerstrip® af arket.
 

Two hands affix a white strip of tesa tape to a light green wall. Wooden round wall decorations are partially visible. The person wears a long-sleeved gray shirt. (This text has been generated by AI)
06

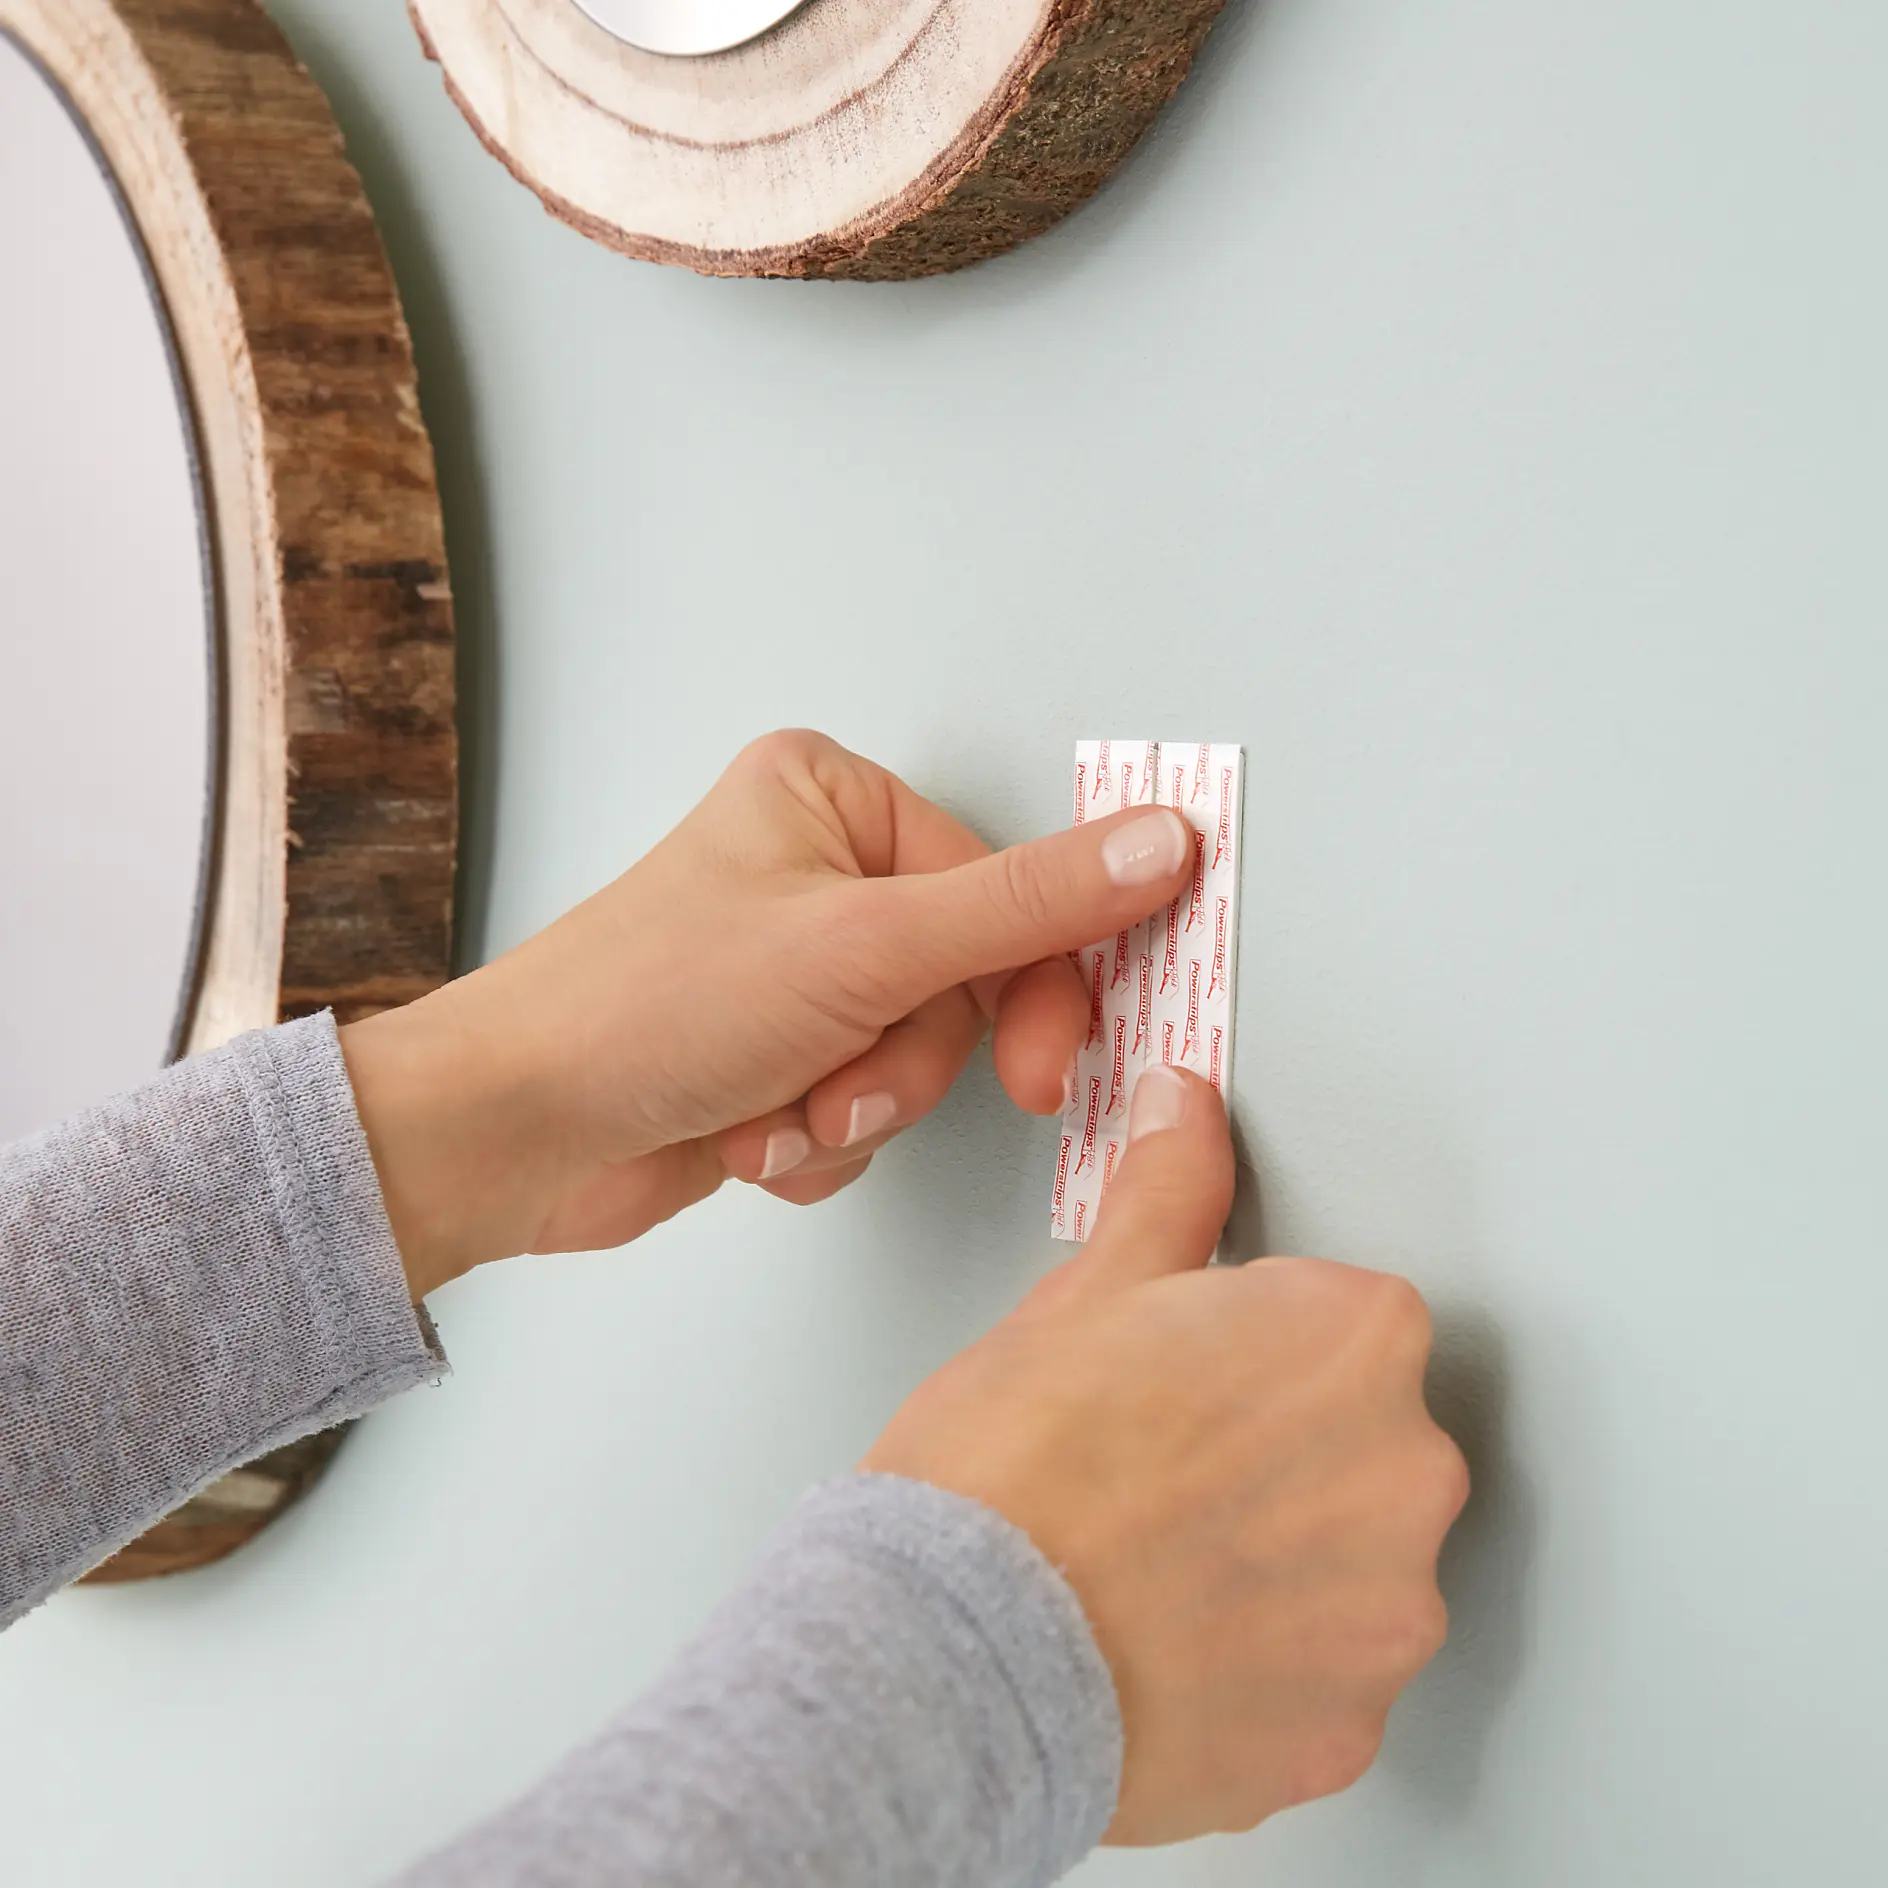
Sæt den på det ønskede sted på væggen, og giv den et fast tryk i fem sekunder.
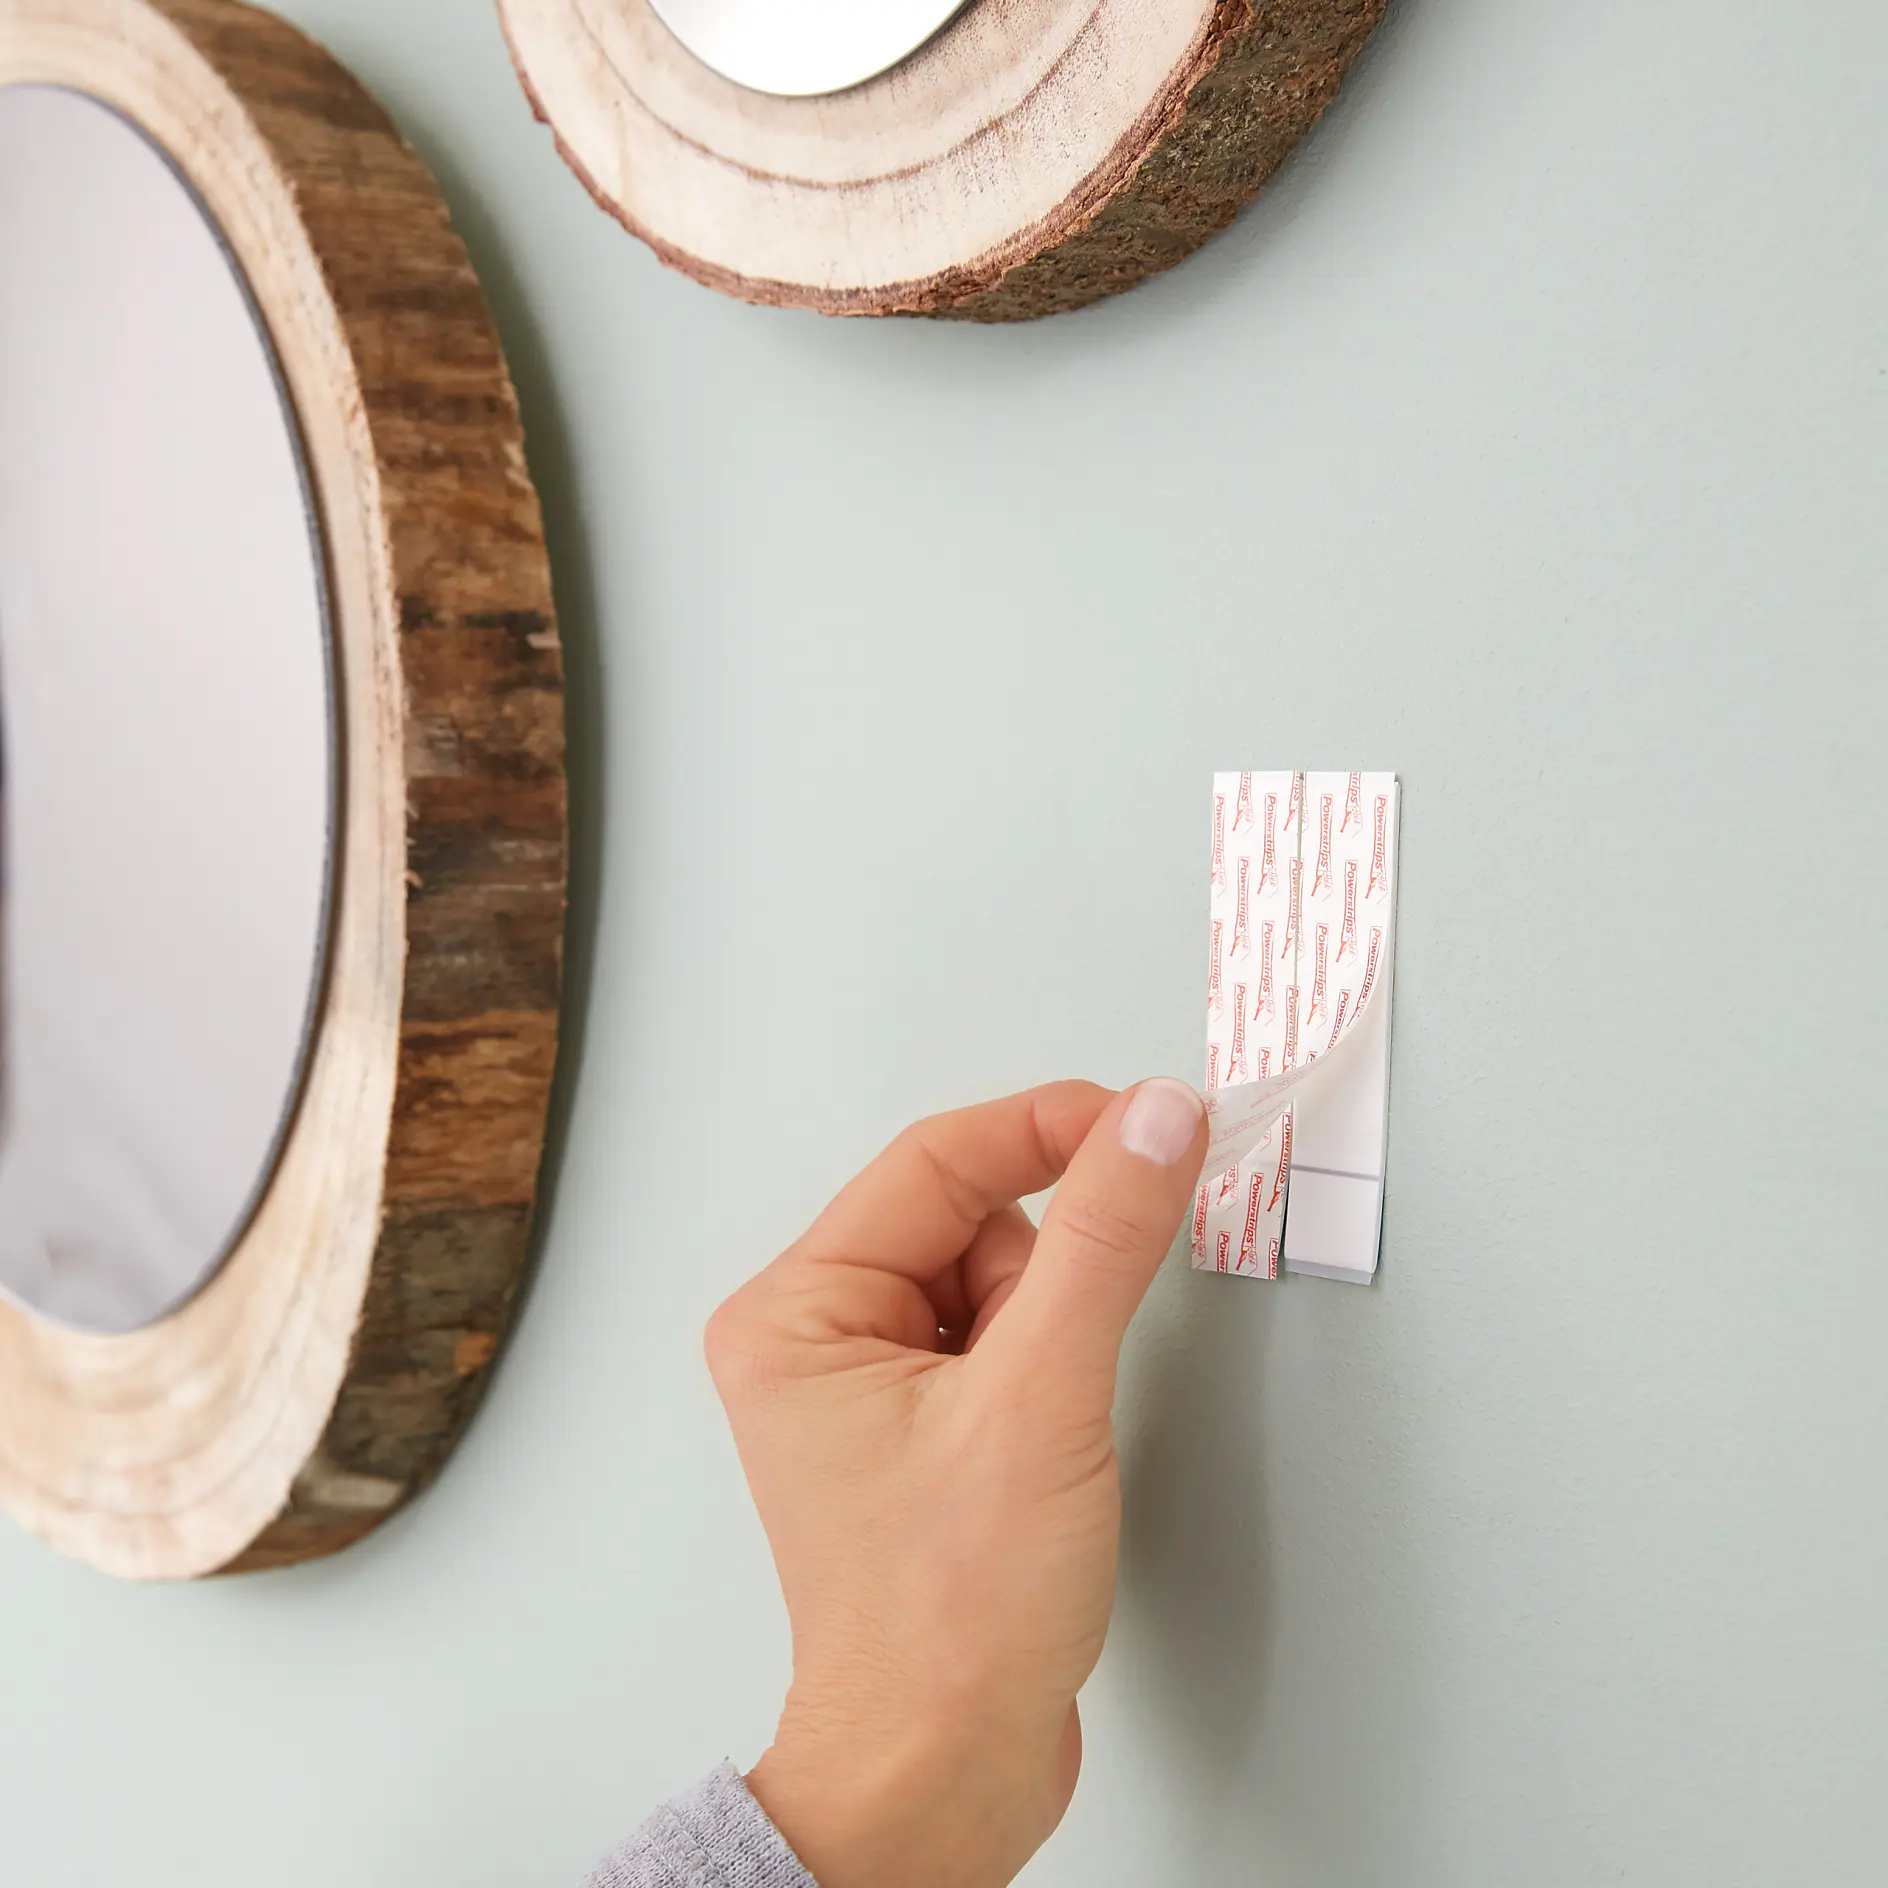
 

A hand is peeling off a tesa tape adhesive strip on a wall. The wall is painted light green. Two round mirrors with wooden frames are visible, one partially out of the frame on the left side. (This text has been generated by AI)
07

Fjern den beskyttende film.


Hands applying a white tesa tape strip to a light green wall, between round wooden-framed mirrors. The person is wearing a gray long-sleeve shirt. (This text has been generated by AI)
08

Placer klæbesømmet på den opsatte Powerstrip®, og giv det et fast tryk i fem sekunder. Hæng spejlet op på væggen.
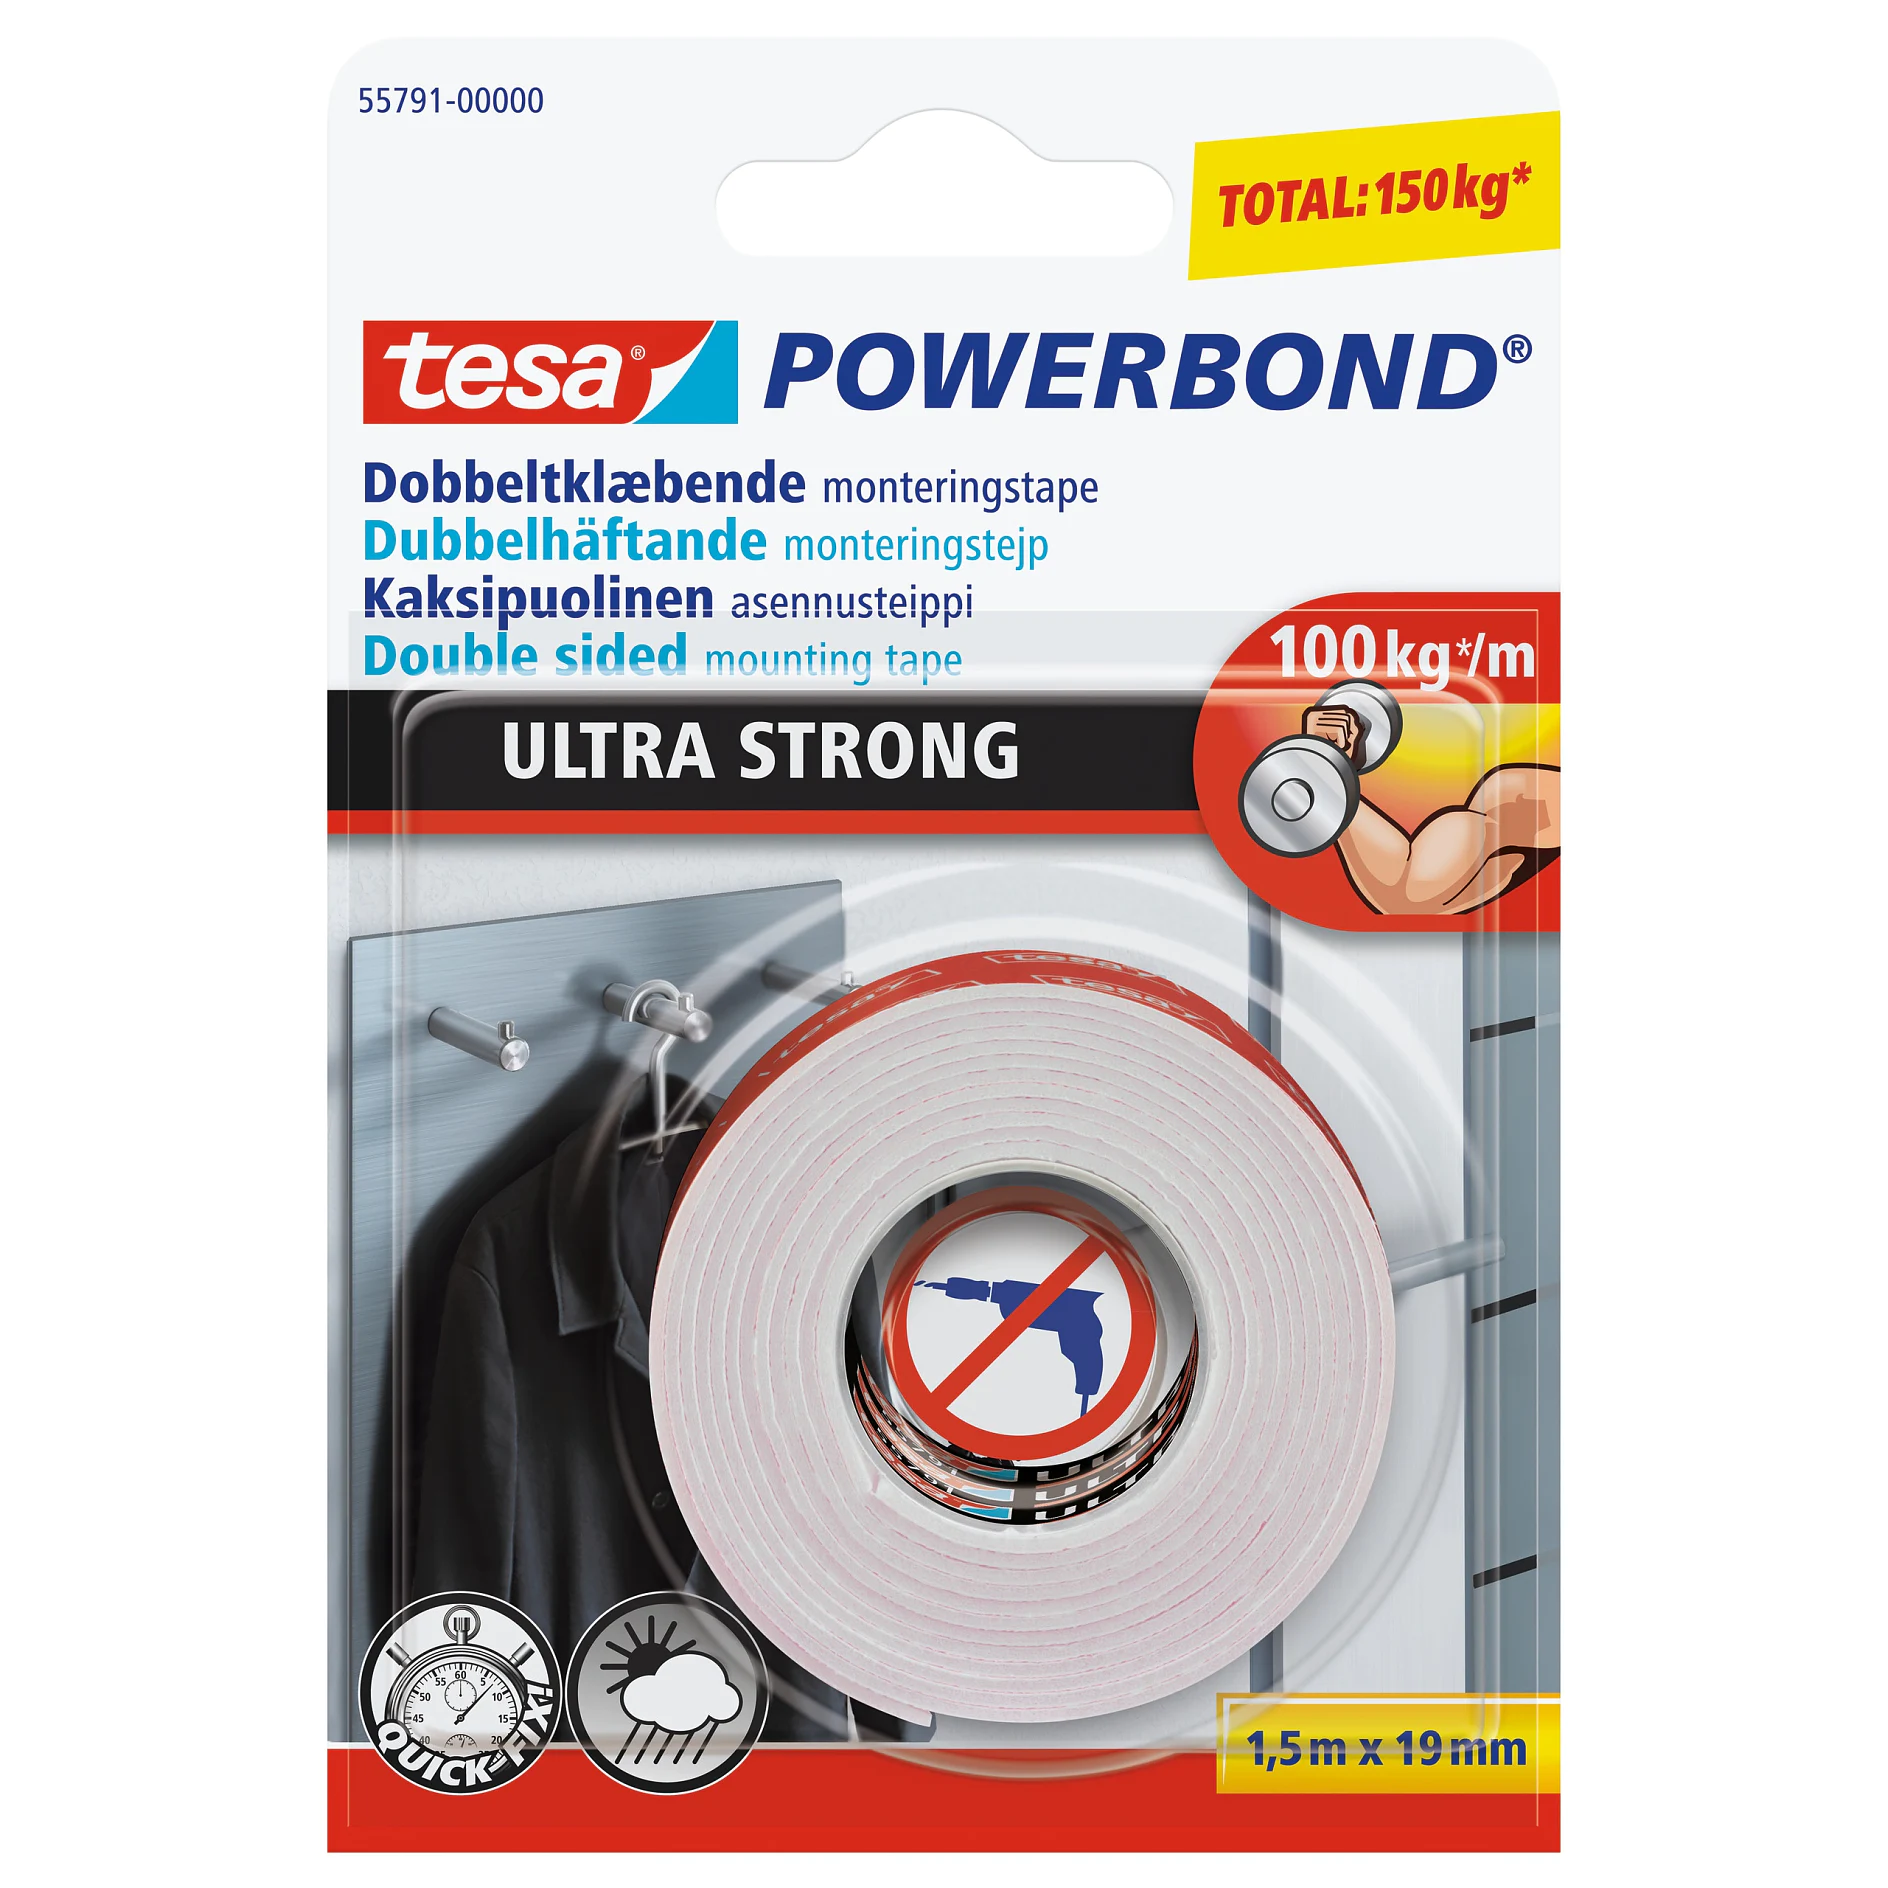
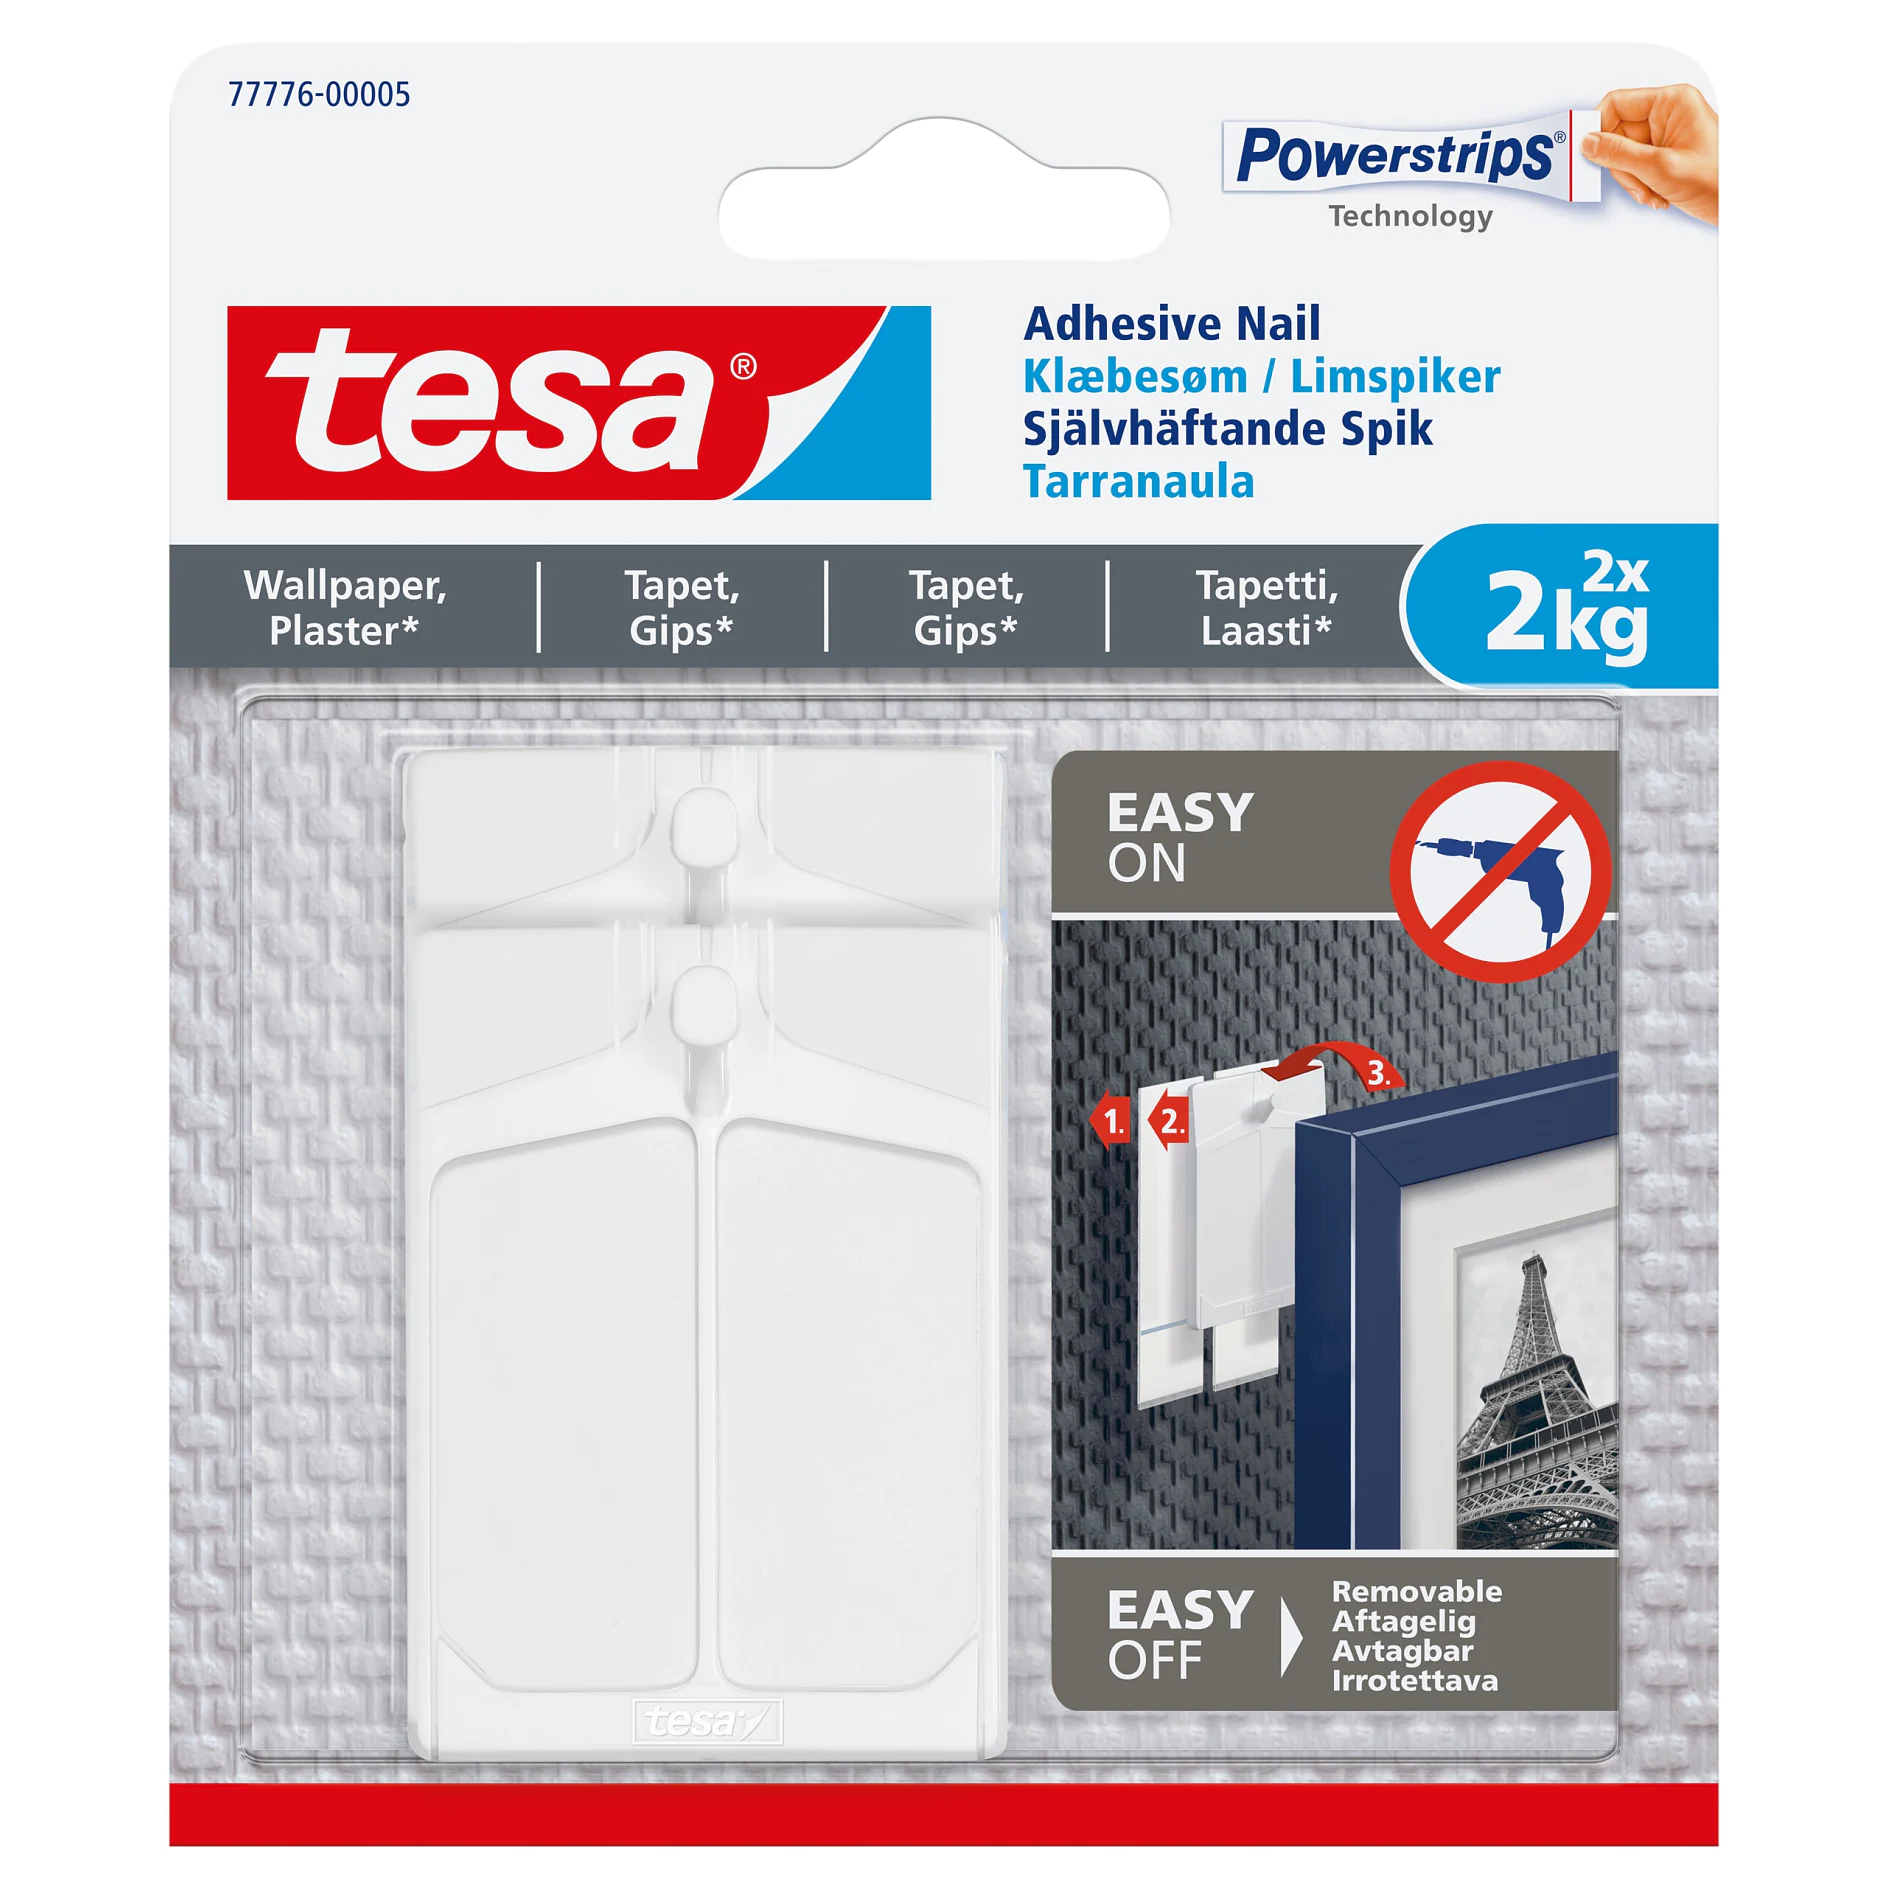
 

tesa-produkter, der kræves til dette projekt

Sidst opdateret den 7. okt. 2026