Gør-det-selv juletræ

For mange mennesker er juletræet det vigtigste element i julens dekorationer. Men hvem siger, at det altid skal være et grantræ? I gangen eller i små rum er dette smarte træ på væggen en fantastisk mulighed. Og da det er monteret med Klæbekroge med Powerstrips, kan det let fjernes uden et spor, når juleferien er slut.

Sværhedsgrad Medium
Varighed 30

Vi skal bruge:

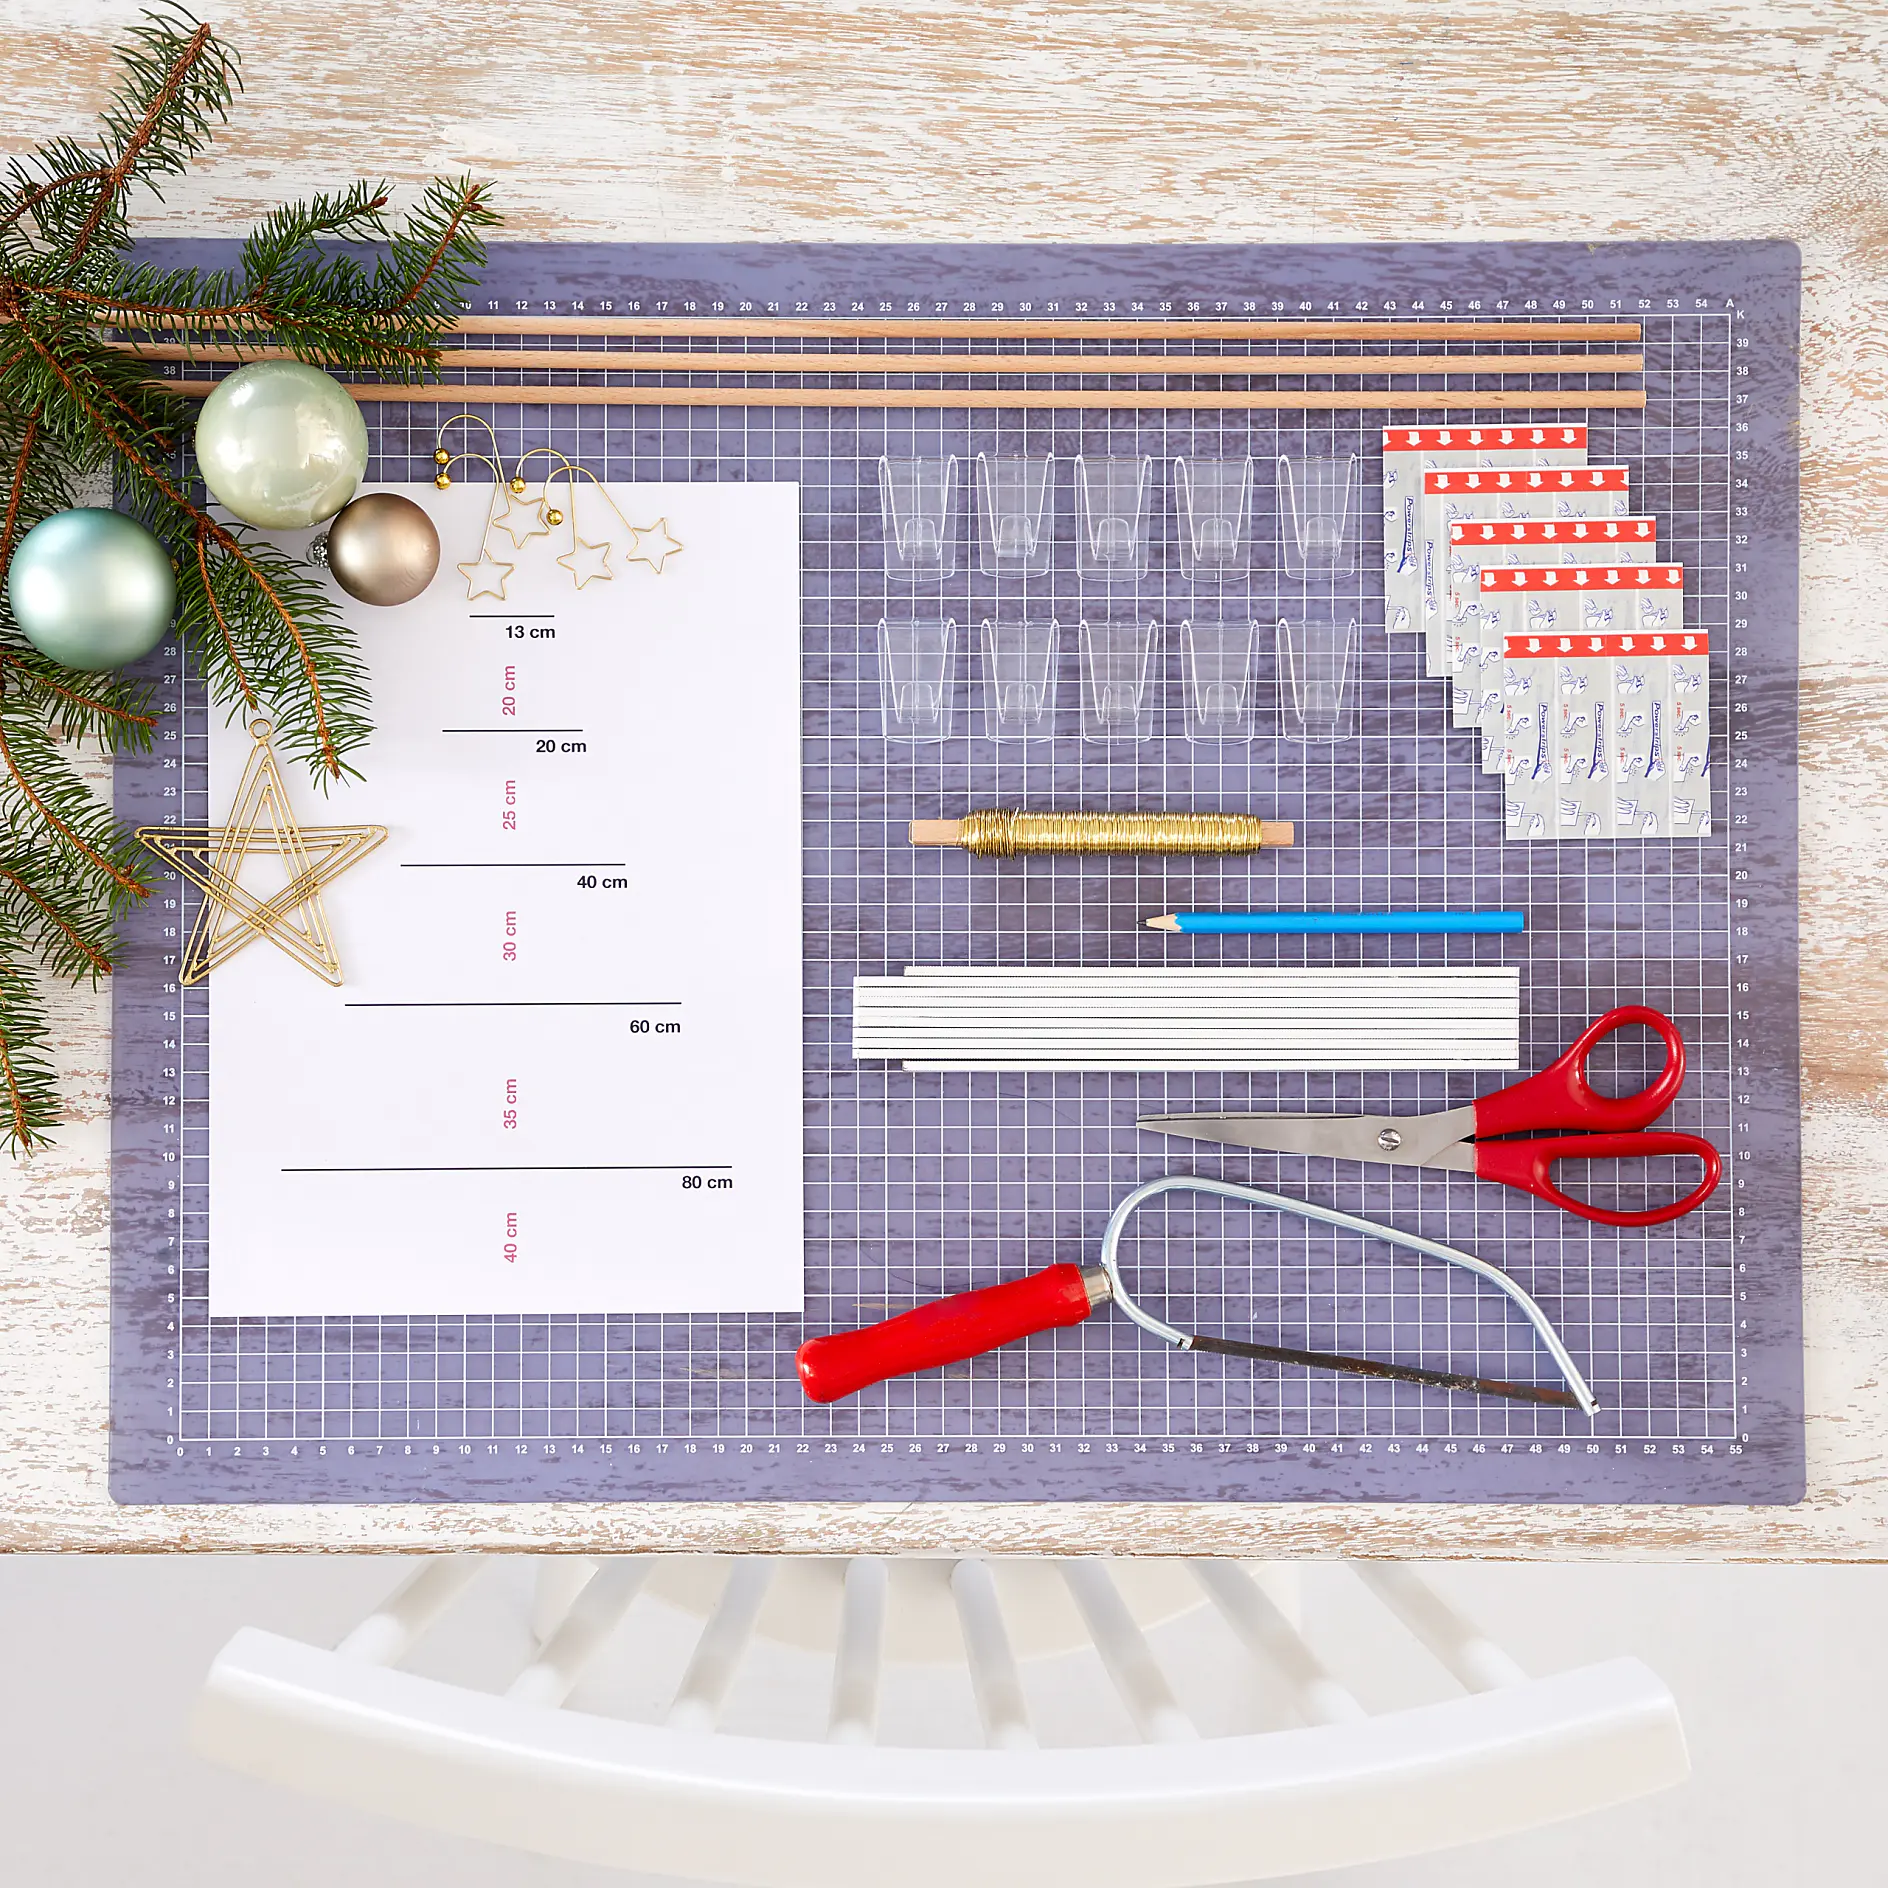
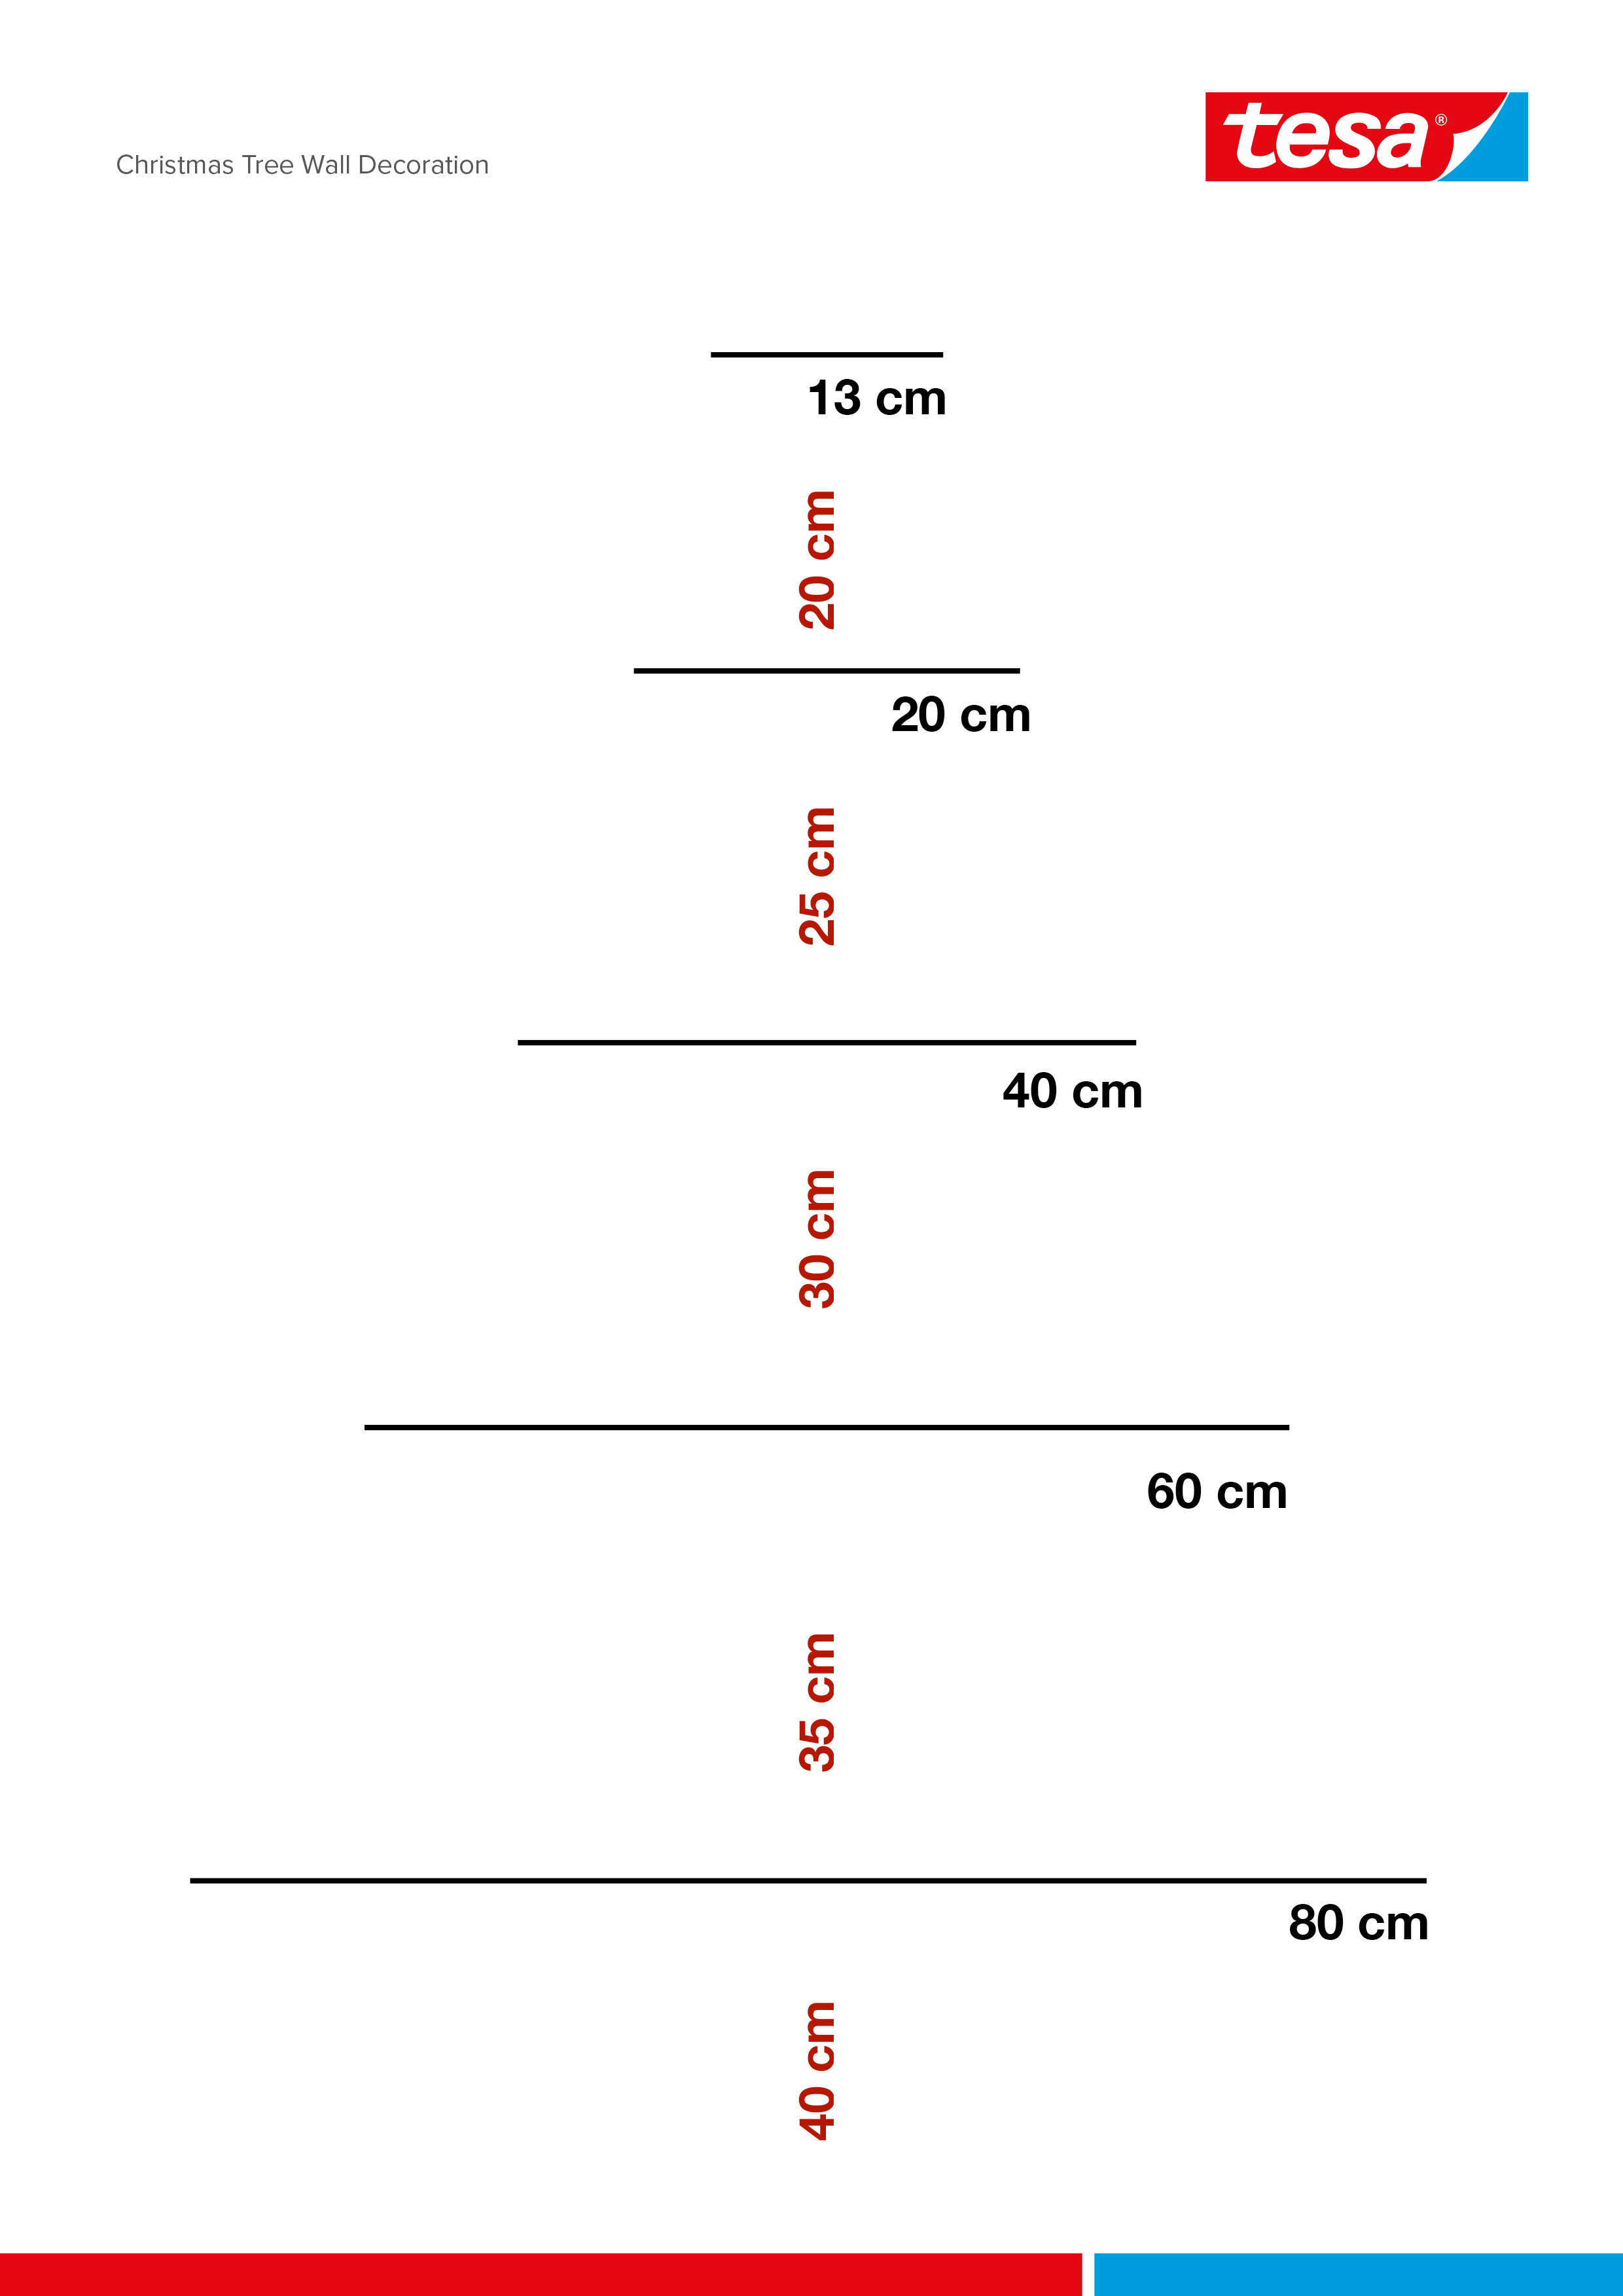
Skema til print - skematisk tegning af et træ 3 runde træstave ø 0,6 cm lille håndsav blyant målestok guldtråd grangrene saks julekugler og tilbehør til udsmykning 10 tesa Klæbekroge til transparente overflader og glas (1 kg)


Tidsforbrug: ca. 0,5 timer 

Sådan gør du:

Craft supplies are neatly arranged on a cutting mat. Items include scissors, a ruler, decorative stars, baubles, paper sheets, a small saw, clothespins, dowels, pine branches, and tesa tape. The setup is on a wooden surface. (This text has been generated by AI)
01

Saml alle dele og lad os starte!

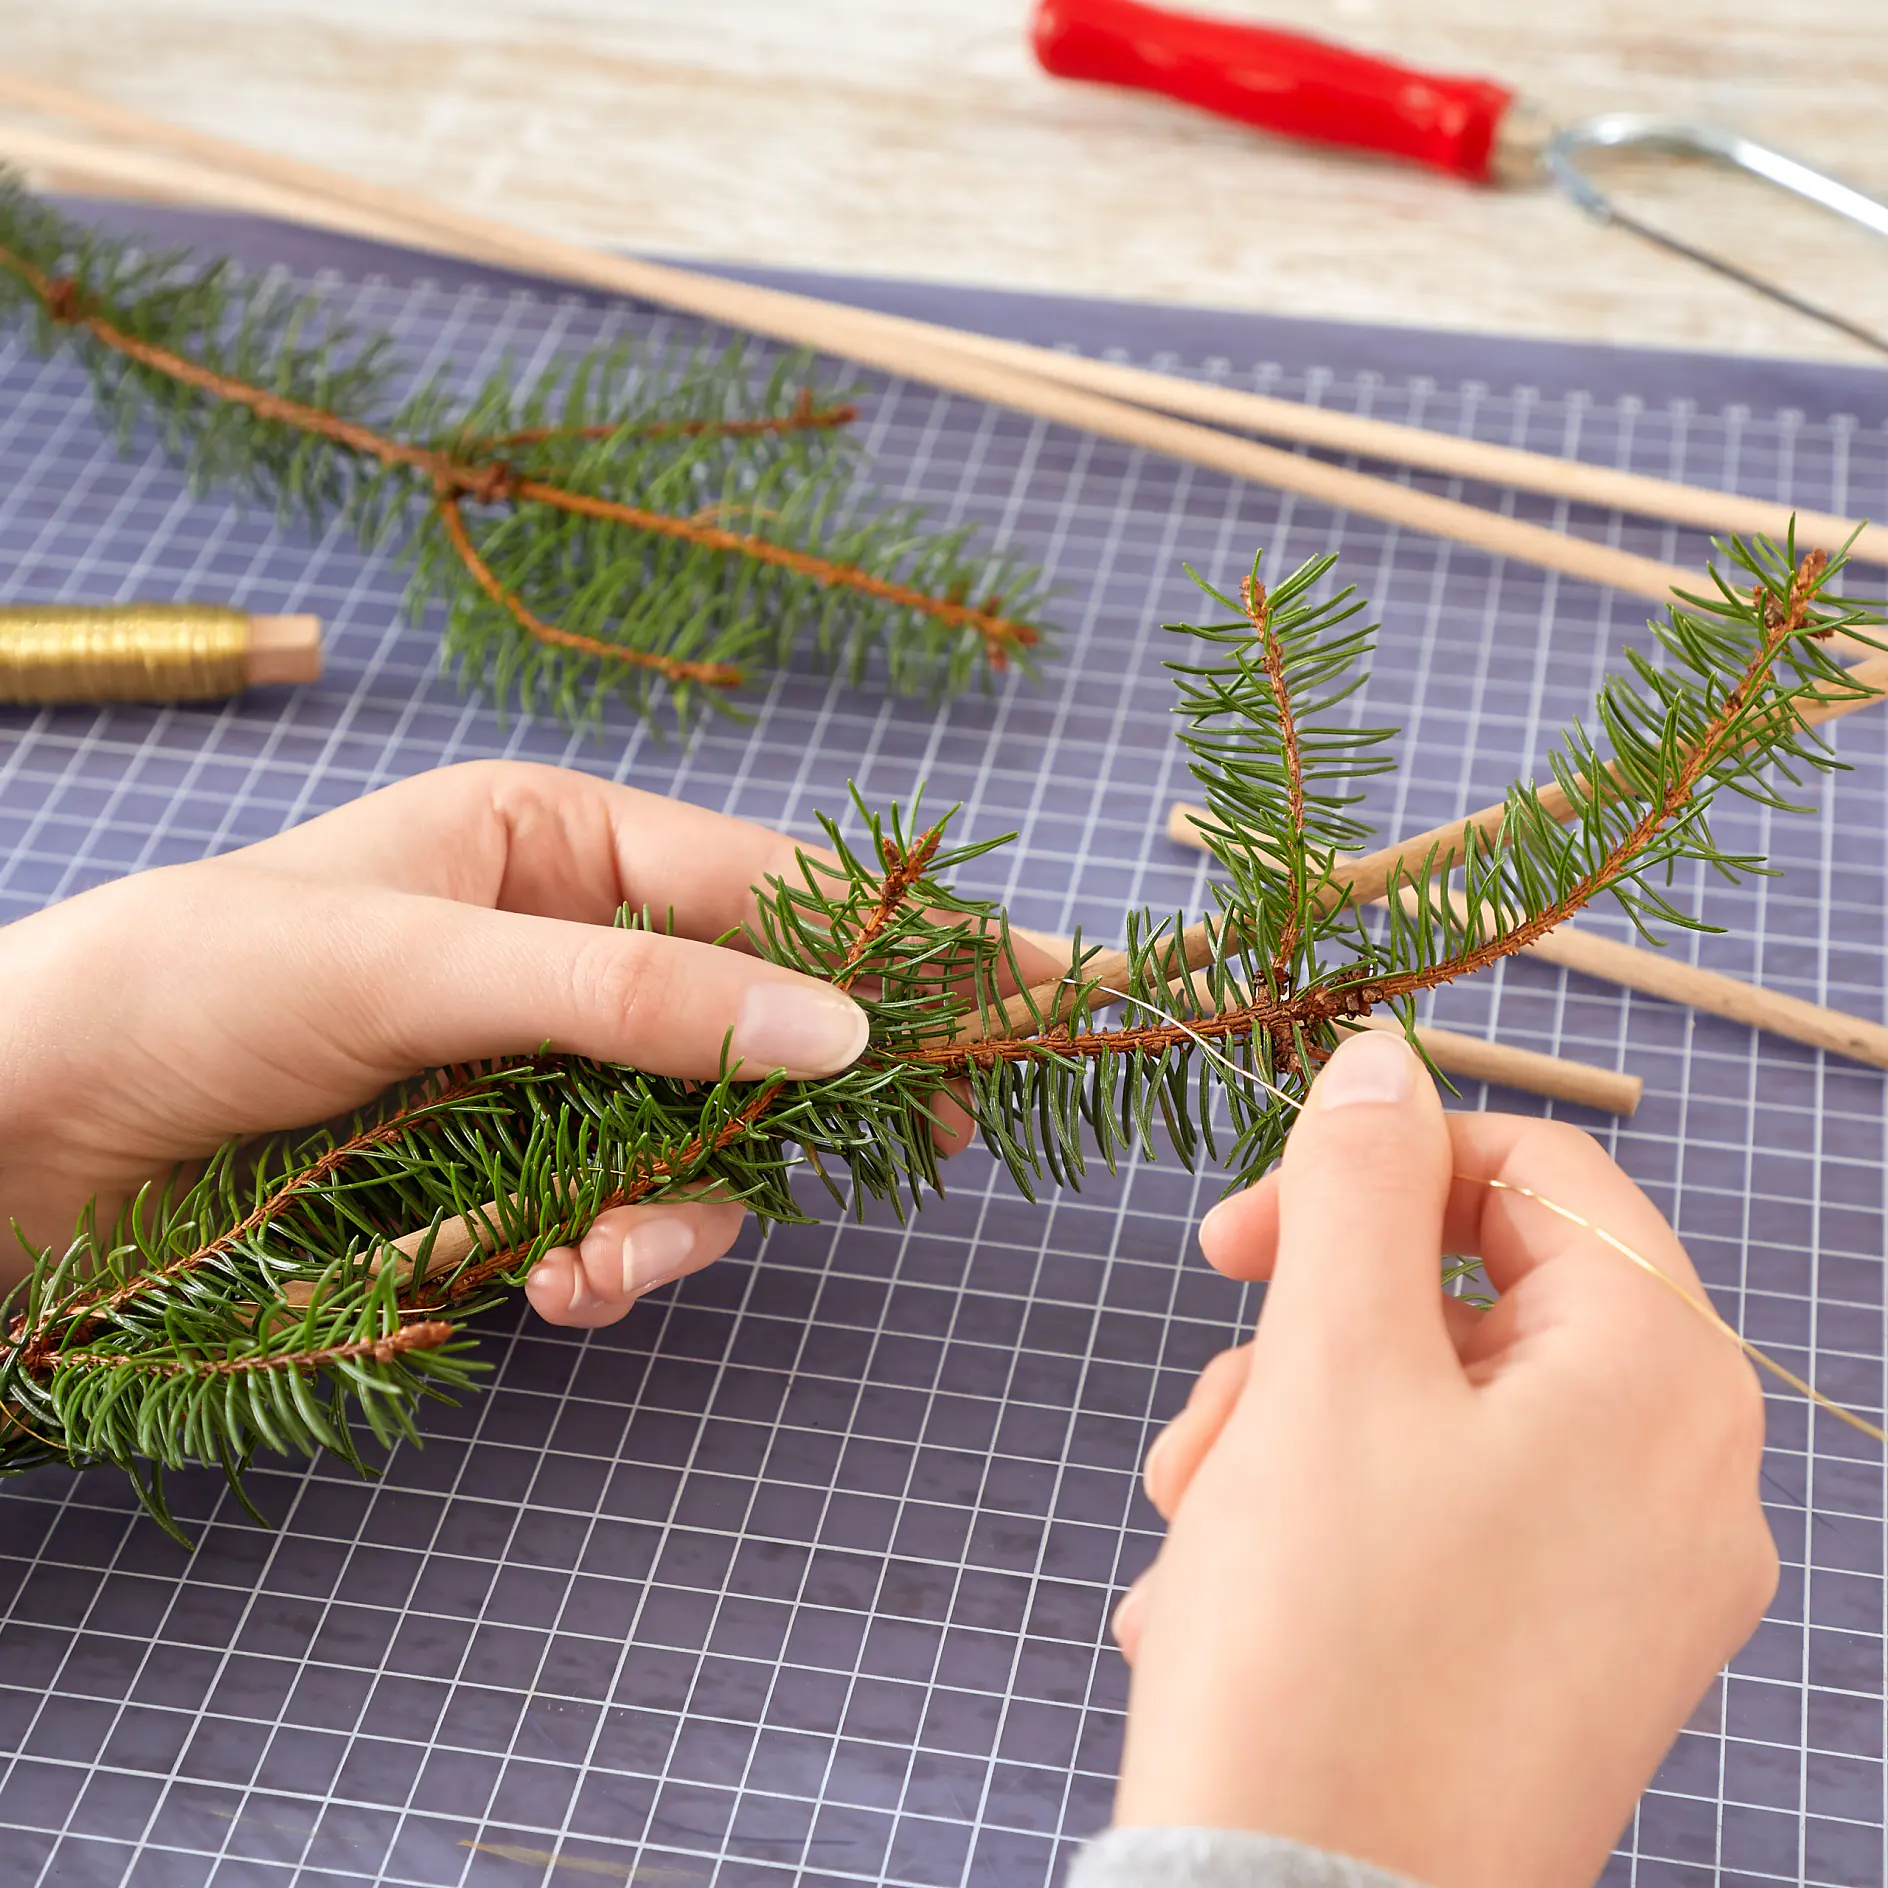
Hands crafting a wreath using a pine branch and wire on a grid-patterned surface. Nearby are wooden sticks, a coil of golden wire, a roll of tesa tape, and a red-handled tool. (This text has been generated by AI)
02

Sav de runde træstave ifølge dimensionerne på den skematiske tegning. Snør stængerne ind i små kviste og guldtråd.
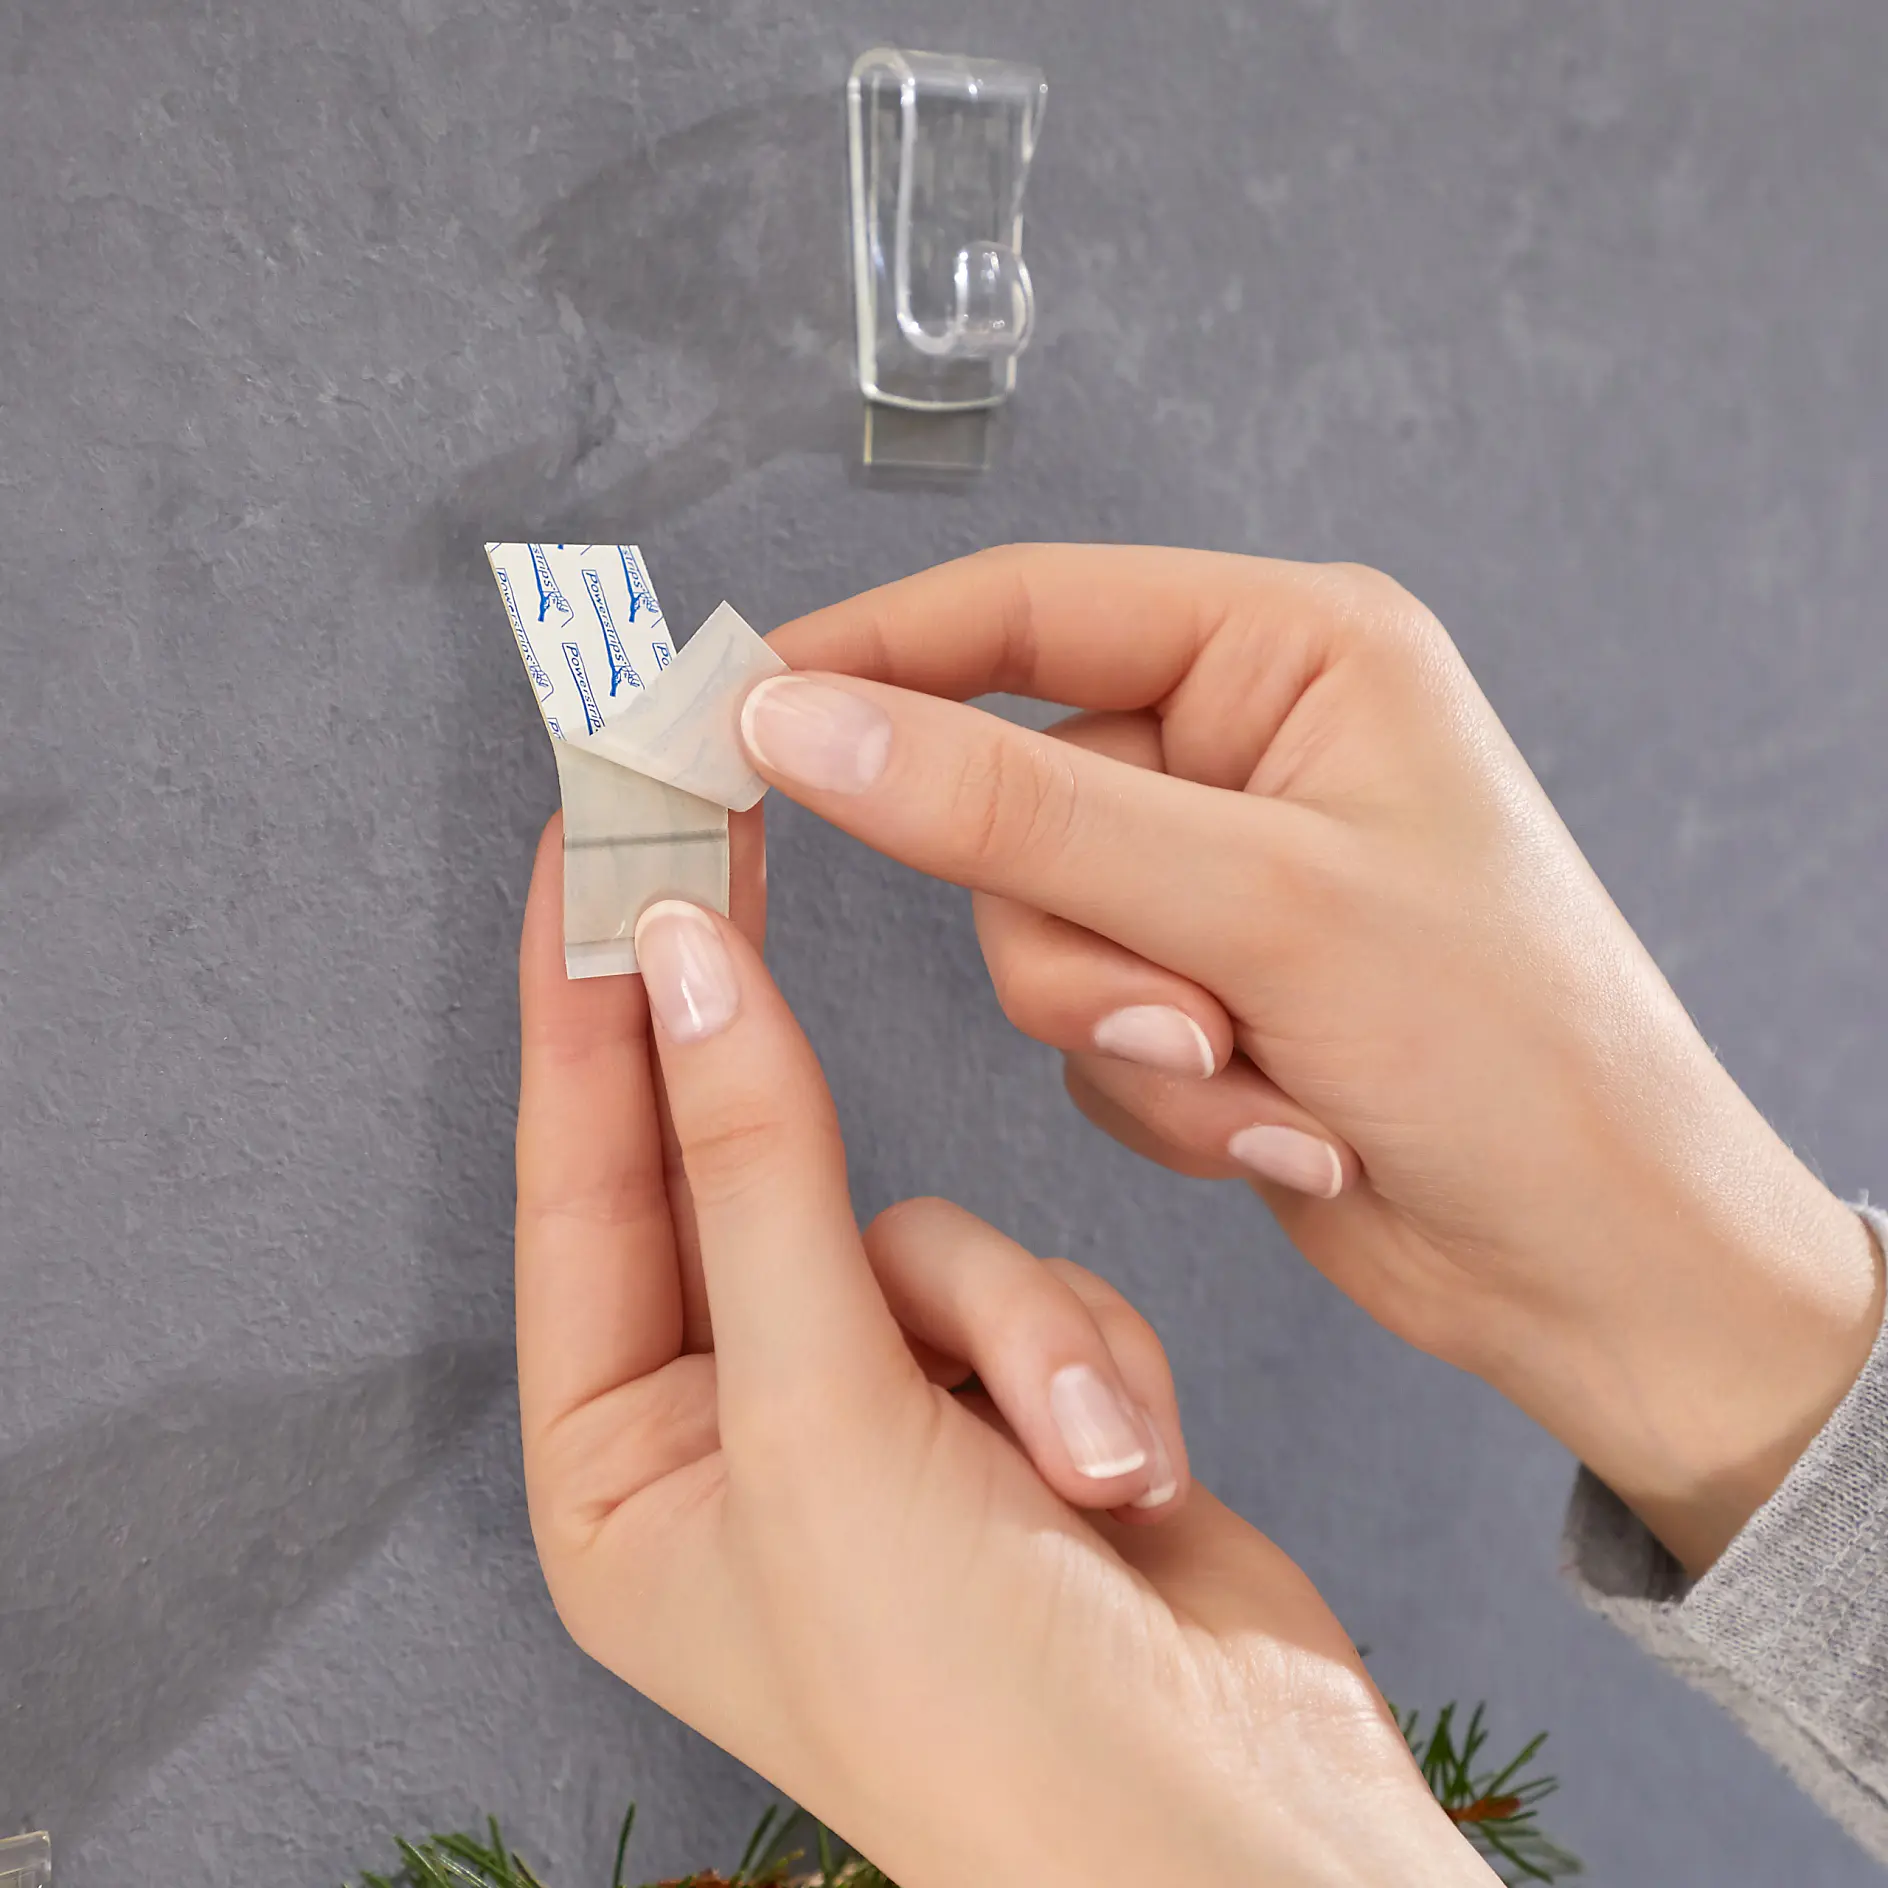
Two hands are applying a clear adhesive wall hook to a gray wall. The person is peeling off the backing of the tesa tape strip to attach the hook securely. (This text has been generated by AI)
03

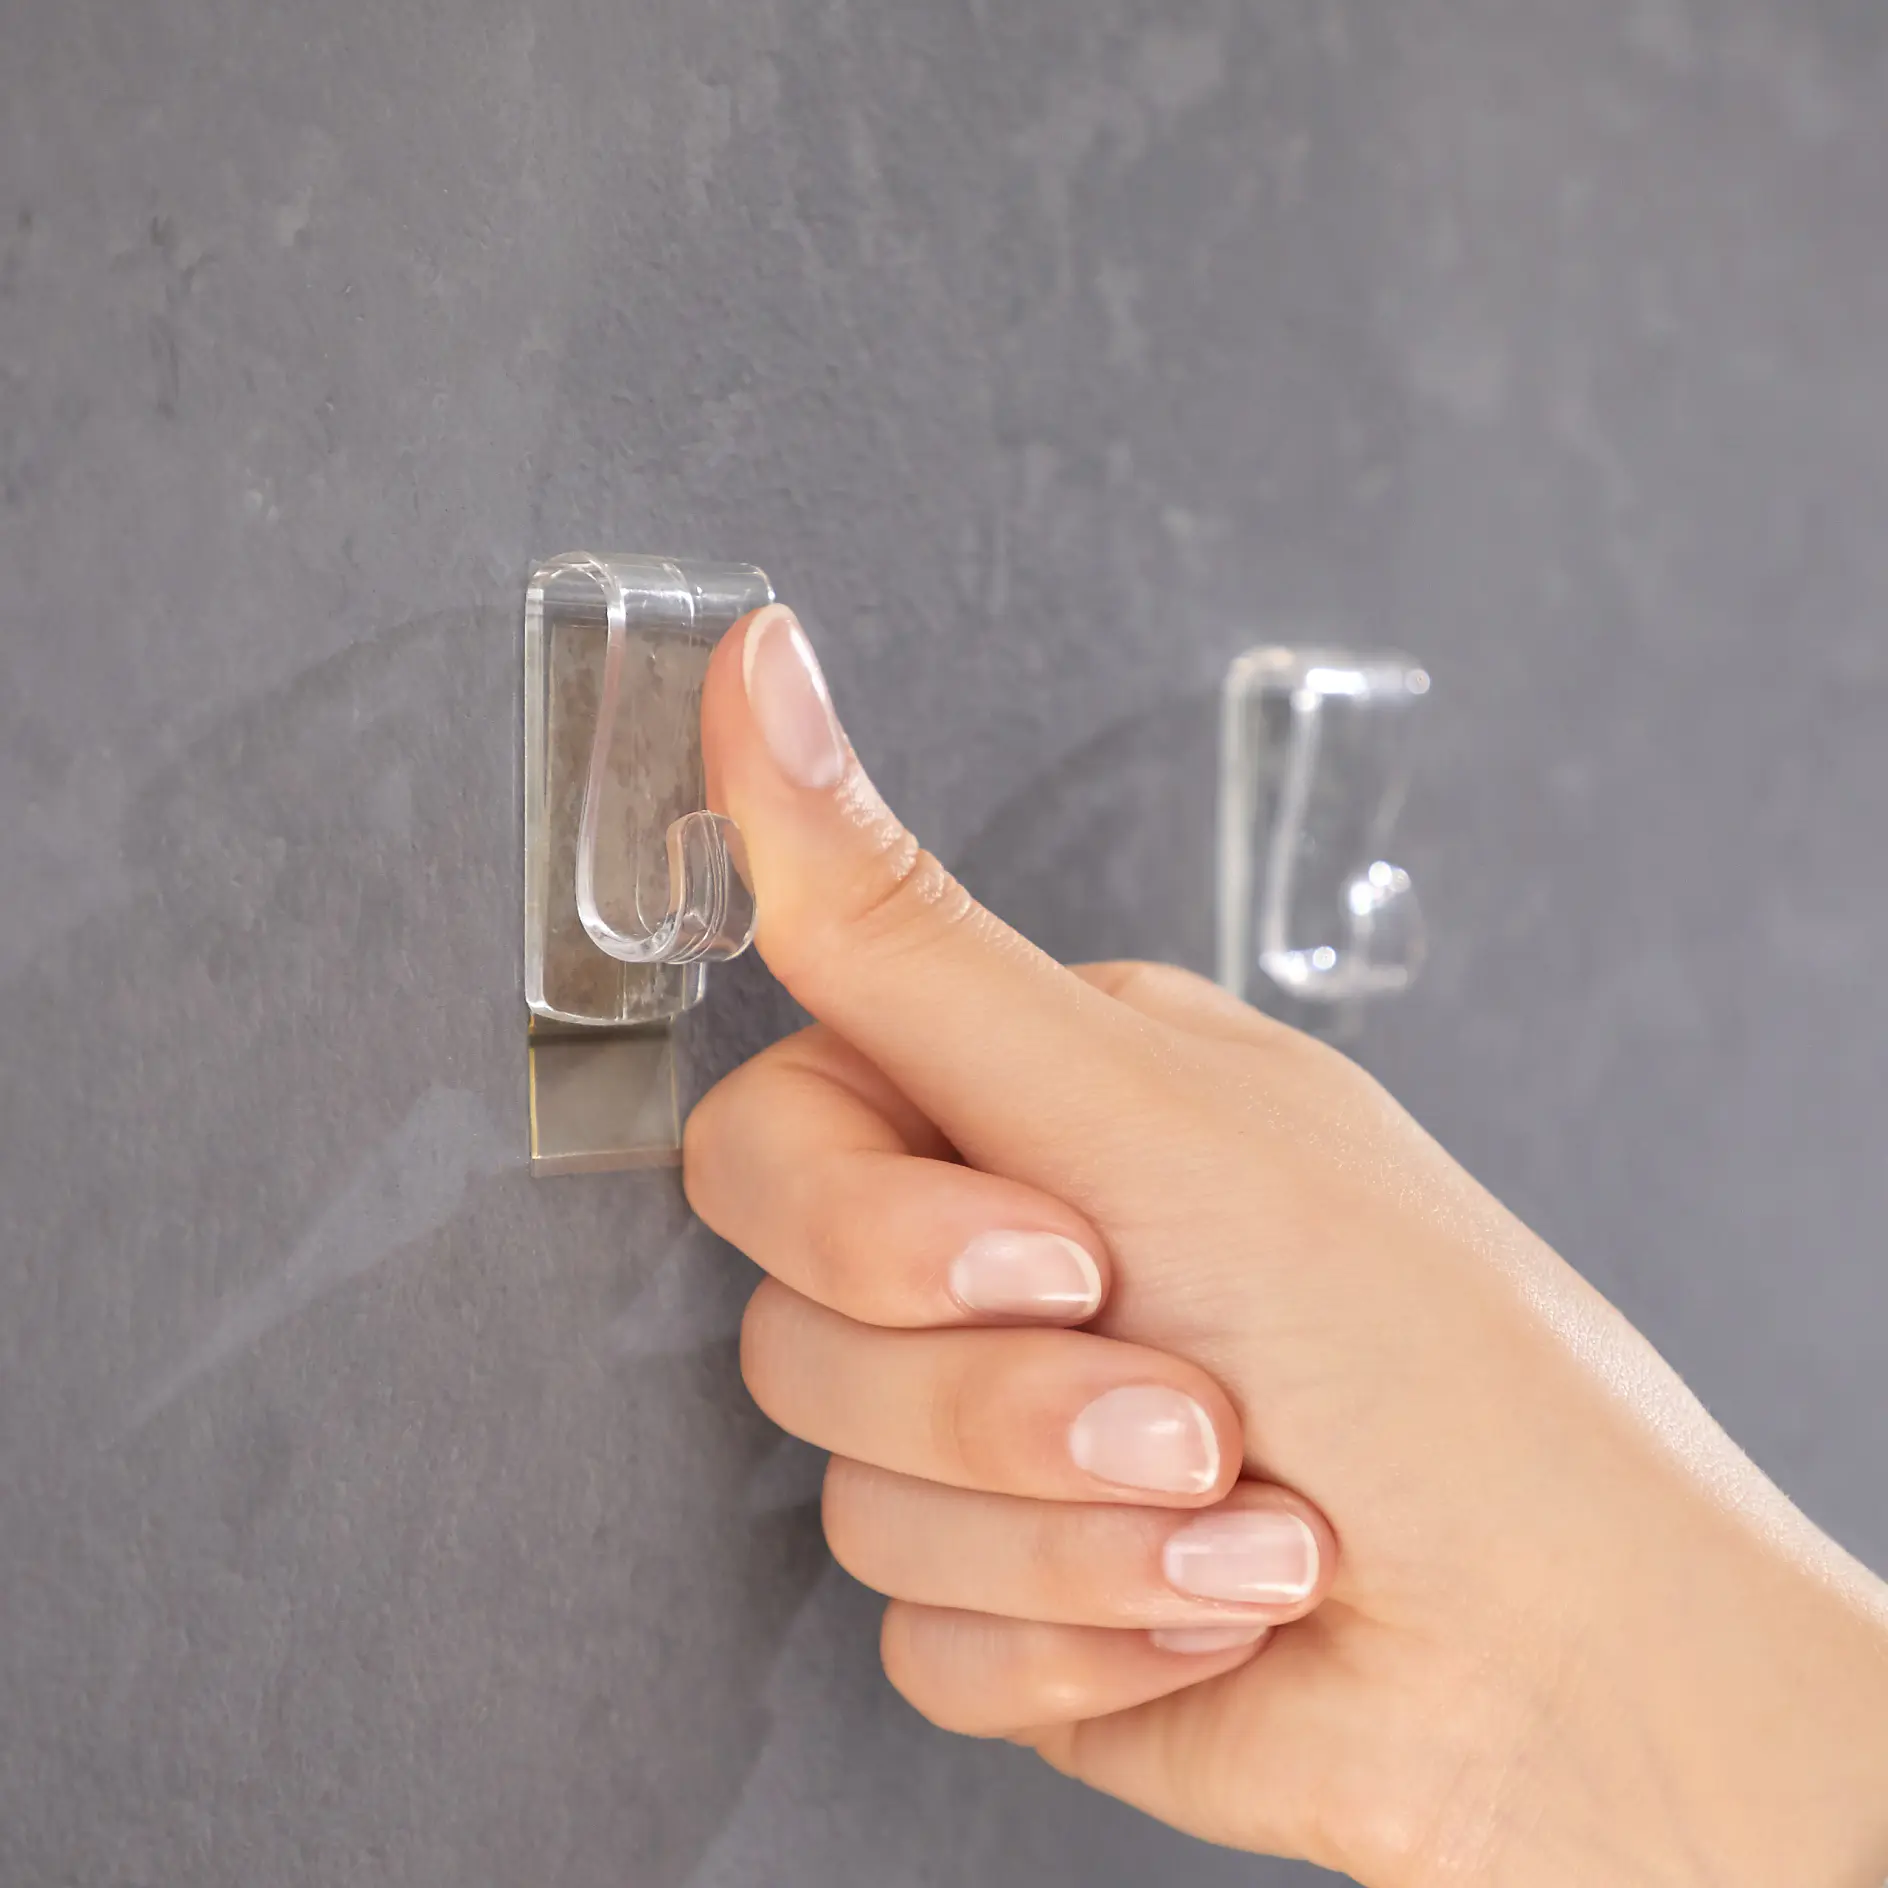
Tegn omhyggeligt målene til klæbekrogene på væggen ifølge den skematiske tegning og brug en blyant. Montér krogene på væggen på følgende måde: Rens væggen for støv, tag en PowerStrip fra arket og fjern den beskyttende film på den ene side.
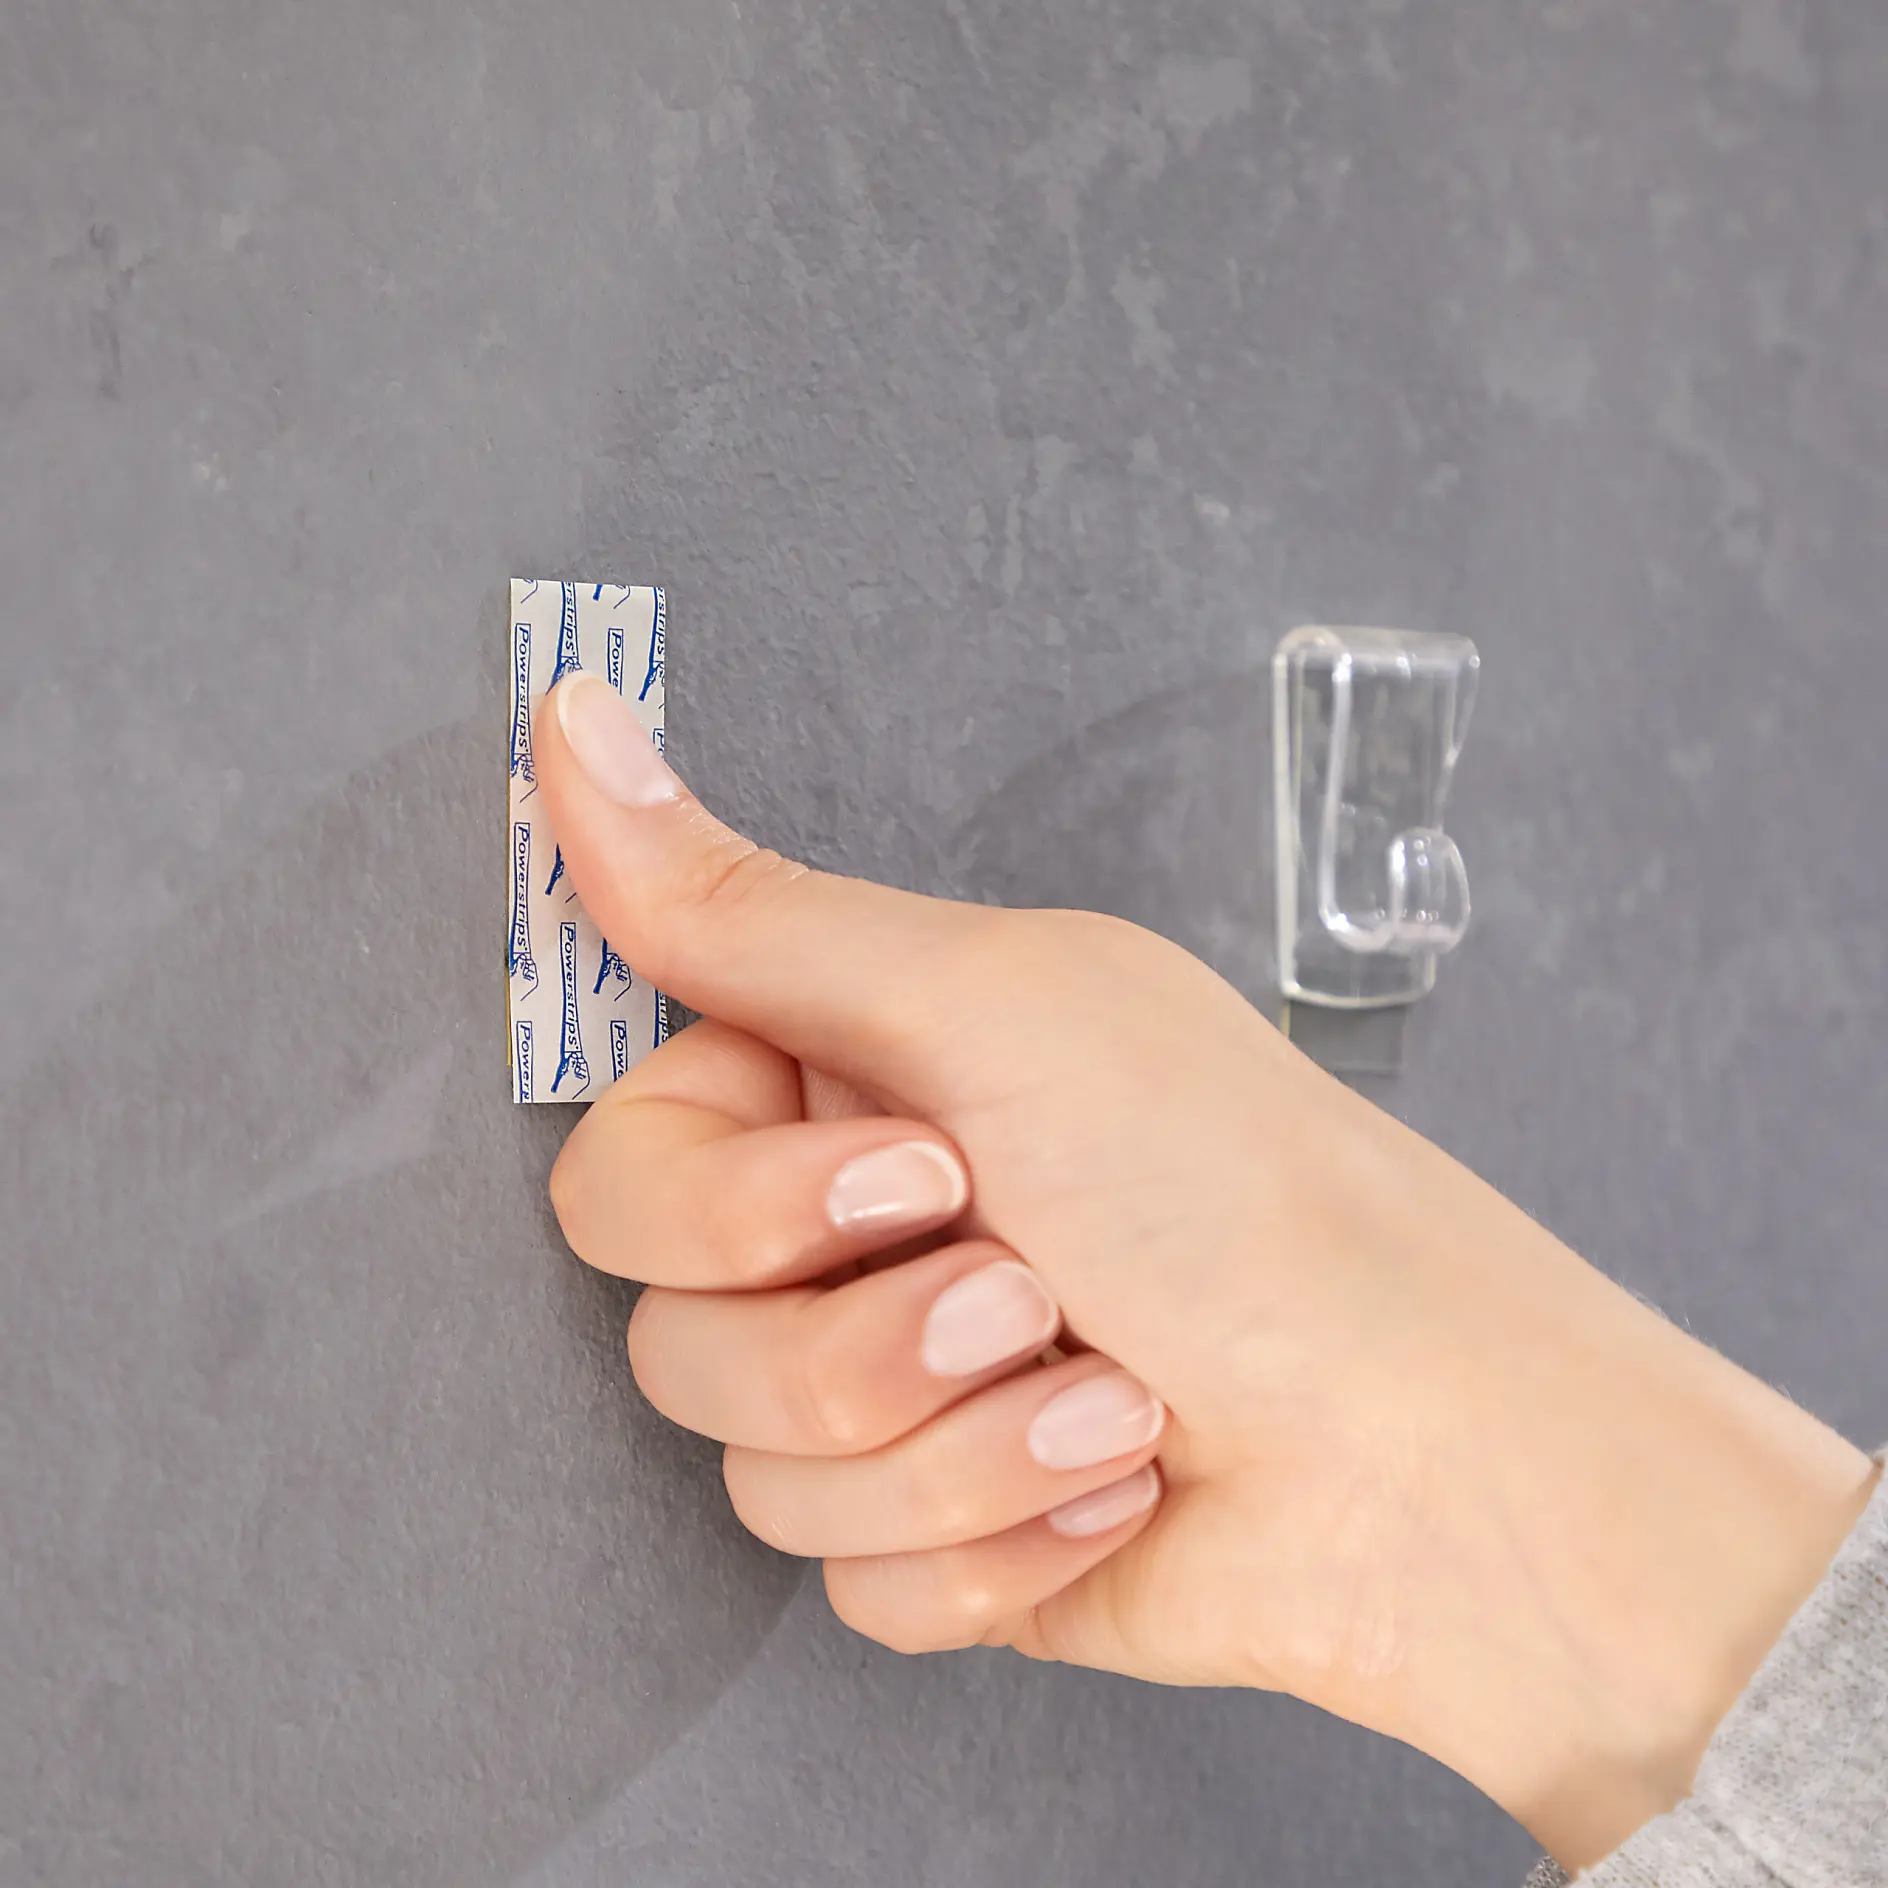
A person applying a rectangular strip of tesa tape to a gray wall with their thumb. A transparent plastic hook is already mounted on the wall nearby. The persons fingernails are manicured, and their hand is in the lower right corner of the image. (This text has been generated by AI)
04

Placér din PowerStrip på det ønskede sted på væggen og tryk hårdt på forskellige steder i fem sekunder.
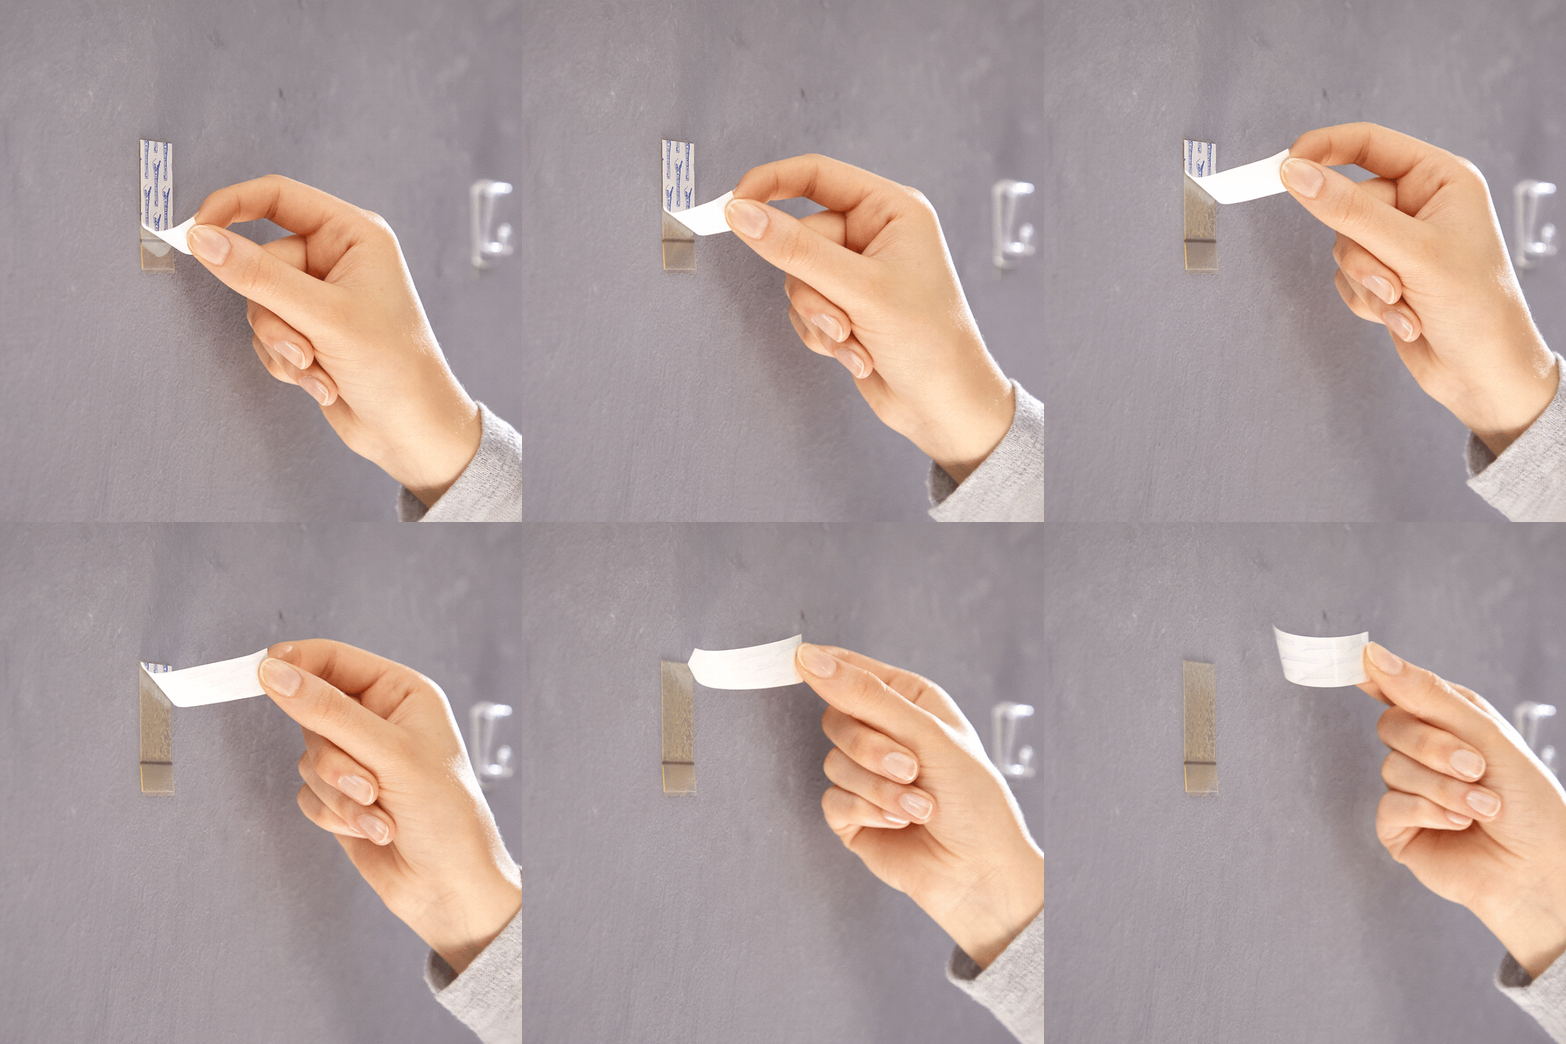
A hand is peeling off the backing of a tesa tape adhesive strip on a gray wall. The strip is partially attached, and the hand is positioned to complete the application. Another tesa tape adhesive strip is visible in the distance to the right. (This text has been generated by AI)
05

Fjern den anden beskyttende film.

A hand presses a transparent adhesive hook onto a gray wall using tesa tape. Another hook is visible in the background. The hooks are clear and designed for hanging light items. The person has neatly manicured nails. (This text has been generated by AI)
06

Placér krogen på din PowerStrip og tryk hårdt i mindst fem sekunder. Gentag ifølge den skematiske tegning.
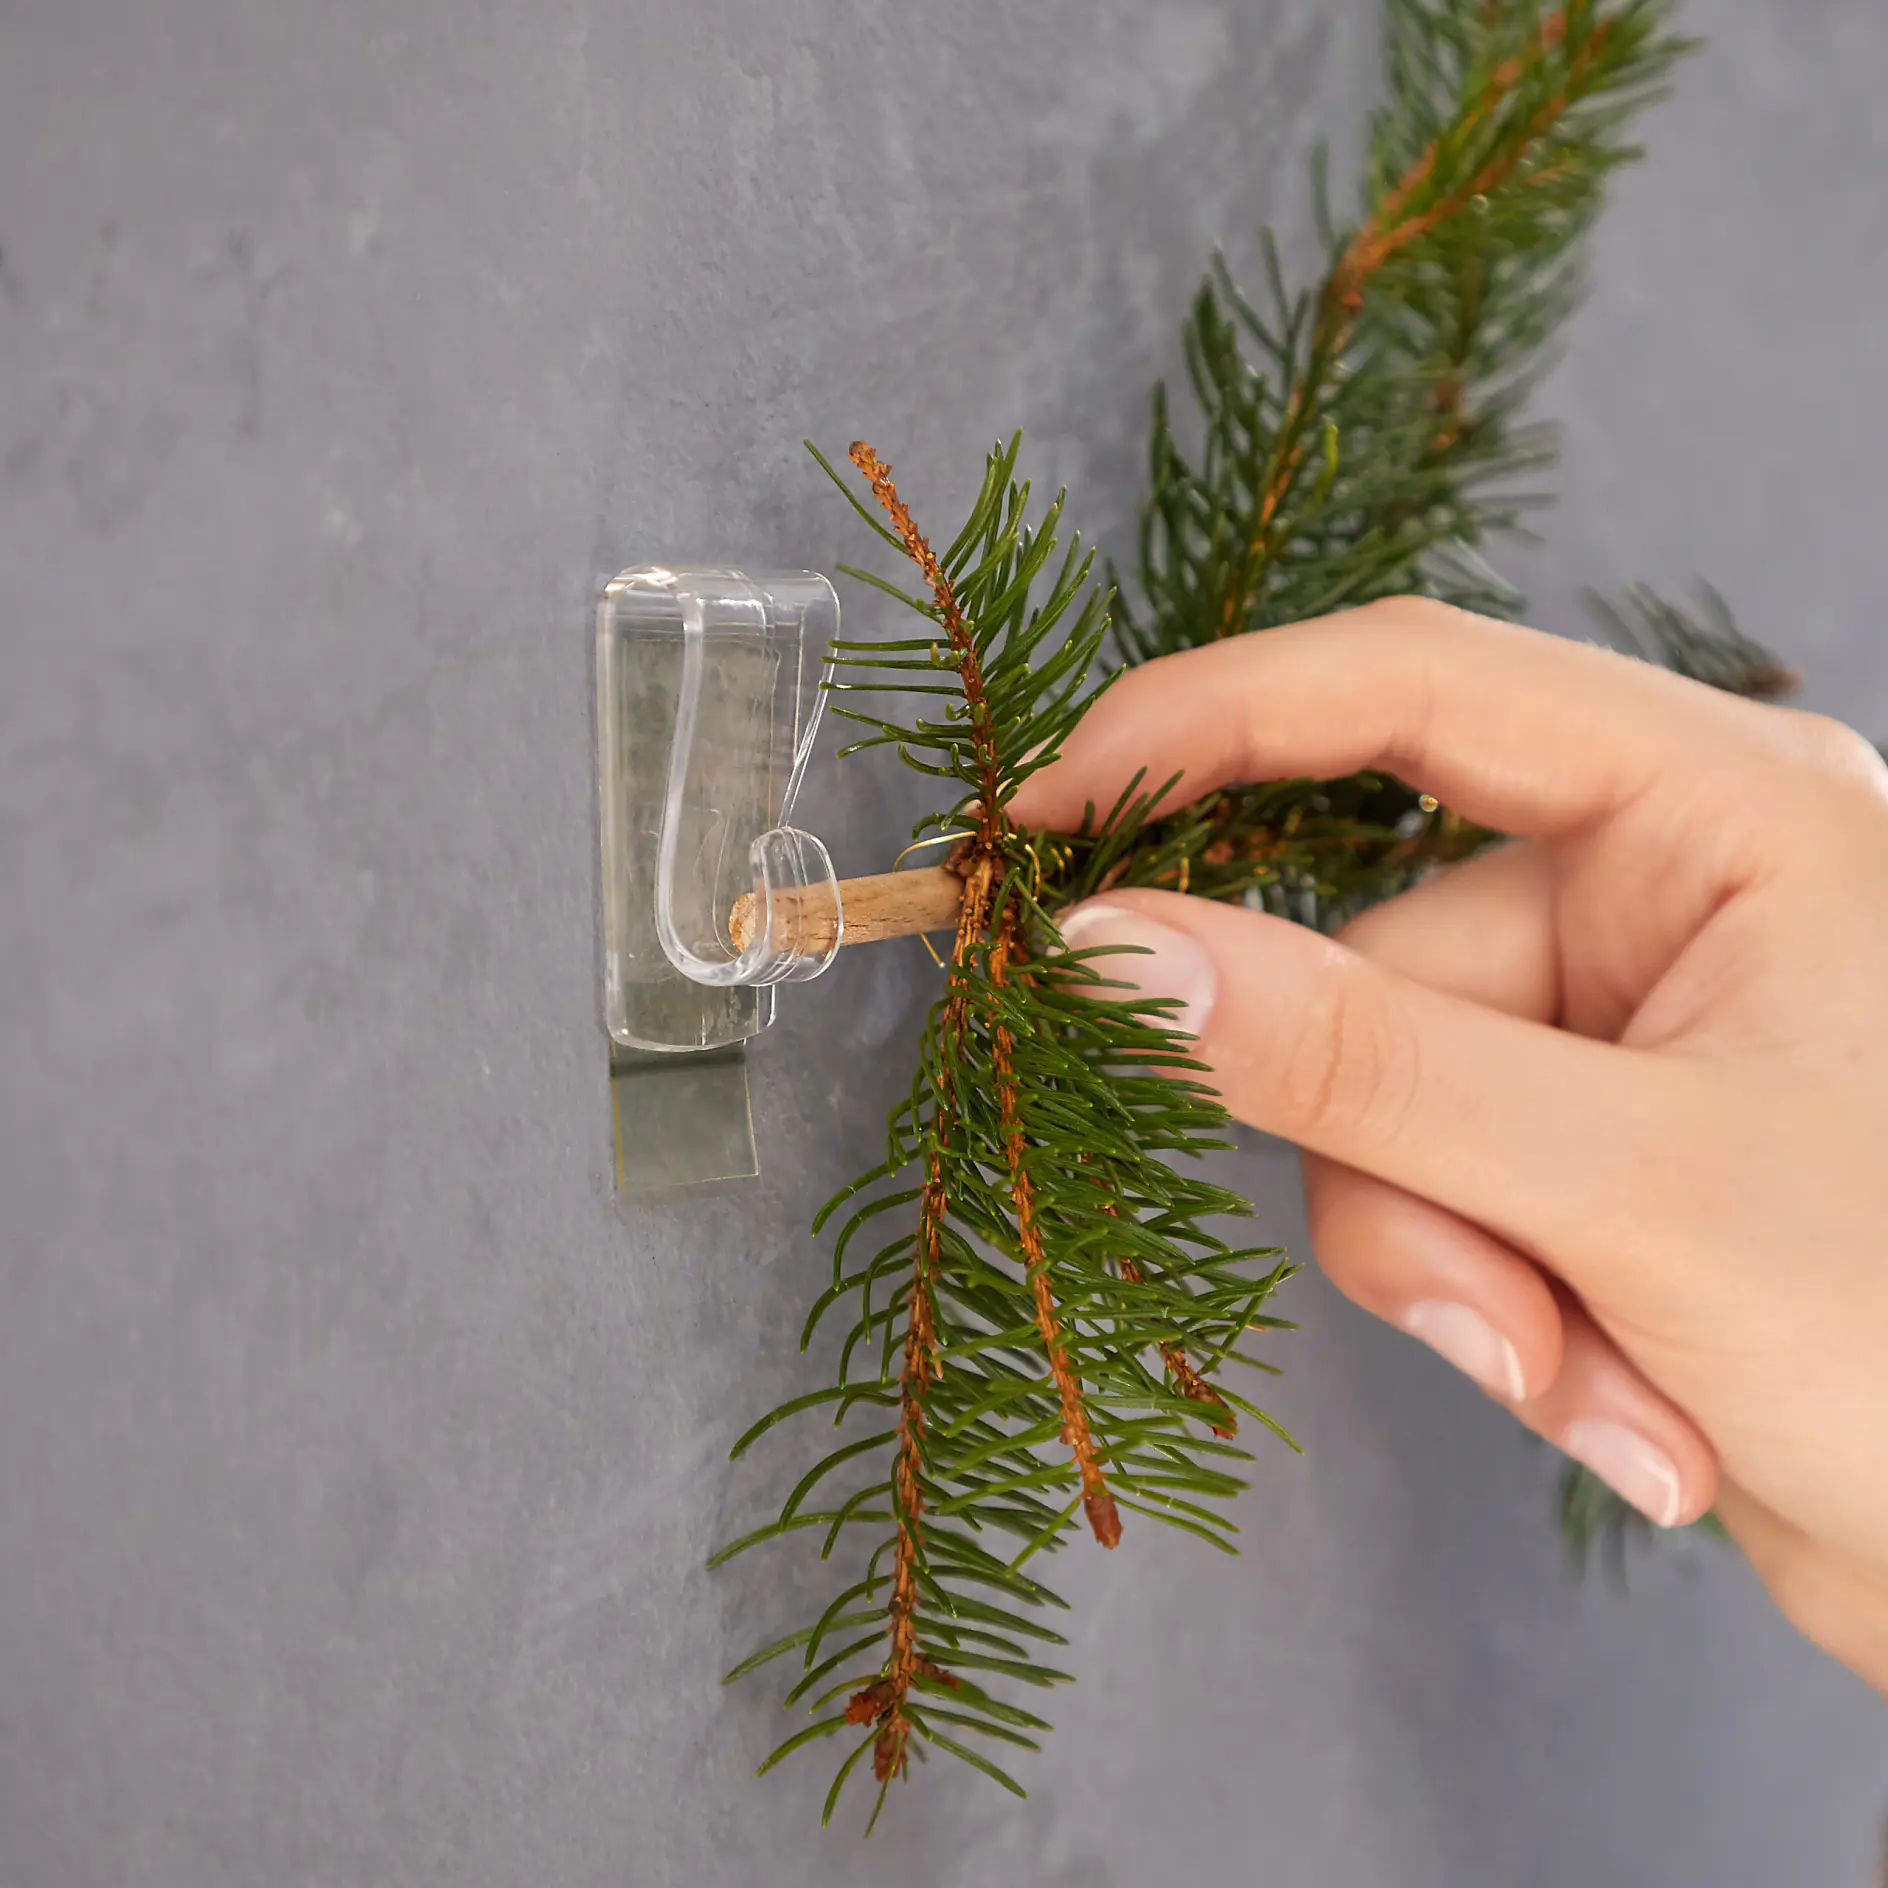
A hand is attaching a sprig of pine to a wall using a transparent tesa tape adhesive hook. The wall is gray, and the tesa tape hook is clear with a slight sheen. The pine branch has green needles and brown stems. (This text has been generated by AI)
07

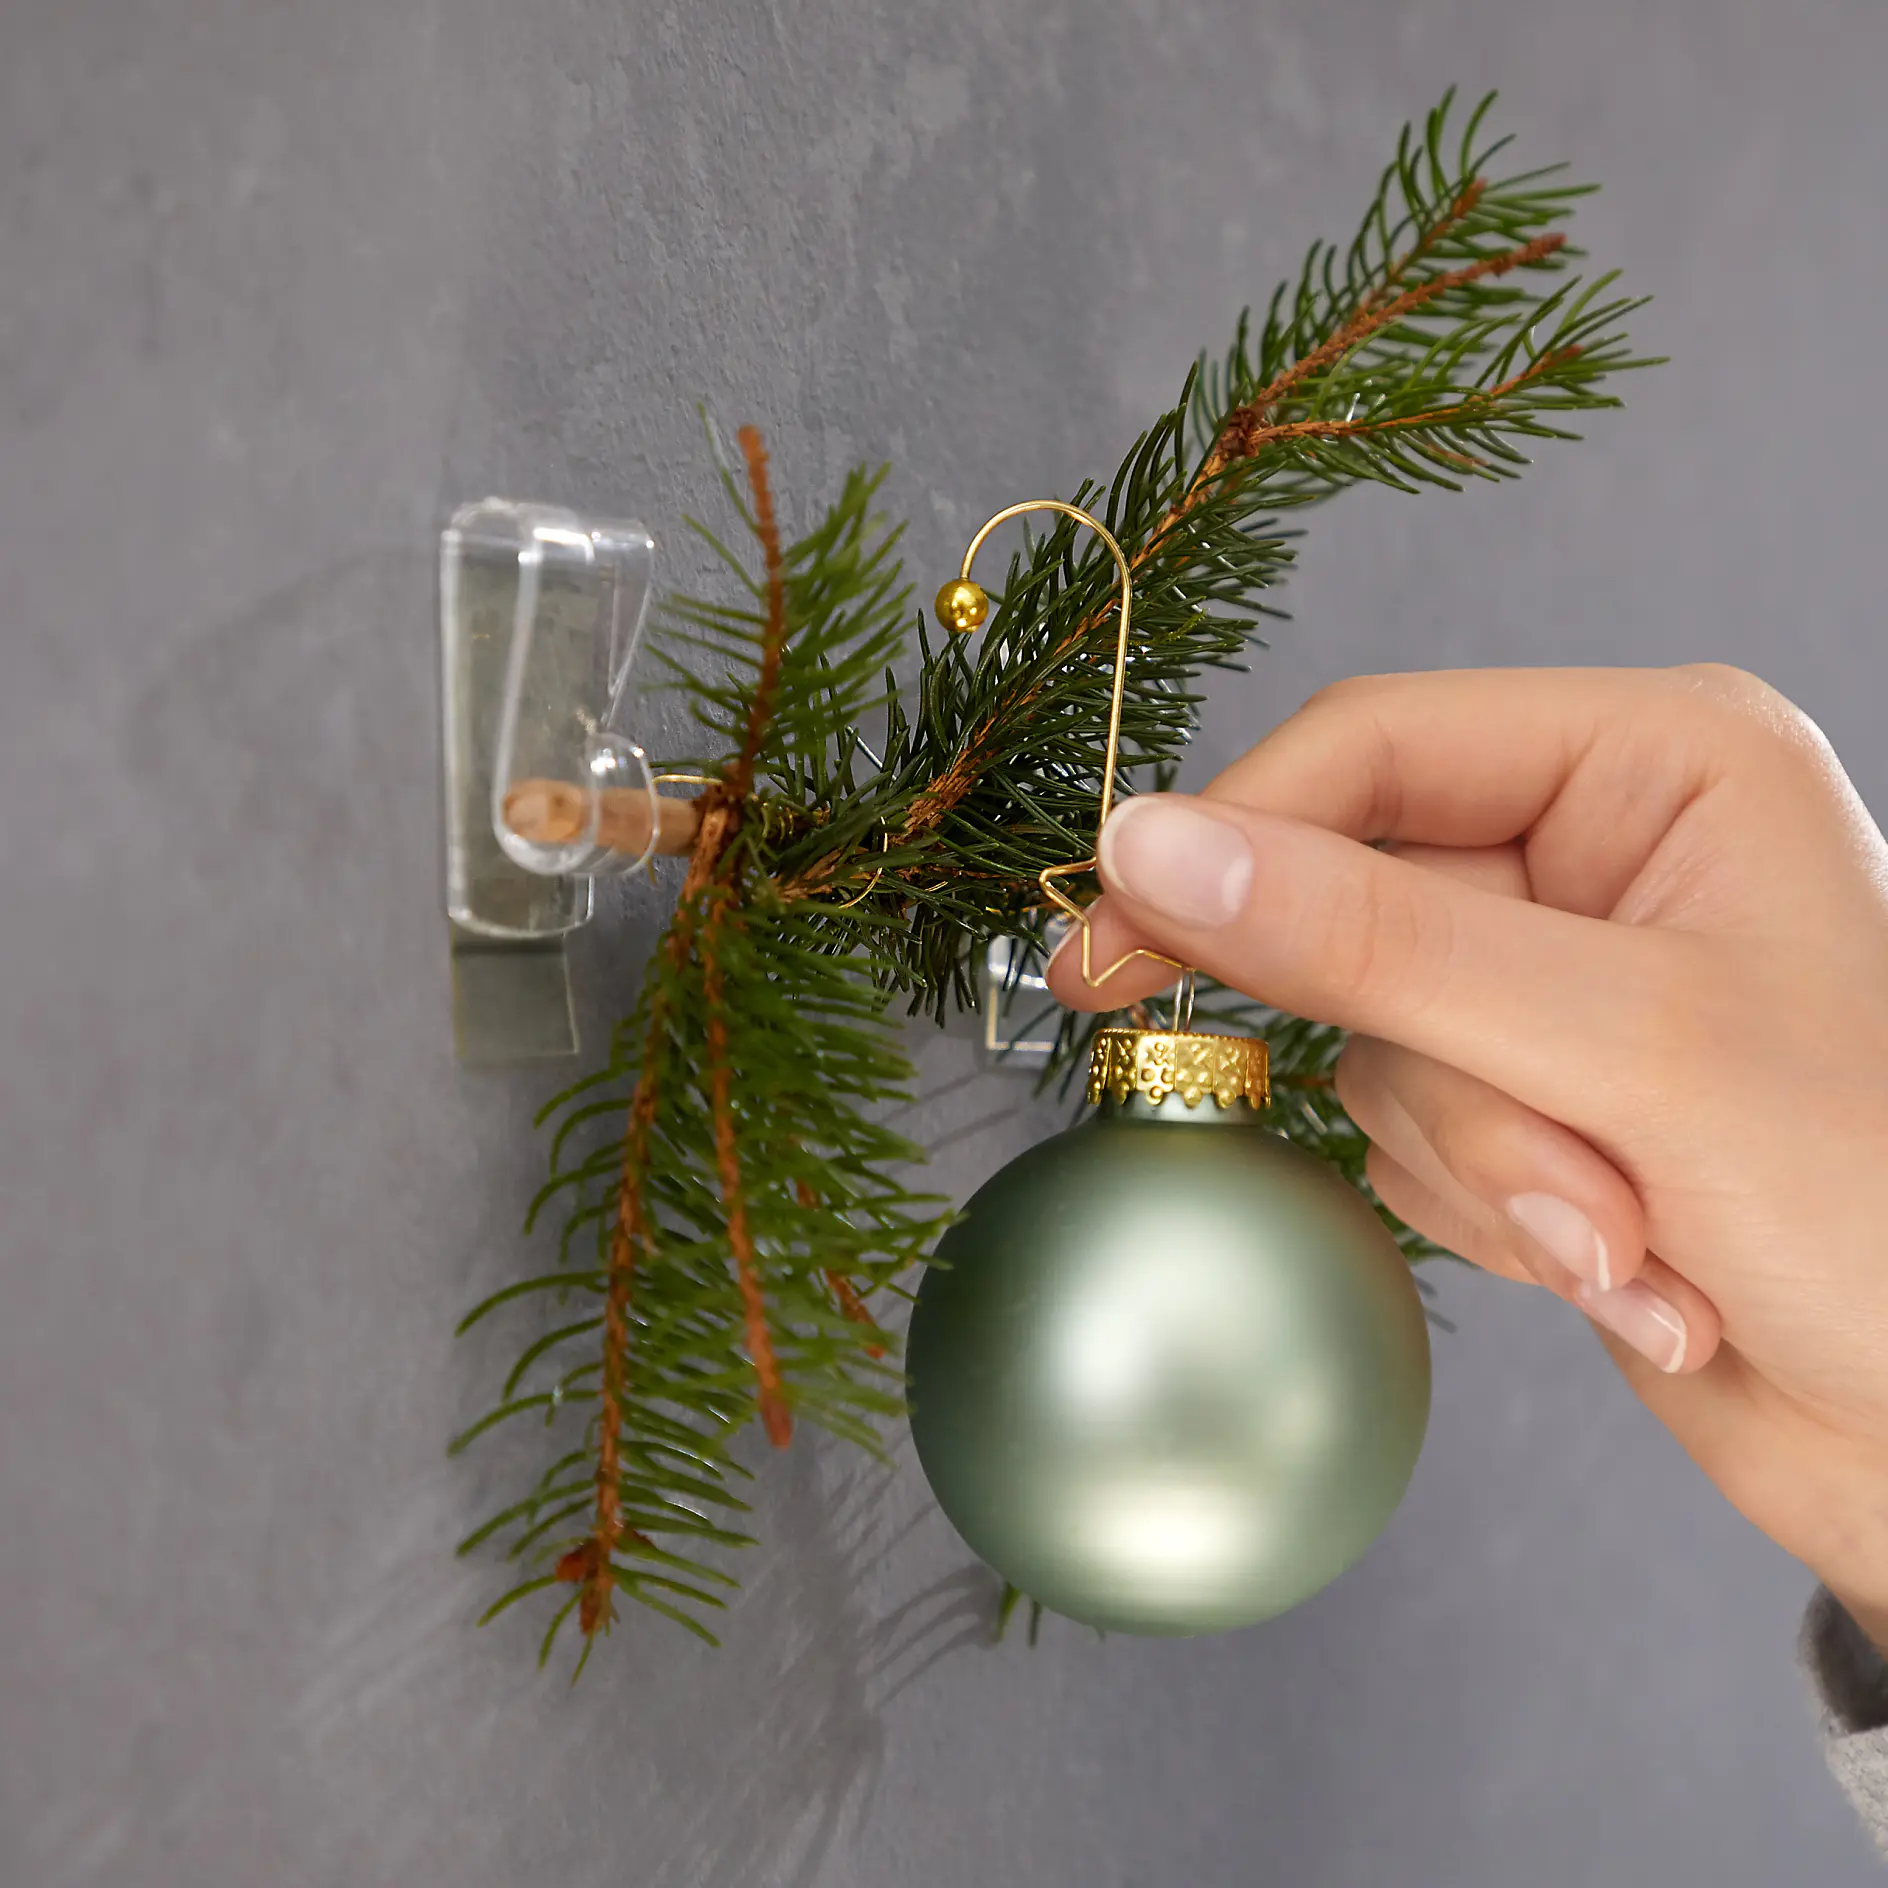
Skub træstavene gennem krogene.

A hand is hanging a green Christmas ornament on a sprig of evergreen attached to a wall using a clear tesa tape hook. The ornament has a gold cap and hook. The background is a plain gray wall. (This text has been generated by AI)
08

Pynt træet festligt med juletræspynt. 

Gør-det-selv-juletræsvægdekoration

tesa-produkter, der kræves til dette projekt

Sidst opdateret den 7. okt. 2026