01
Collect all items and let's start!
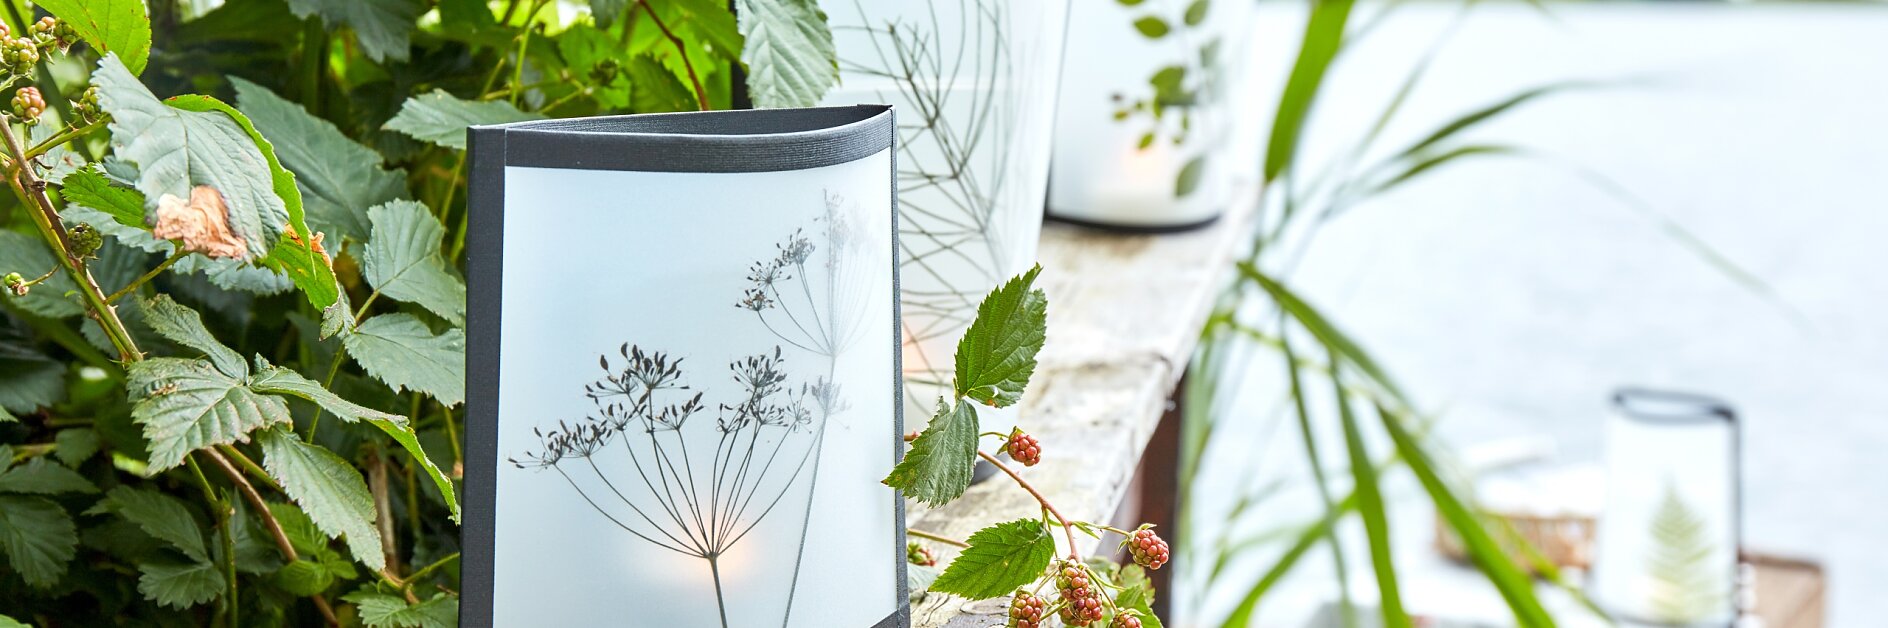
Sarte planter og blomster ser ikke blot yndige ud, når man holder picnic i naturen – når de er presset og tørret, kan de også bruges til at udsmykke lanterner med stearinlys.

Collect all items and let's start!

Cut the cover sheets as follows: large lantern 3 x 18 cm x 21 cm, small lantern 3 x 15 cm x 16 cm.

Carefully stick adhesive pads on the backside of the pressed plants and glue them onto a cut-out cover sheet. This way, they will stay in place.

Place the second cover sheet on the first.

Now border the upper and the lower edges (large - 18 cm, small - 16 cm) with the fabric tape. Simply border one side of the edge, then turn the sheet around and glue the other half of the tape around the edge. Cut off the ends. Border the single third cover sheet the same way as above.

Place both cover parts next to each other and apply a strip of fabric tape onto the center of the cut edges. On each side, leave 1 cm of tape.

Fold the ends inwards.

Fold the parts together and apply fabric tape to one half of the still open edge. On each side, leave 1 cm of tape.

Turn the sheet around, and apply the adhesive tape 3 cm above and below the edge.

Open the lantern, smooth down the rest of the fabric tape and glue the ends inwards.

Place a transparent disposable cup with a tea candle inside the lantern.

