Spiegel

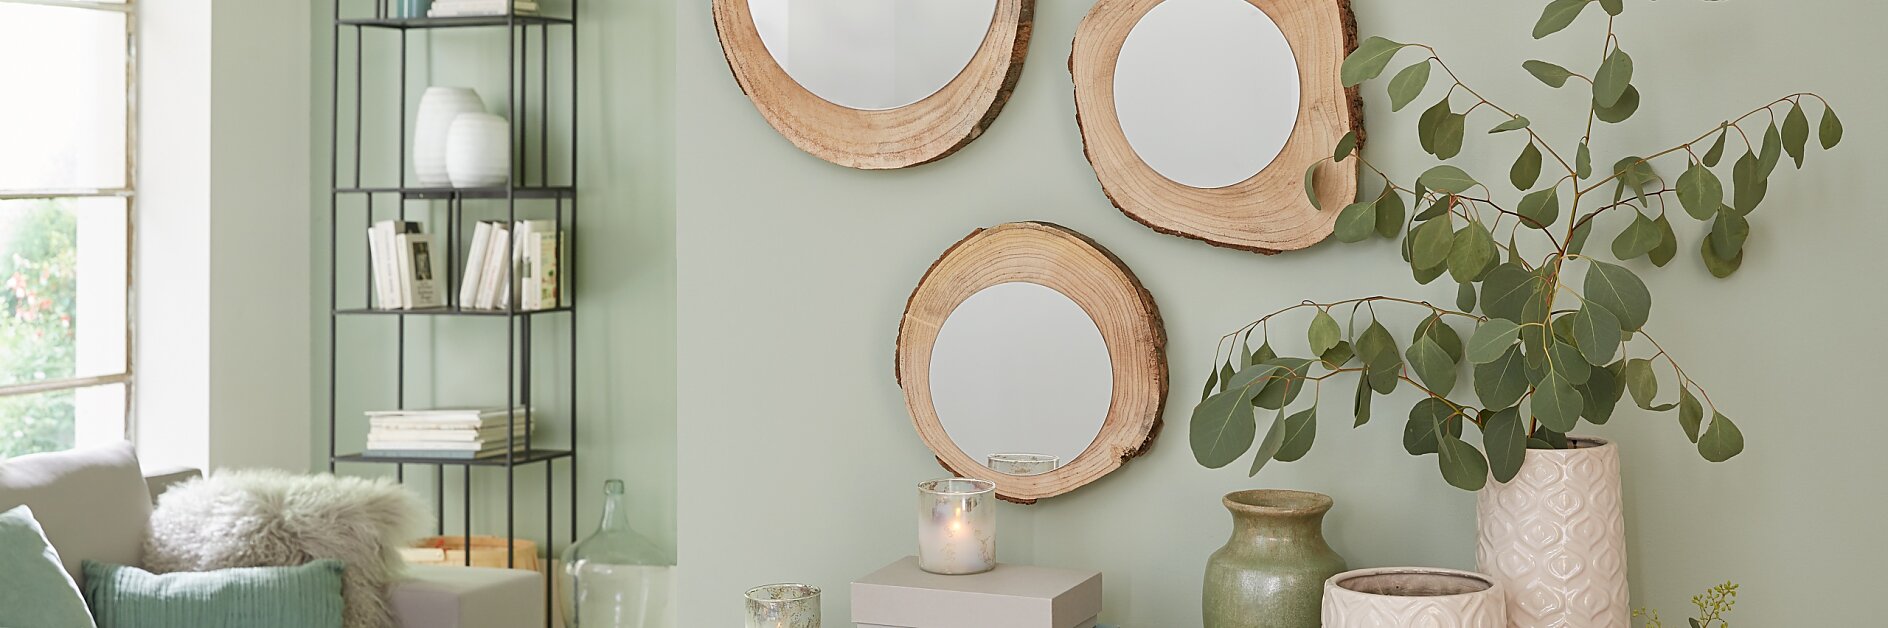
Wer die Schönste im ganzen Land ist, wissen wir auch nicht, aber in welchen Spiegeln sie sich am besten anschauen kann, ist keine Frage: in diesen, die auf Holzscheiben kleben!

Schwierigkeitsgrad Originell und schnell
Dauer in Minuten 30

Das brauchen wir:

gut getrocknete Baumscheiben in unterschiedlichen Größen runde Spiegel, jeweils etwas kleiner als die Baumscheiben kleine Ringschrauben Draht Schere tesa Powerbond® Montageband ULTRA STRONG tesa® Klebenagel für Tapete und Putz (2 kg)


Zeitaufwand: ca. ½ Stunde

Und so wird's gemacht:

A crafting setup with wooden slices, round white papers, tesa tape strips, string, a paper roll, scissors, and a wire cutter on a cutting mat. A white chair is partially visible at the bottom. (This text has been generated by AI)
01

Alles bereitlegen und los geht's!

A person is applying strips of red tesa tape onto a round black surface. A pair of red scissors and a grid-patterned cutting mat are in the background. (This text has been generated by AI)
02

Spiegel sorgfältig von hinten reinigen, Baumscheiben ebenfalls reinigen und von losen Teilen befreien. Mehrere Streifen Powerbond® parallel hinten auf die Spiegel kleben. Jeweils 5 Sekunden fest andrücken.


A person peels the backing off adhesive strips on a circular black object, placed on a cutting mat. Scissors and a piece of round wood are nearby, alongside tesa tape. (This text has been generated by AI)
03

Schutzfolien abziehen.


Close-up of a person placing a round mirror on a wood slice. Another similar mirror is nearby. The scene includes a cutting mat, red scissors, measuring tape, and tesa tape on a wooden surface. (This text has been generated by AI)
04

Spiegel fest auf jeweils eine Baumscheibe drücken. Für die Aufhängung je zwei Ringschrauben in etwas Abstand hinten in die Baumscheiben eindrehen und Draht an den Schrauben befestigen.


A person applies a tesa tape strip to the back of a frame. The tesa tape has a blue tab for easy peeling and text printed in red on the sticky side. The background includes a light-colored wall and part of a wooden surface. (This text has been generated by AI)
05

Wandfläche gründlich von Staub befreien und Powerstrips® vom Blatt abziehen.


Two hands affix a white strip of tesa tape to a light green wall. Wooden round wall decorations are partially visible. The person wears a long-sleeved gray shirt. (This text has been generated by AI)
06

Auf die gewünschte Stelle an die Wand kleben und 5 Sekunden fest andrücken.


A hand is peeling off a tesa tape adhesive strip on a wall. The wall is painted light green. Two round mirrors with wooden frames are visible, one partially out of the frame on the left side. (This text has been generated by AI)
07

Schutzfolien abziehen.


Hands applying a white tesa tape strip to a light green wall, between round wooden-framed mirrors. The person is wearing a gray long-sleeve shirt. (This text has been generated by AI)
08

Klebenagel auf den Powerstrips® aufkleben und 5 Sekunden fest andrücken. Spiegel aufhängen.


Verwendete tesa Produkte für dieses Projekt