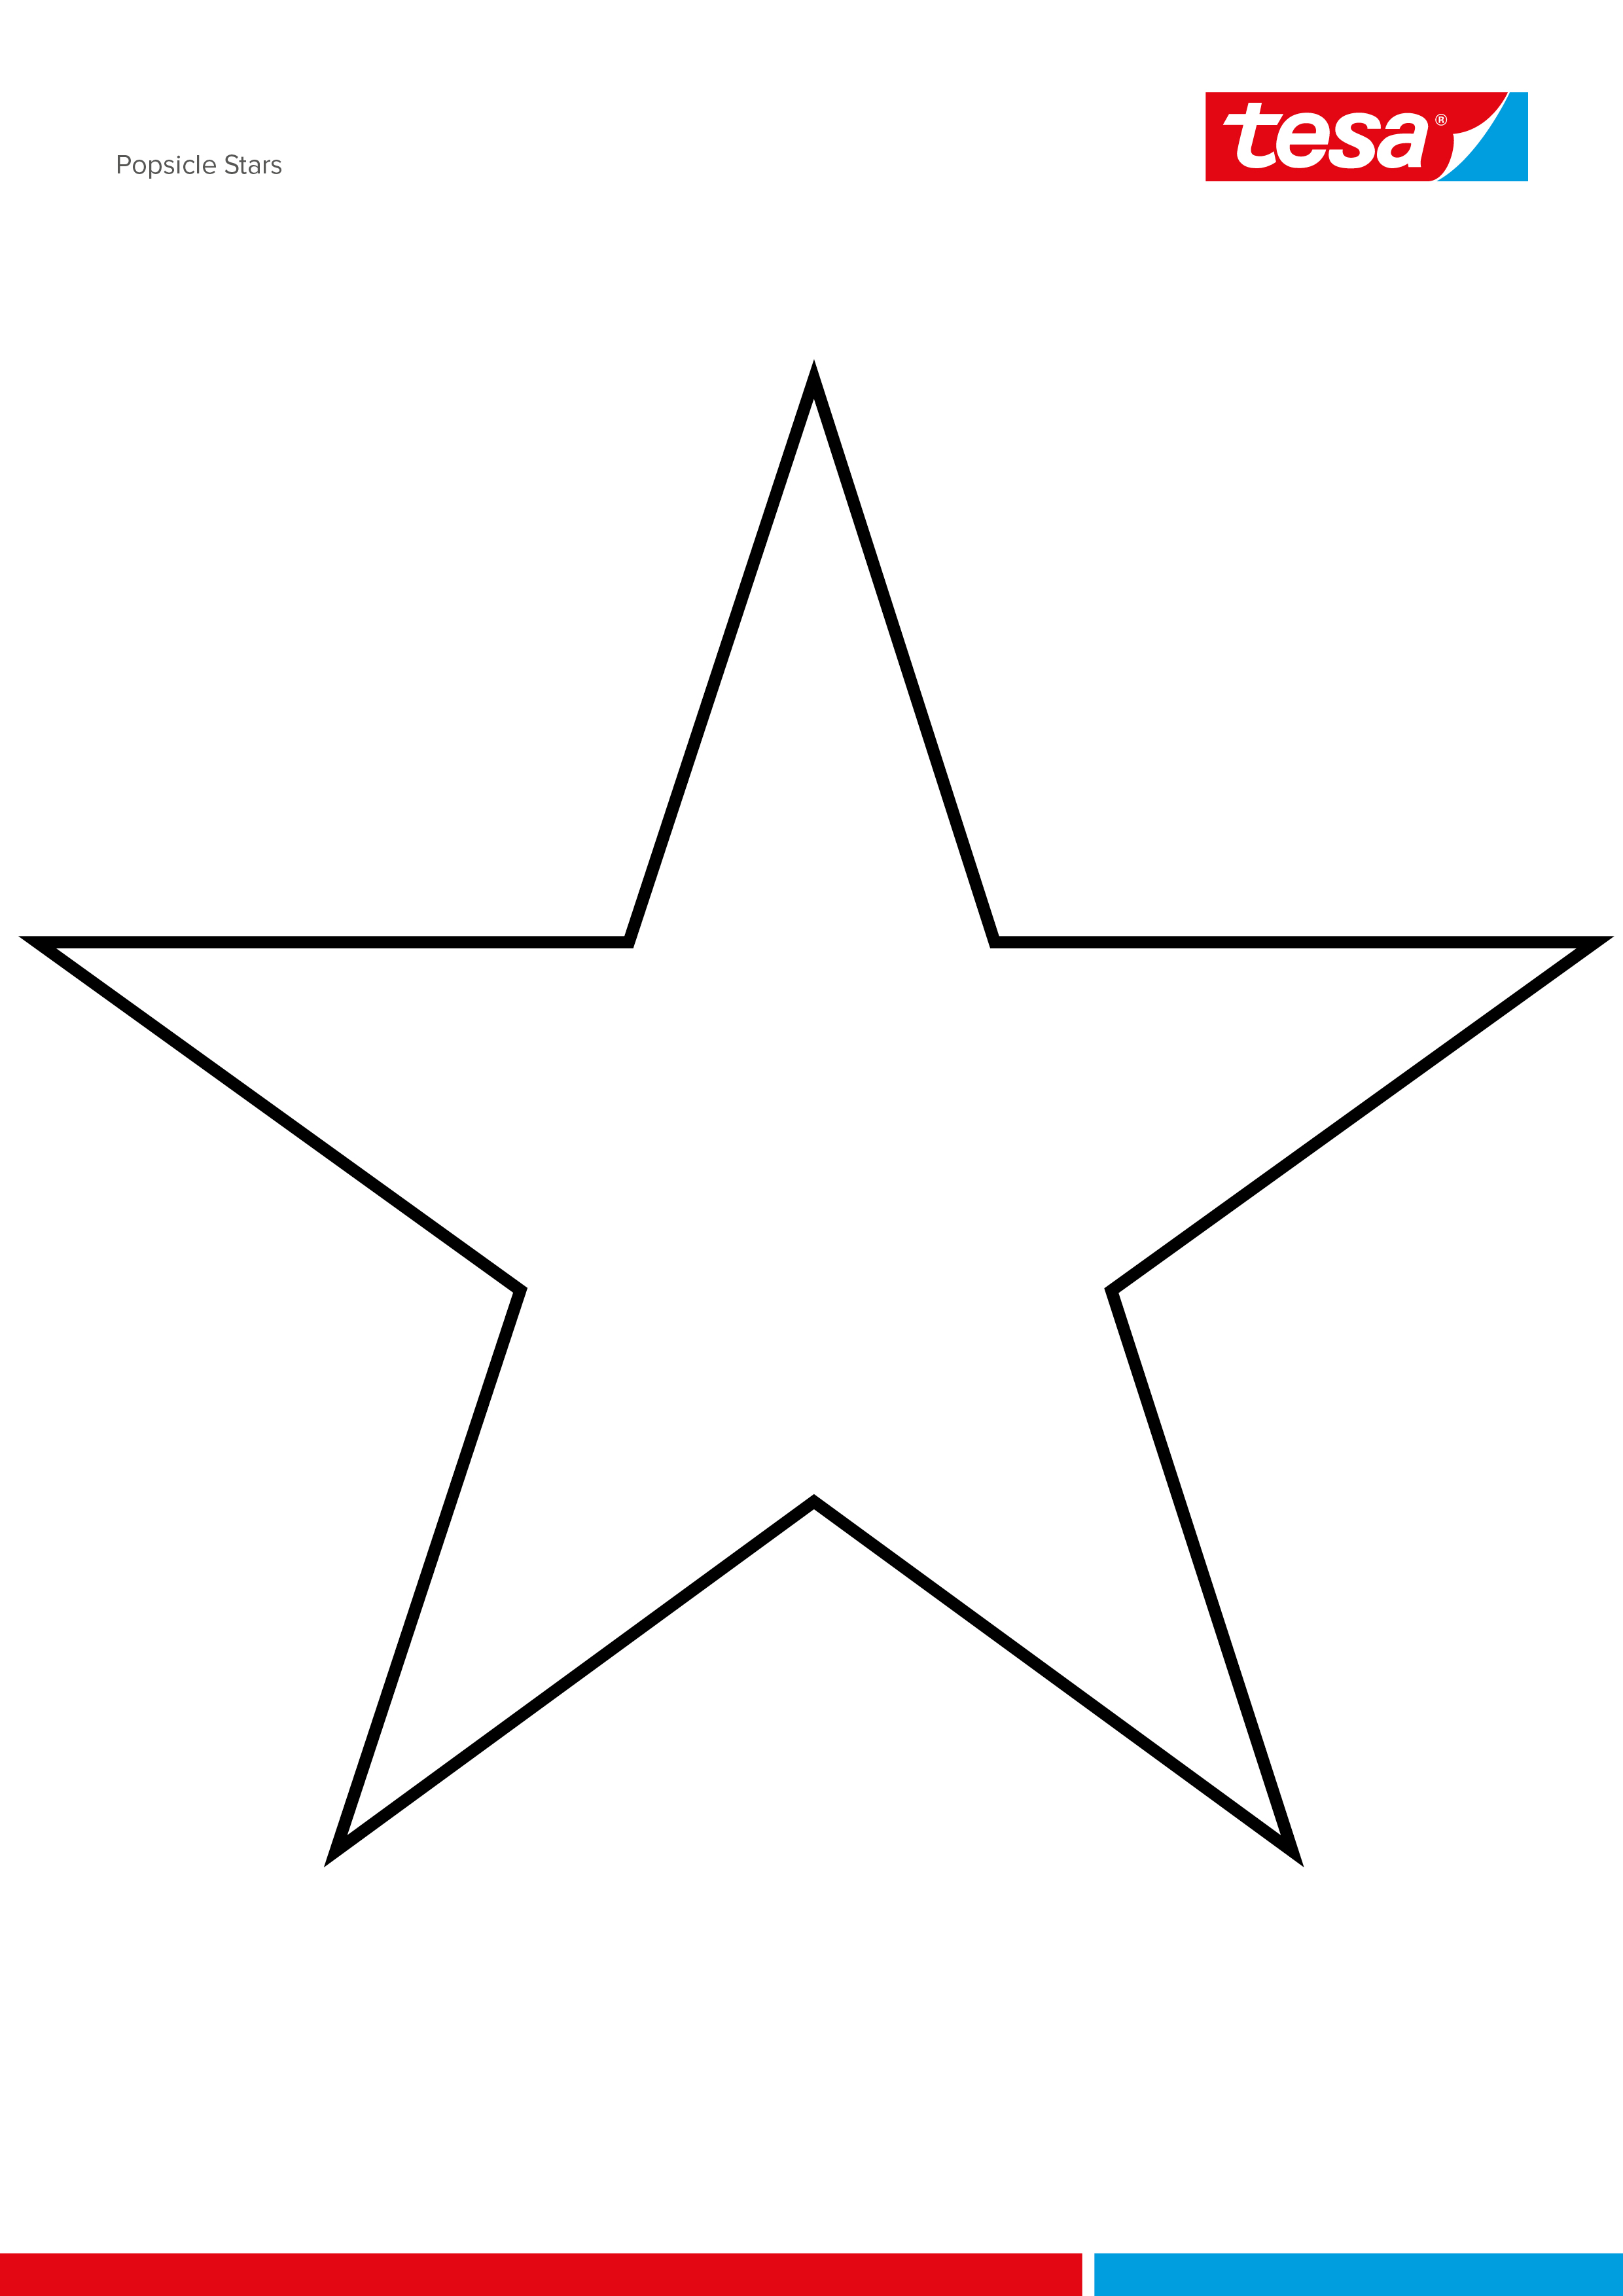
Eisstiel-Sterne

Nicht nur Kinder lieben Eis! Aber keine Sorge, um die zackige Wanddekoration aus Eisstielen zu basteln, muss nicht unmäßig geschleckert werden – es gibt die Stiele auch im Bastelbedarf zu kaufen.

Schwierigkeitsgrad Originell und schnell

Wir benötigen:

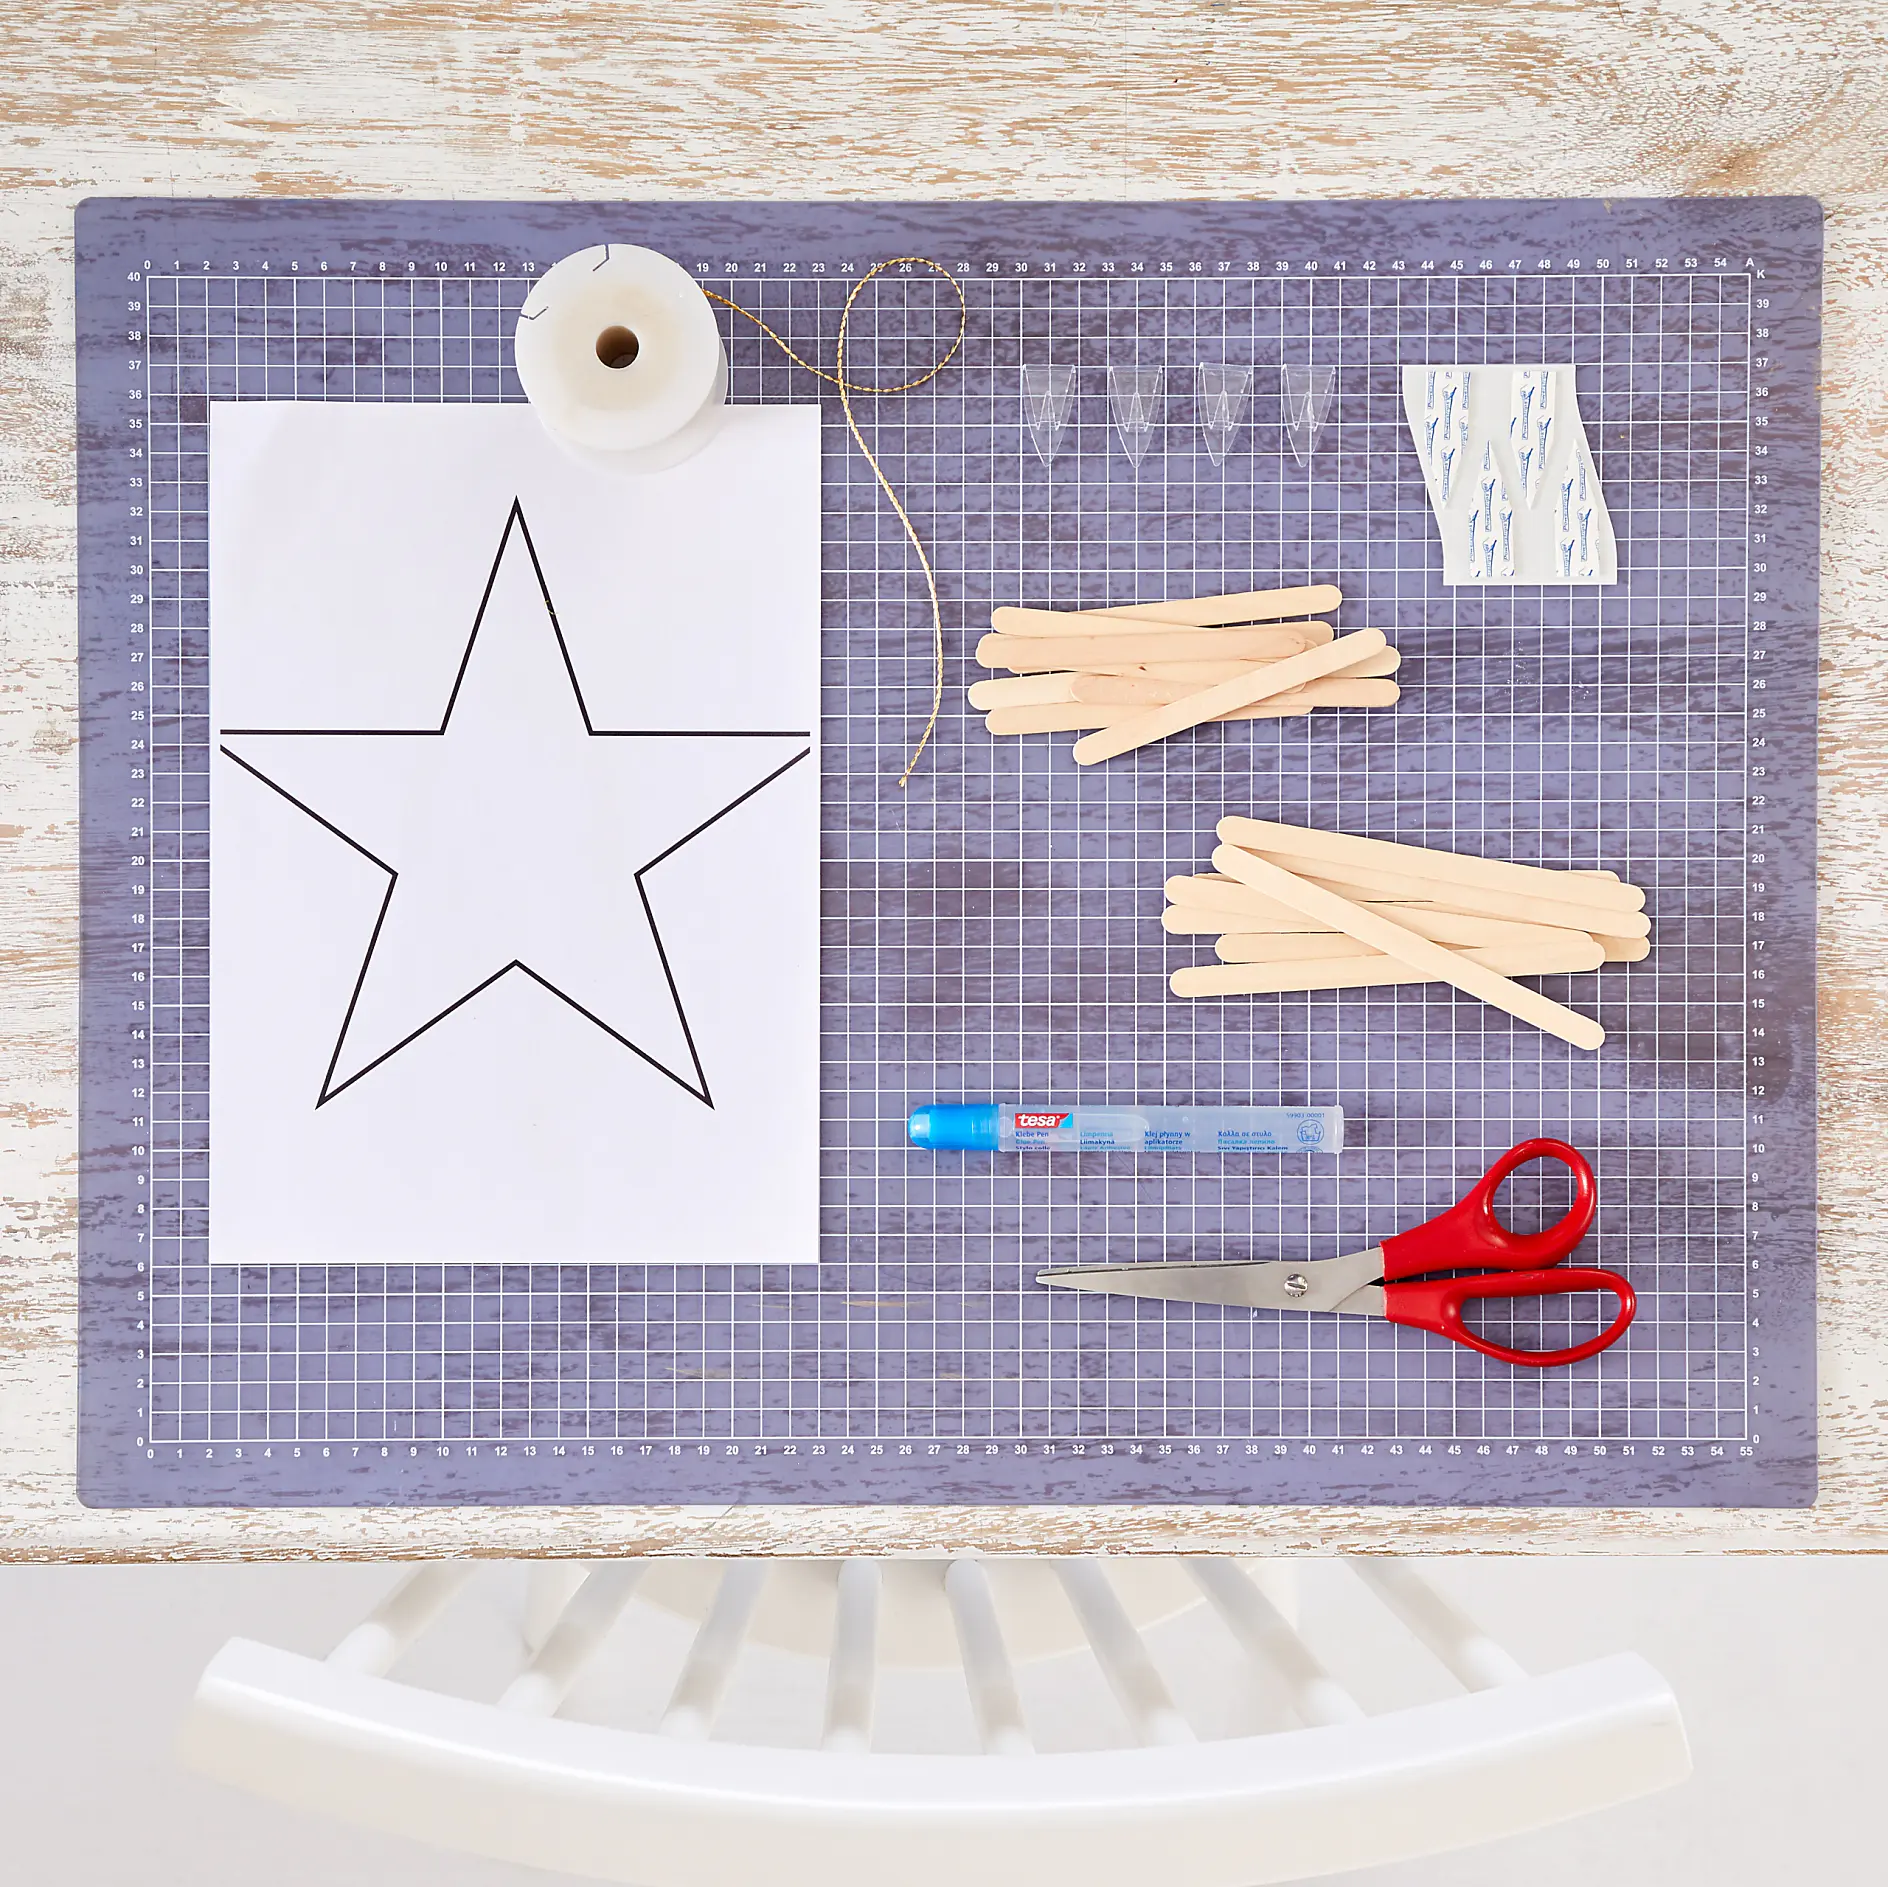
Holzstiele für Eis 11 und 15 cm lang goldenes Band zum Aufhängen Schere Vorlage Stern

Und so wird's gemacht:

A crafting setup on a table includes a printed star outline on paper, a spool of thread, wooden sticks, a glue stick, scissors, tesa tape adhesive hooks. Everything is arranged neatly on a cutting mat. A white chair is partially visible at the bottom. (This text has been generated by AI)
01

Alles bereitlegen und los geht's!

 

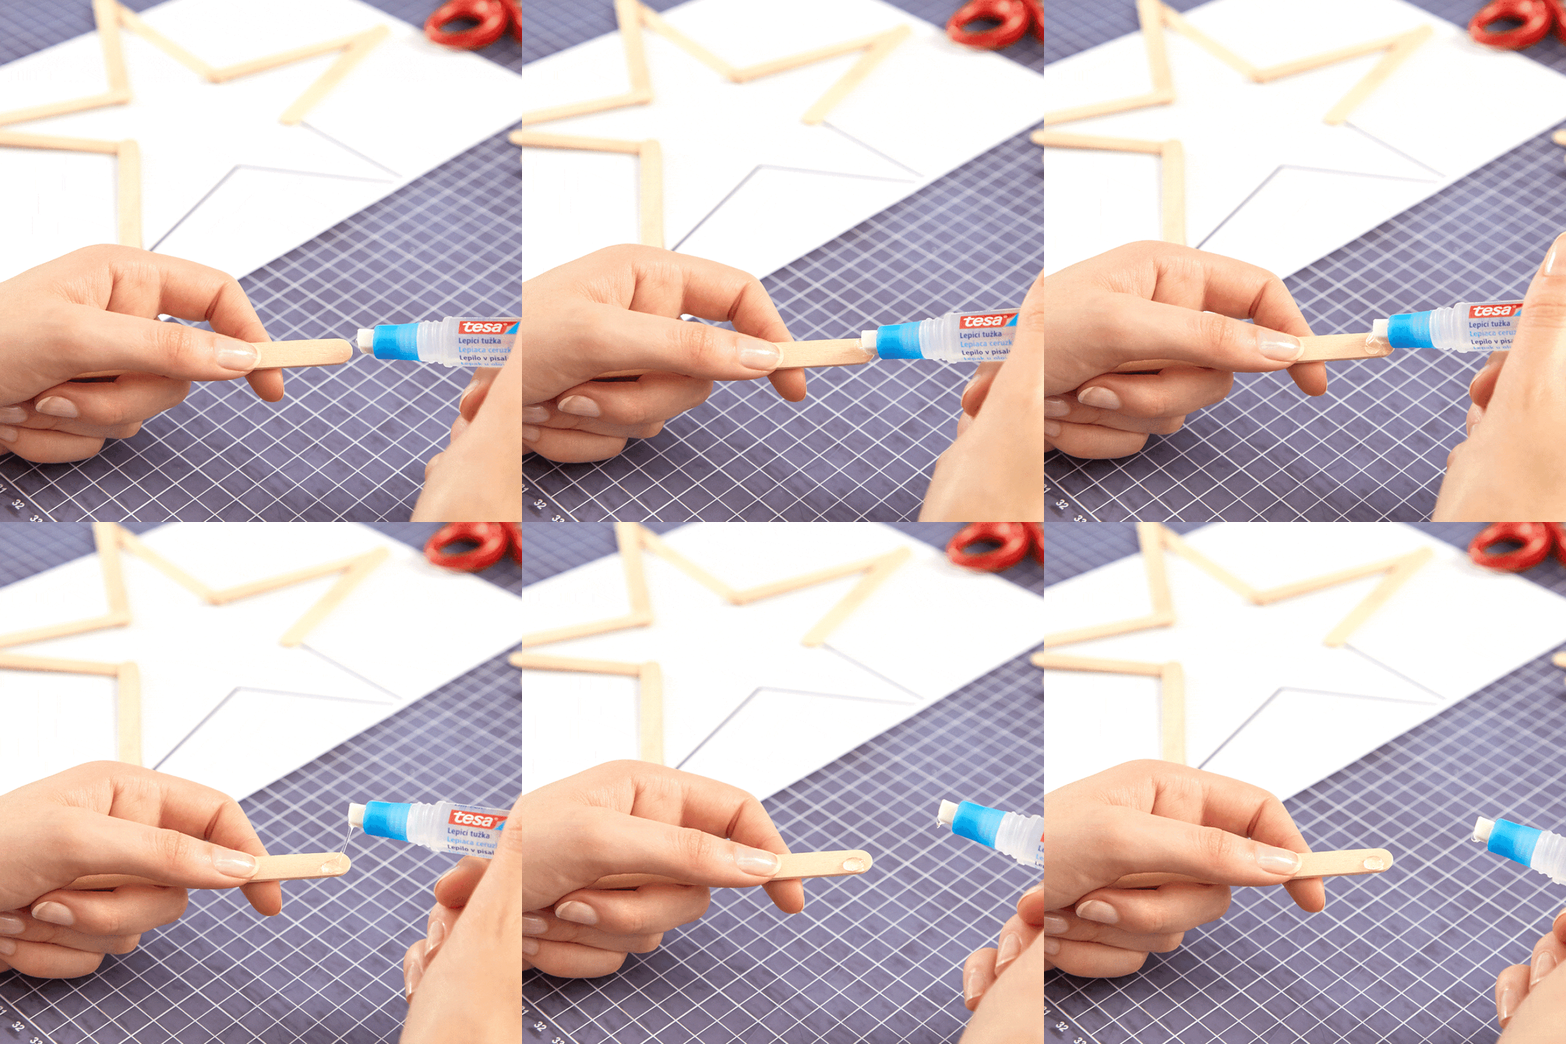
A person applying glue from a tube onto the end of a wooden craft stick, with other sticks arranged in a star shape on a piece of paper in the background. The scene is on a cutting mat with a grid pattern alongside tesa tape. (This text has been generated by AI)
02

Vorlage ausdrucken. Die 11 cm langen Holzstiele auf der Schablone zum Stern legen. Klebstoff an den Enden mit dem Klebe Pen auftragen.
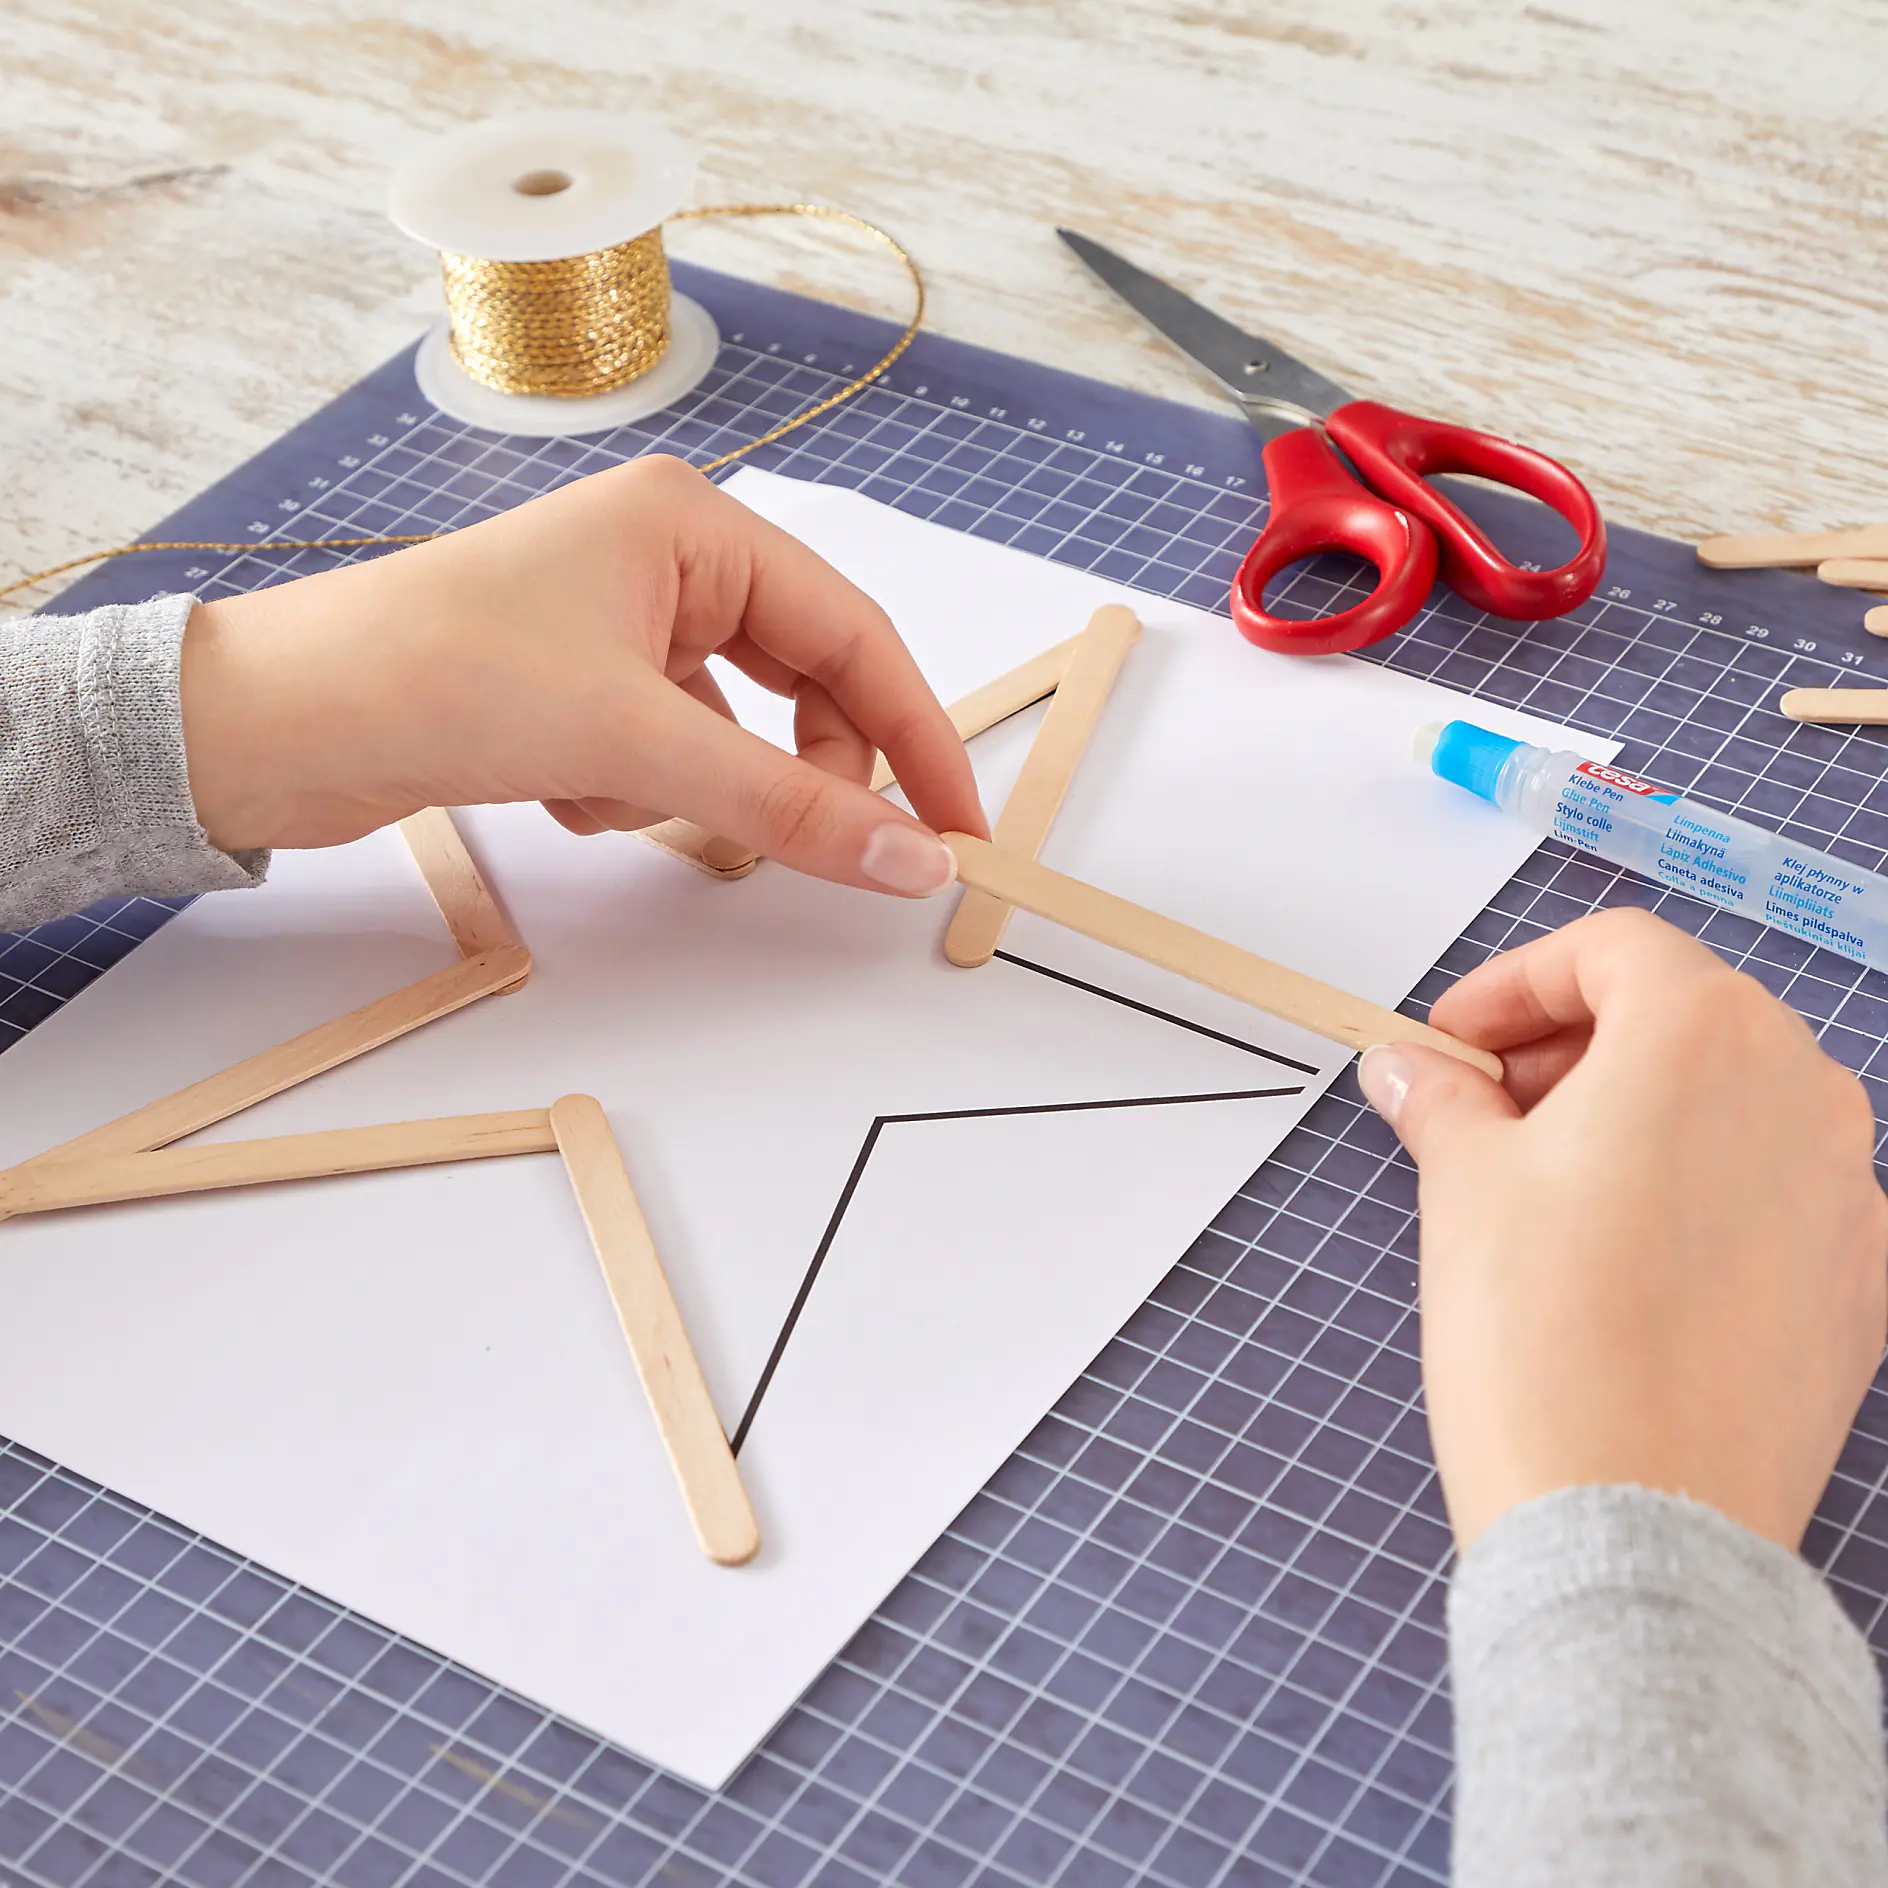
Hands assembling a star shape using wooden popsicle sticks on a piece of paper with an outline. A spool of golden thread, scissors, and a glue stick are on a grid-patterned cutting mat, along with some tesa tape. (This text has been generated by AI)
03

Holzstiele aufeinanderkleben. Bei dem großen Stern aus den 15 cm langen Stielen richtet man sich nach den inneren Ecken der Vorlage – die Spitzen ergeben sich dann daraus.

Band zum Aufhängen an den Sternen befestigen und Stern evt. mit kleinen Zweigen dekorieren.
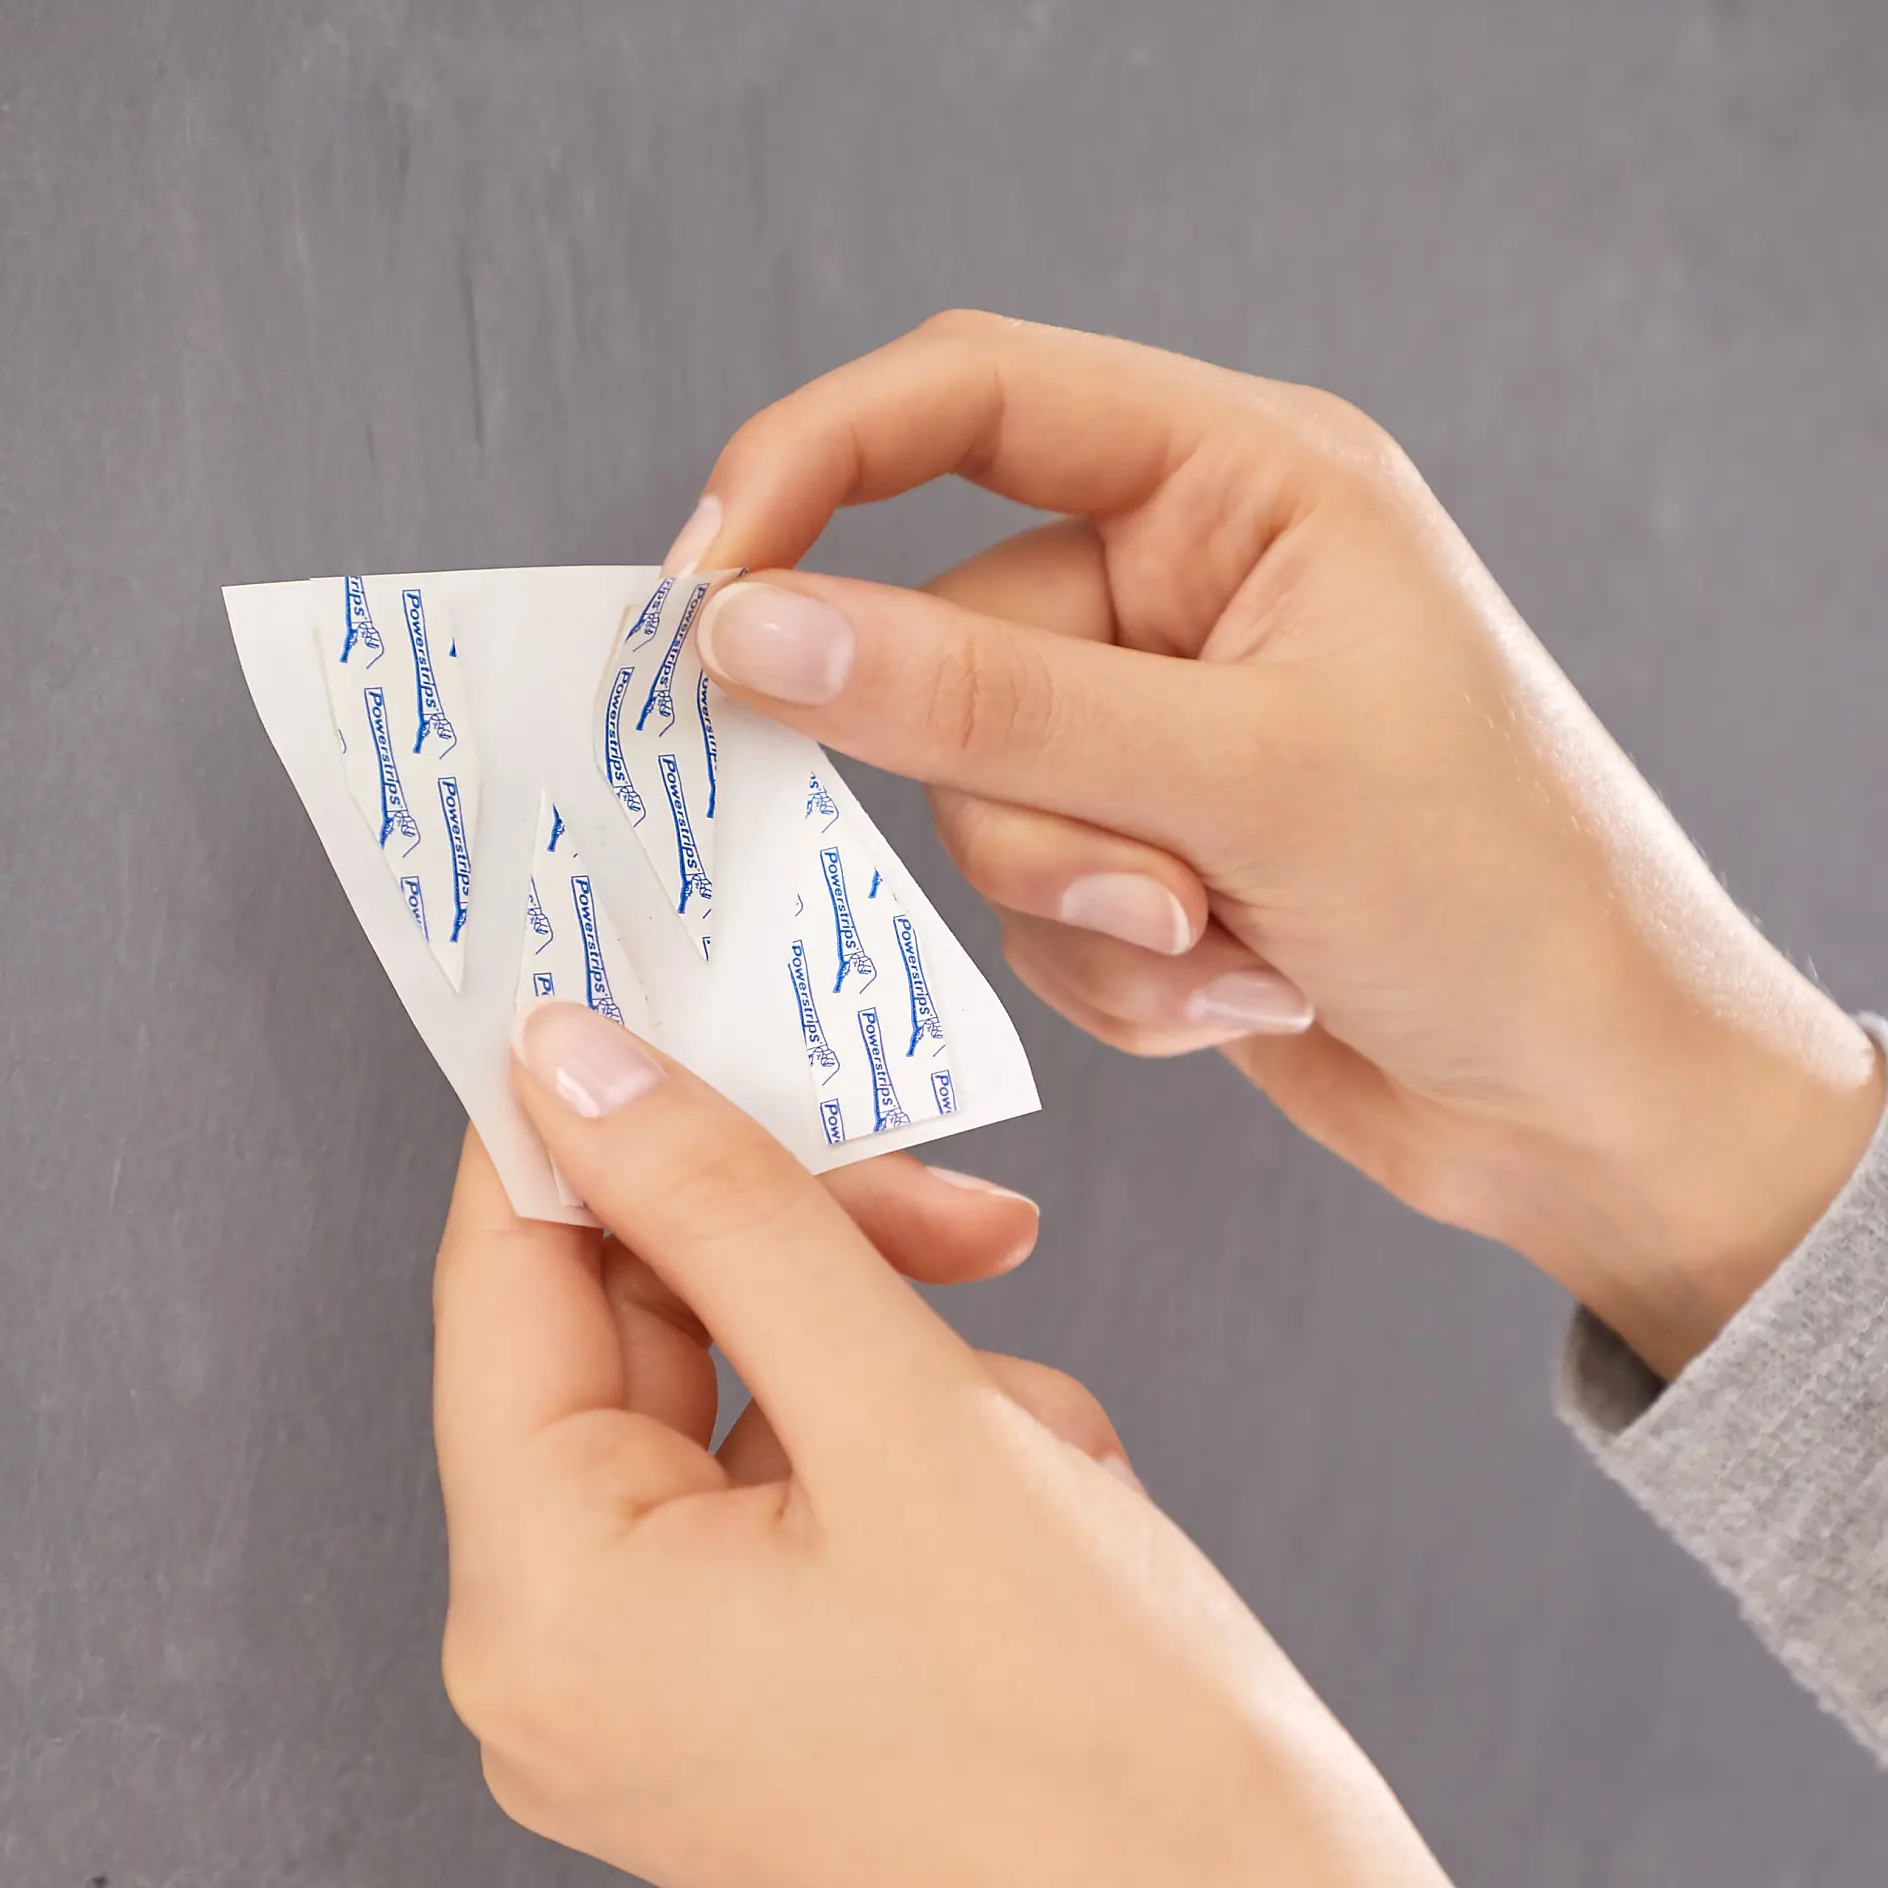
A person is peeling the backing off adhesive strips on a gray surface. The strips have tesa tape text on them. The persons hands are visible, and they have neatly trimmed nails. The background is blurred and neutral in color. (This text has been generated by AI)
04

Wandfläche vom Staub befreien, Powerstrip® vom Blatt abziehen.
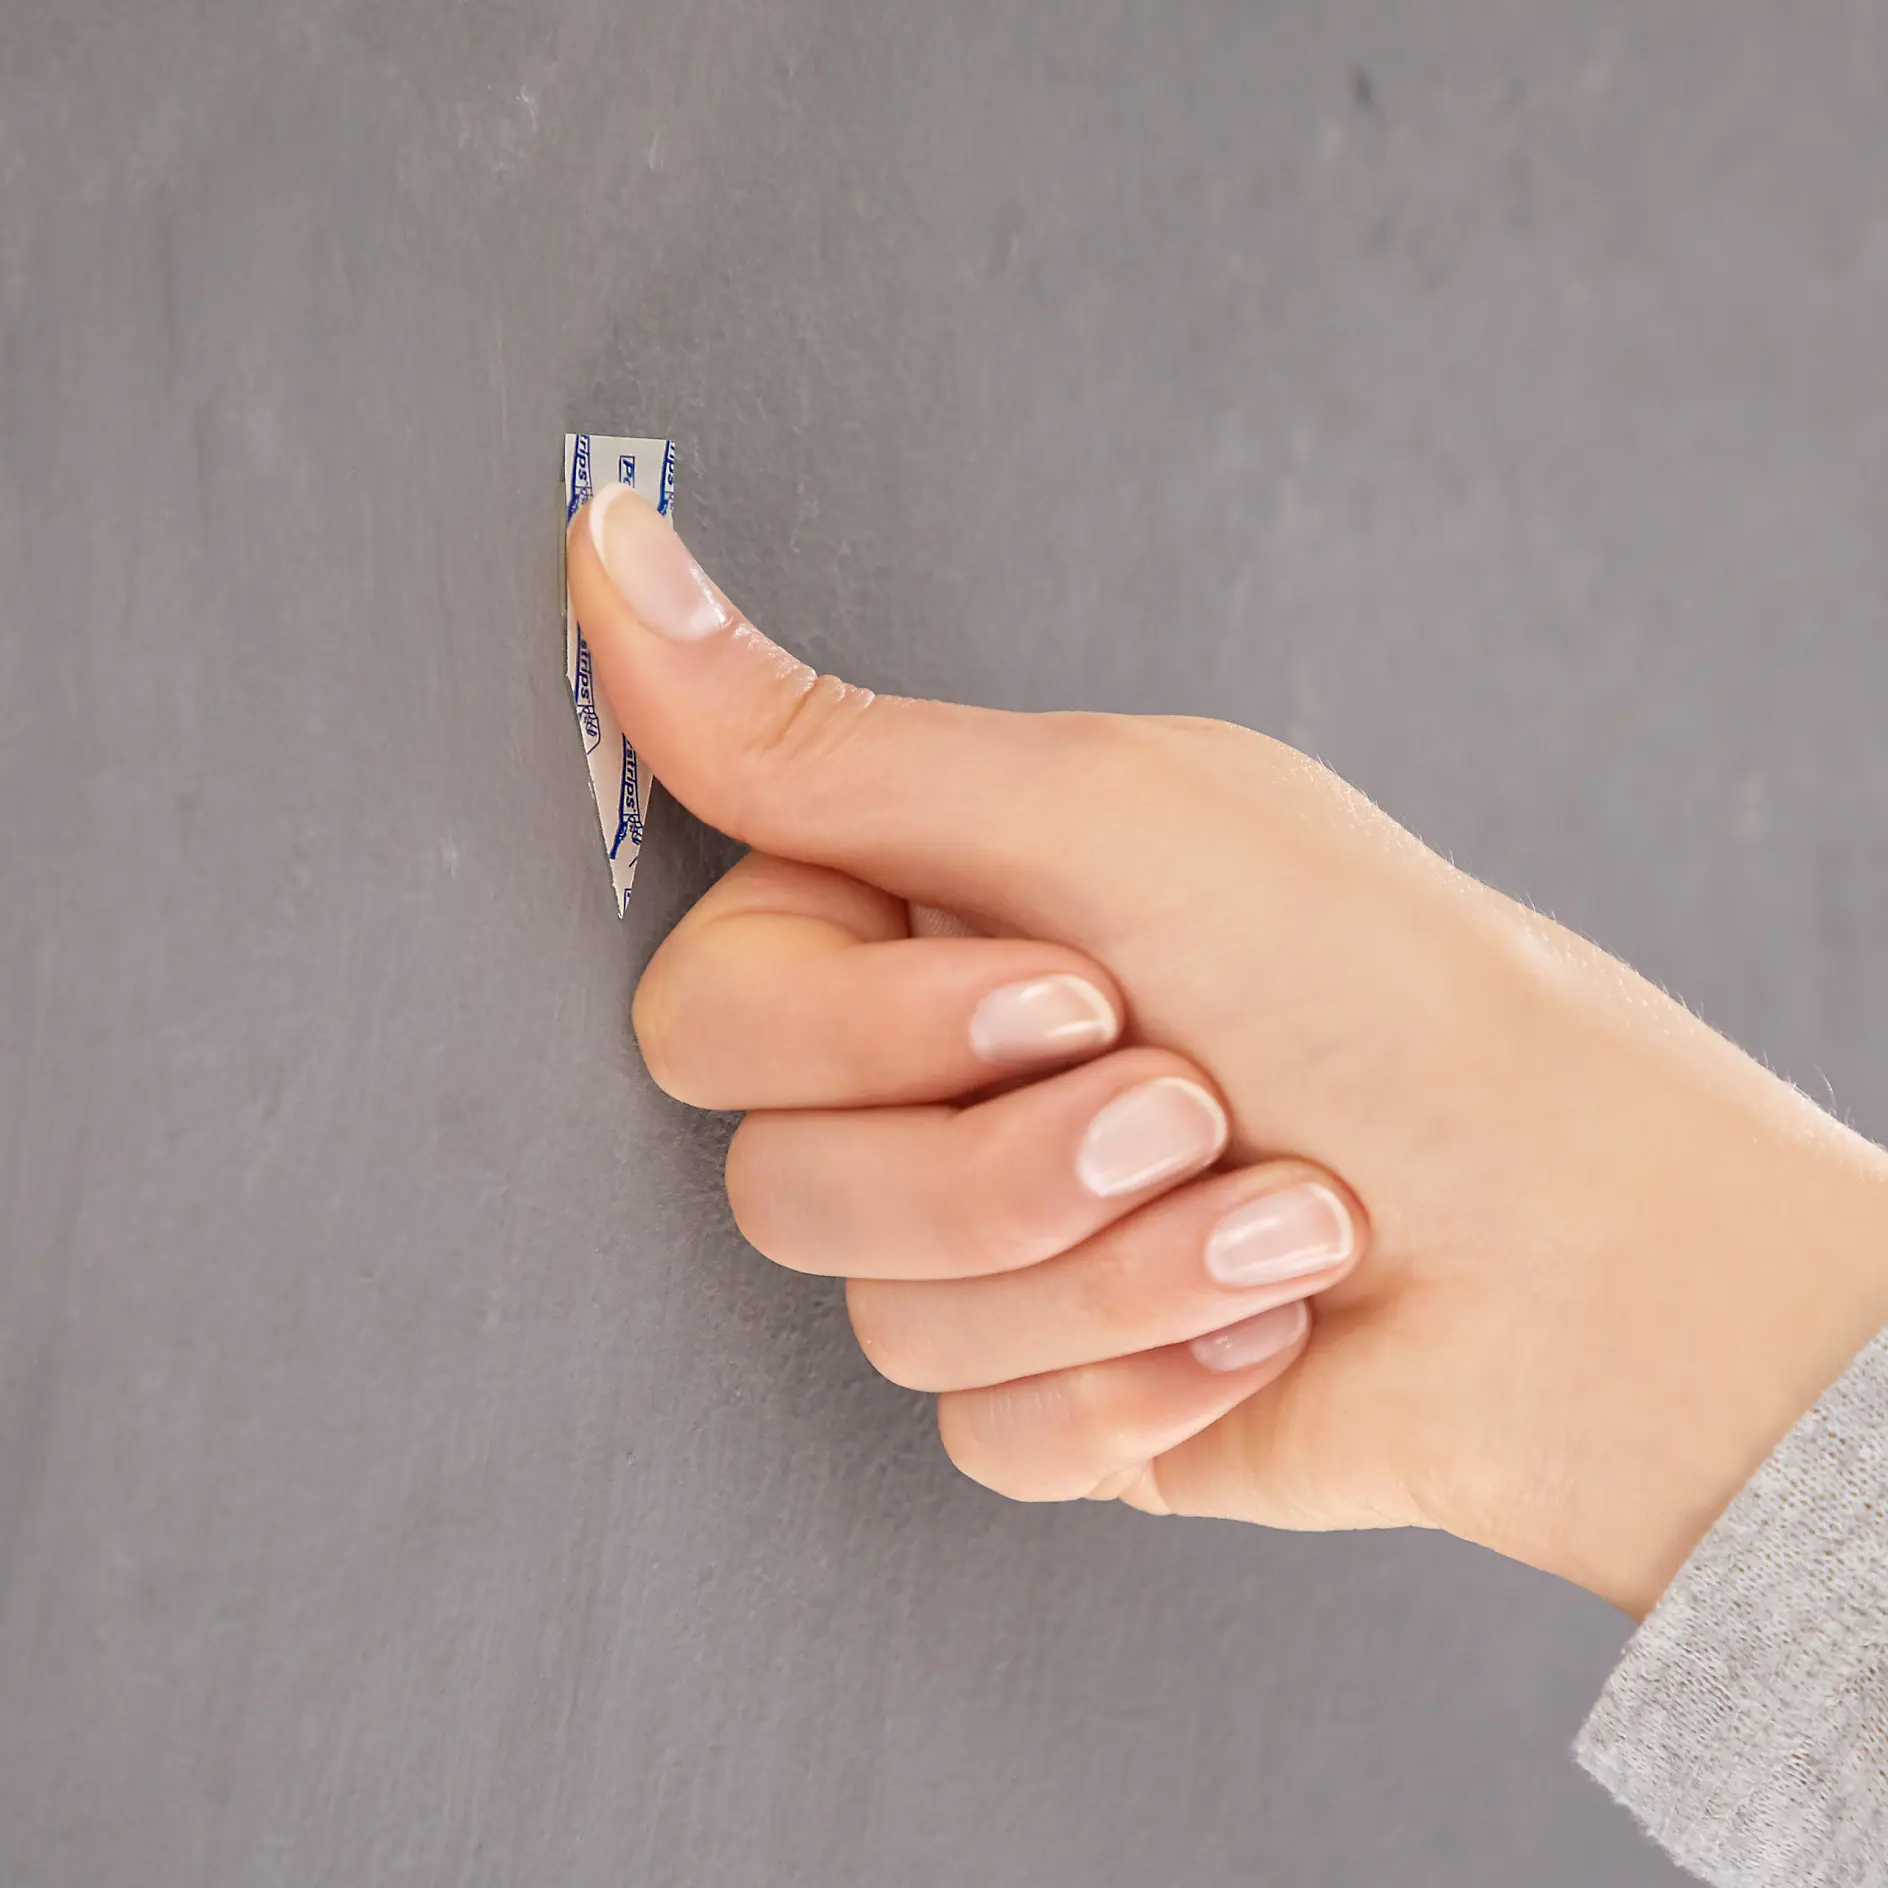
A hand is pinching two tiny folded dollar bills against a gray wall using tesa tape. The thumb and index finger are visible, showing neatly manicured nails. The background is plain and unembellished. (This text has been generated by AI)
05

Powerstrip® an der gewünschten Stelle auf die Wand kleben und 5 Sekunden an mehreren Stellen fest andrücken.
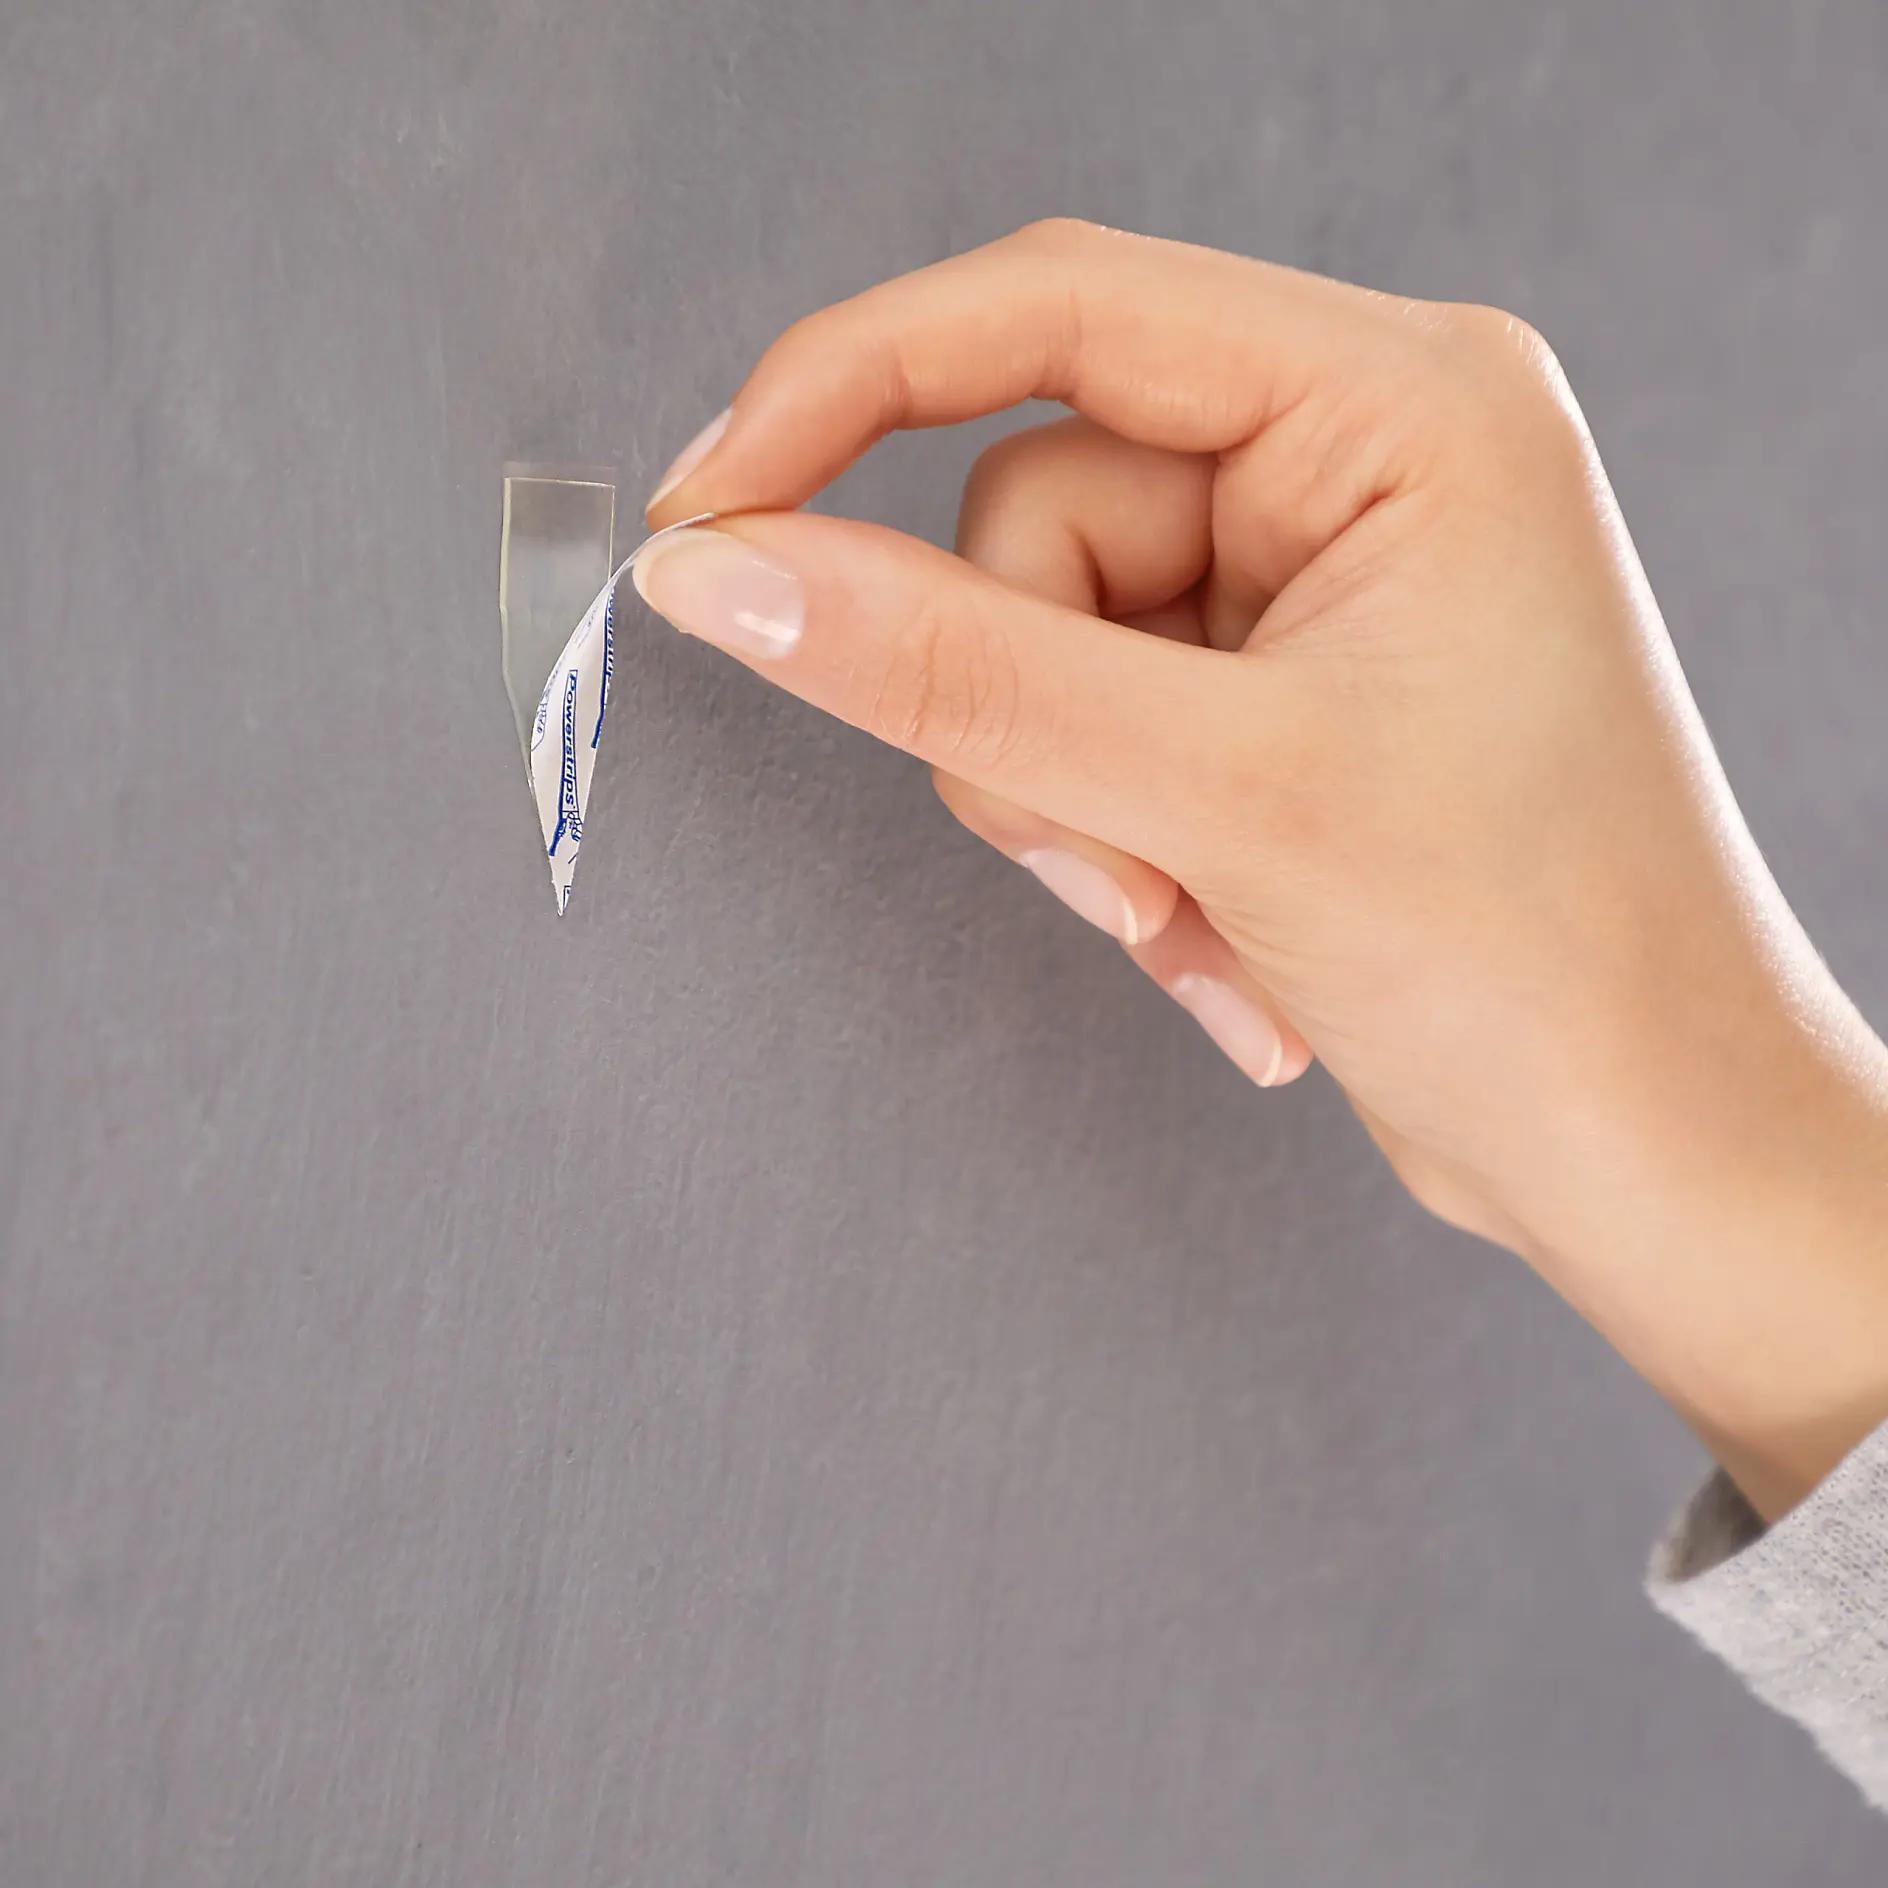
 

A hand is peeling a small adhesive hook from a gray wall. The hook is transparent with visible backing paper being removed, showcasing a neat installation process using tesa tape. (This text has been generated by AI)
06

Schutzfolie abziehen.

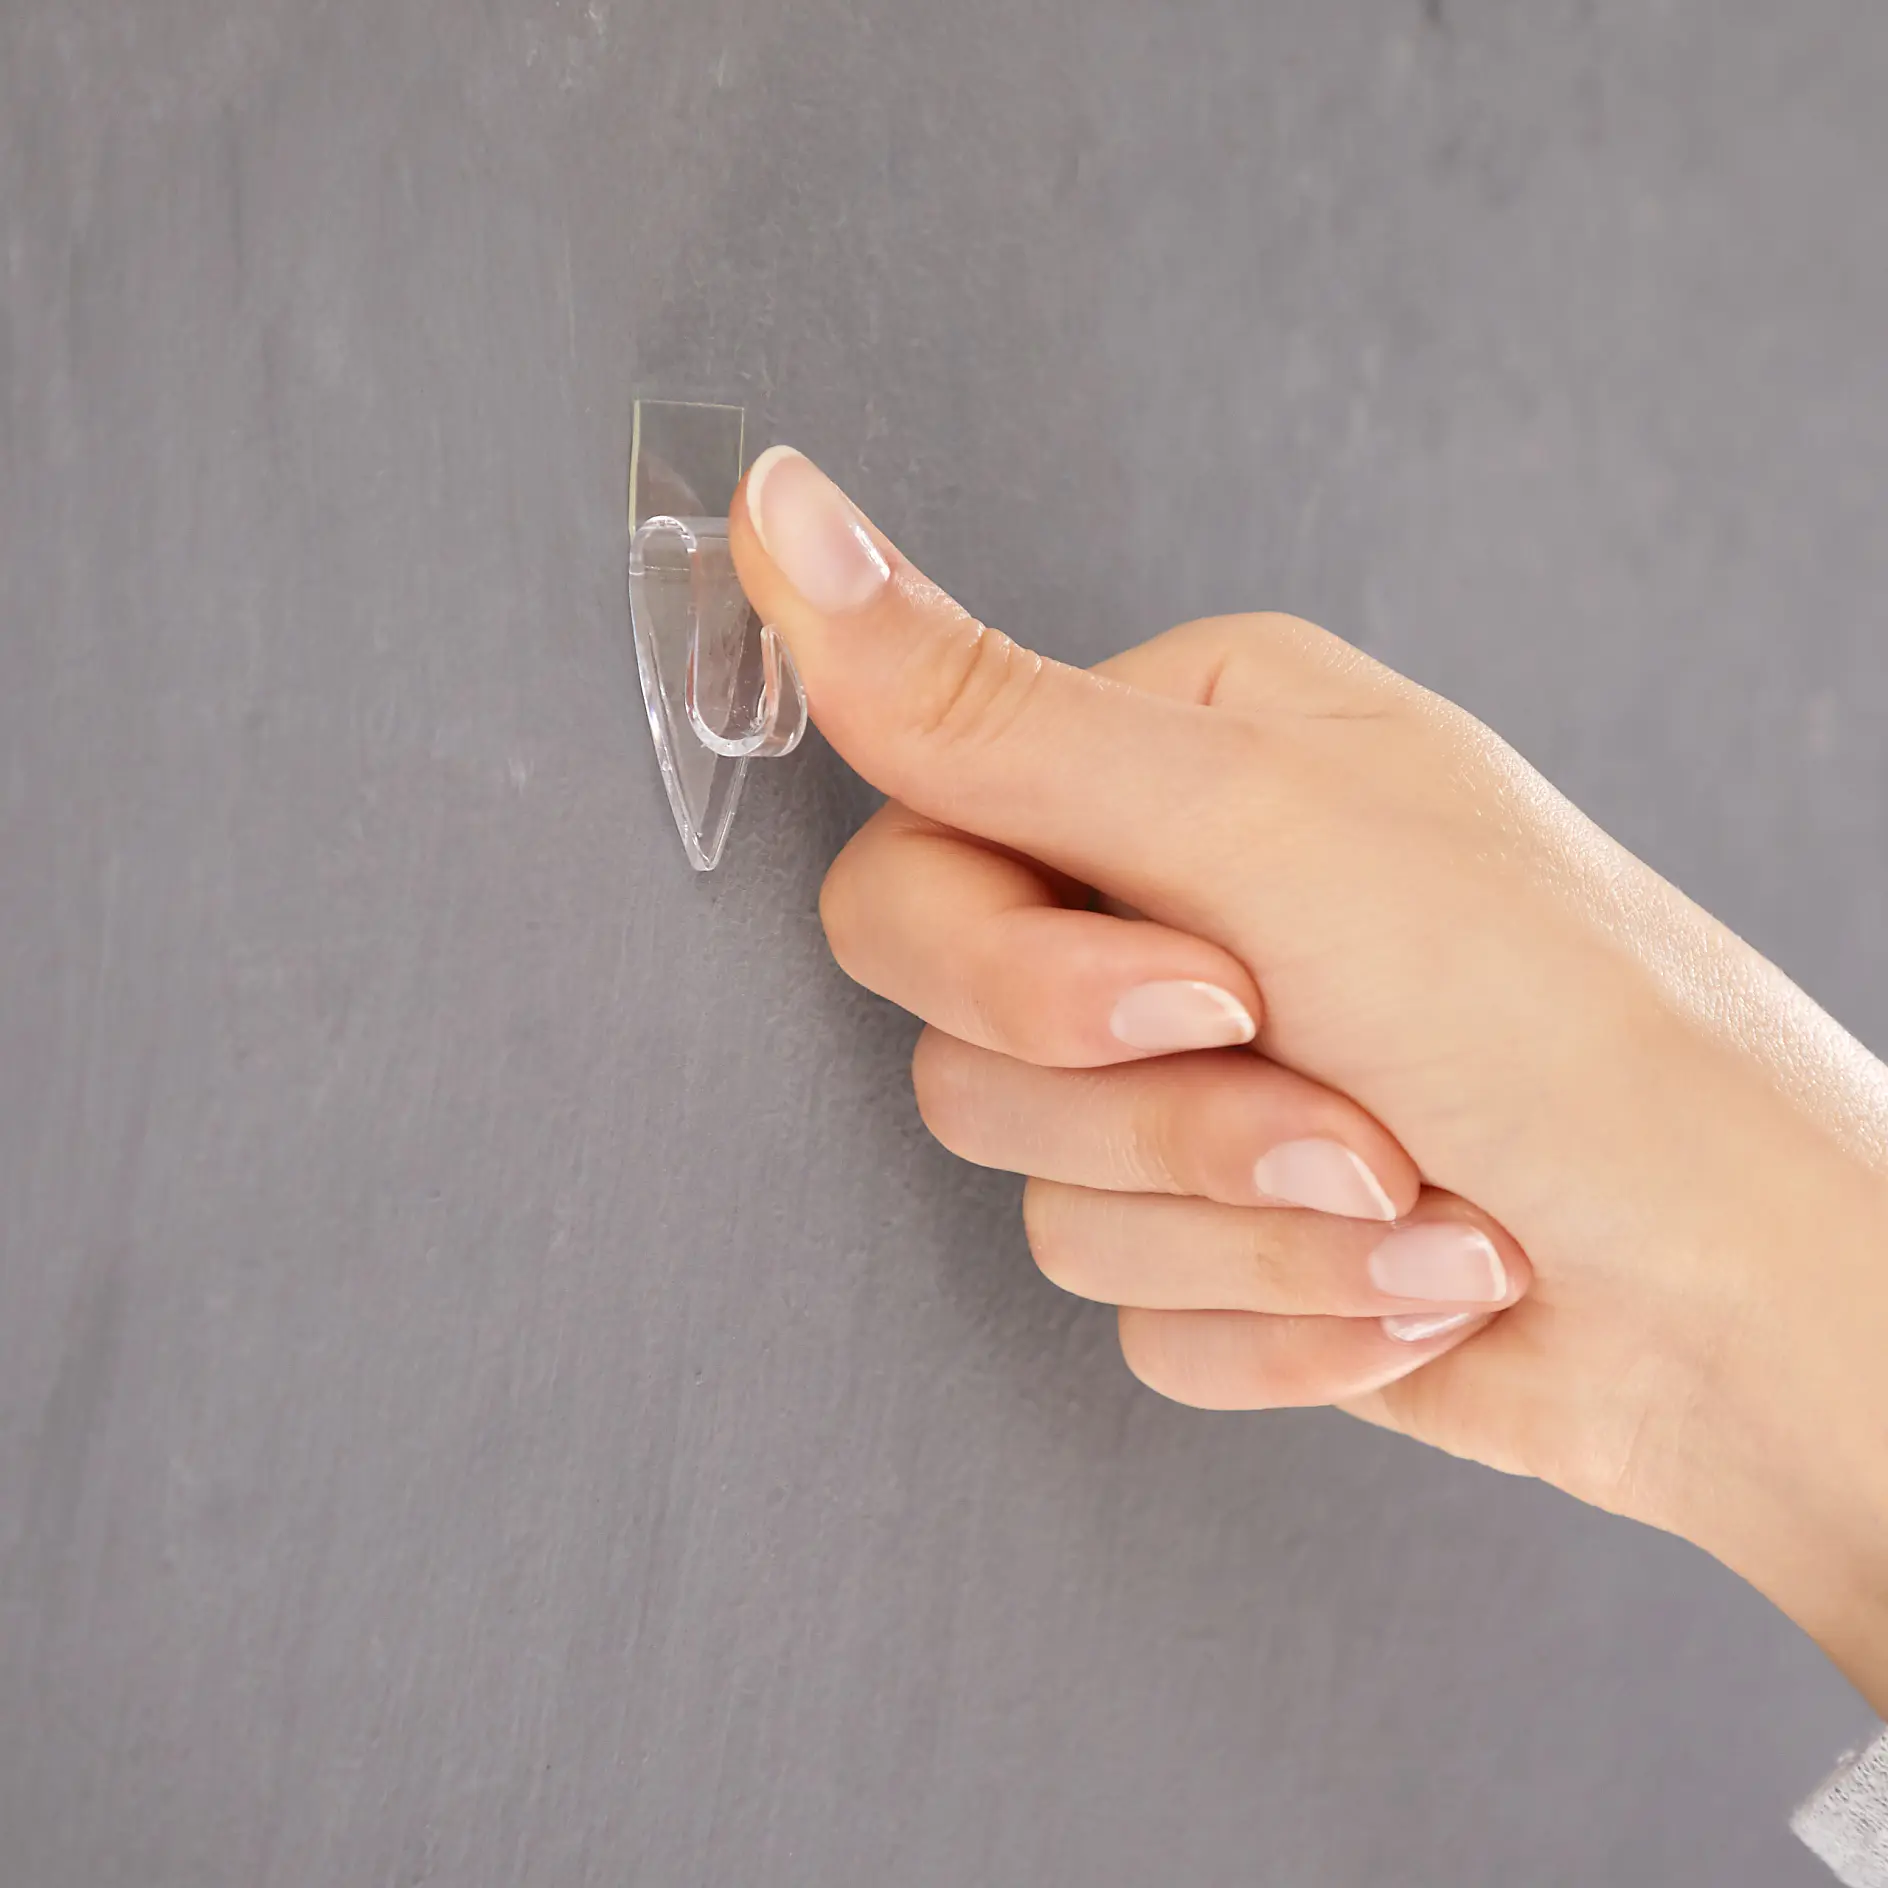
A hand is pressing a clear adhesive hook onto a gray wall using tesa tape. The fingers have neatly manicured nails. The hook is small and positioned vertically, appearing ready to hold an item against the wall. (This text has been generated by AI)
07

Haken auf den Powerstrip® setzen und 5 Sekunden fest andrücken.
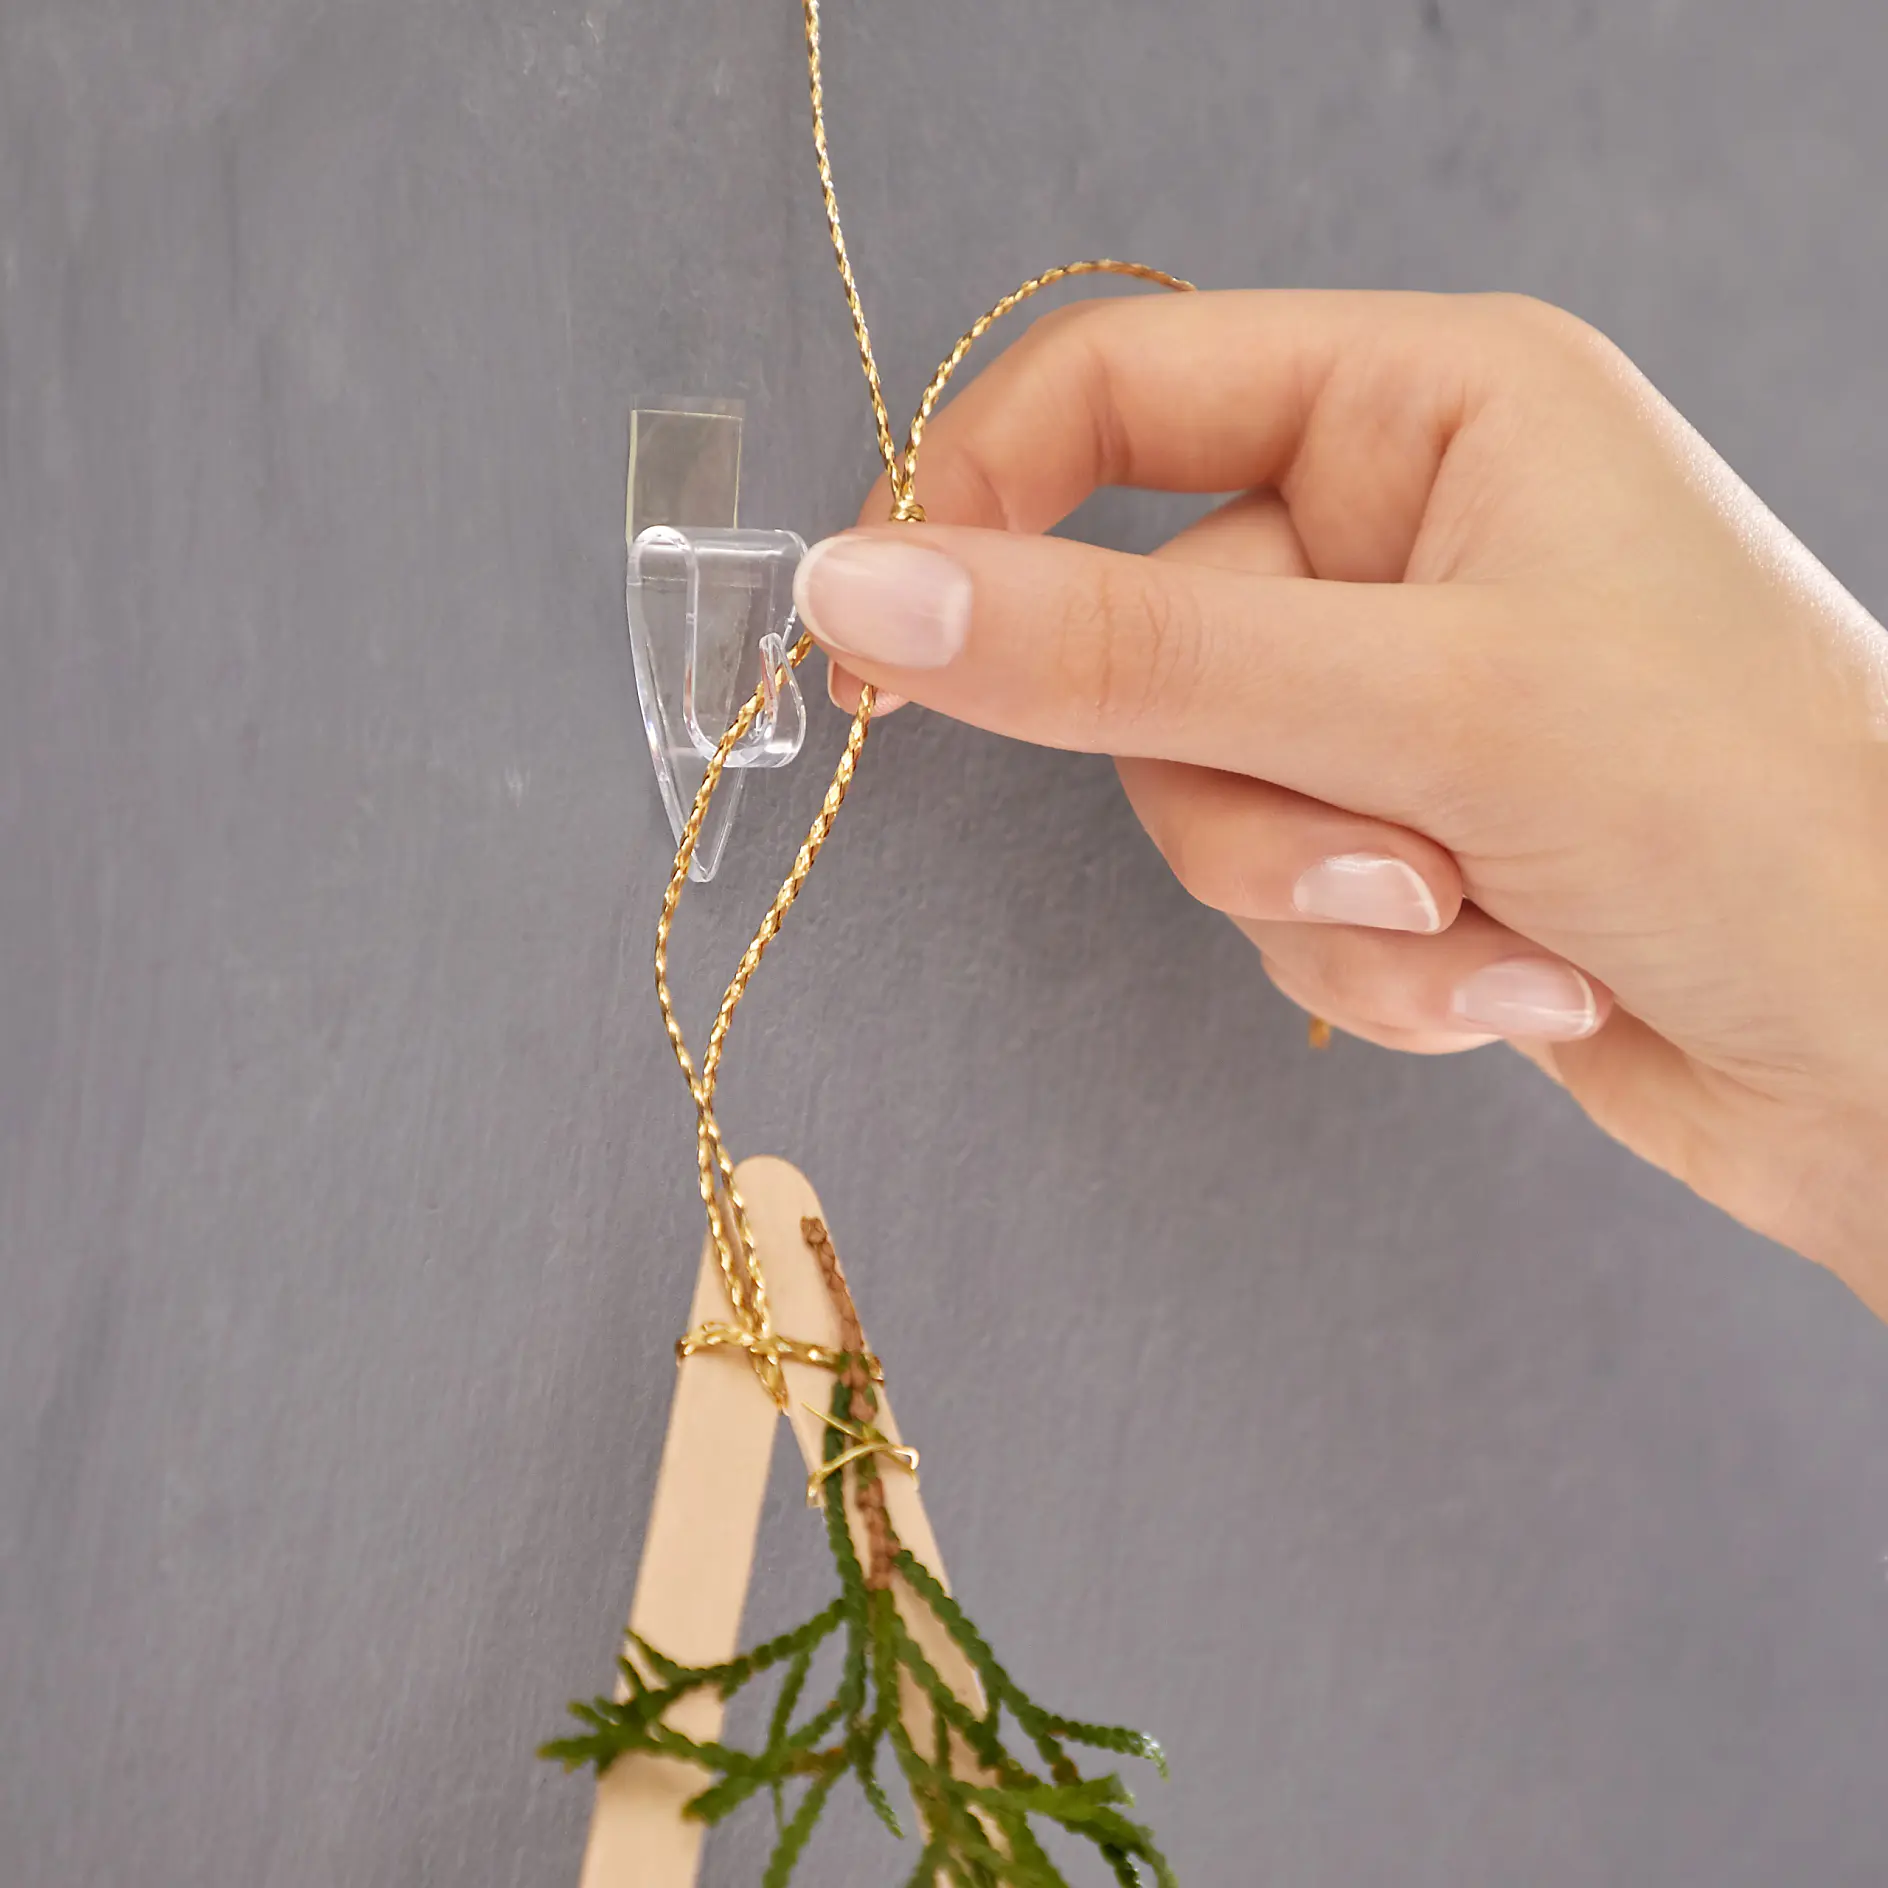
 

A hand is attaching a string of gold-colored beads and a small wooden ornament with greenery to a clear adhesive wall hook using tesa tape. The background is a smooth, gray wall surface. (This text has been generated by AI)
08

Stern mit dem Band am Haken aufhängen.

Verwendete tesa Produkte für dieses Projekt