01tesa_GHBA_Buchstuetze_Aufmacher_quer

Dekorative boghylder

Ofte ser man, at møblementet på kontorer er funktionelt og simpelt. Derfor er det rart, når man kan hvile øjnene på noget grønt, som for eksempel et par grønne planter. Her står de på smarte boghylder, der er monteret med tesa® Klæbeskruer. Vigtigt: De dekorative boghylder kan hurtigt fjernes igen, og de efterlader ingen spor på væggen!

Sværhedsgrad Let
Varighed 20

Du skal bruge:

Boghylder af træ 15 x 15 x 0,6 cm Sort, grå, gul og hvid akryllak Pensel Håndboremaskine Ø 4 mm Lille skål til at blande farverne i Lineal Blyant tesa® Afdækningstape Perfect, 50 m x 19 mm tesa ® Justerbar klæbeskrue til tapet og gips (1 kg) – 2 pr. boghylde tesa® Protect Filterpuder (hvide), ø 18 mm

Sådan gør du:

Dekorative gør det selv-boghylder / Overblik
01

Collect all items and let's start!
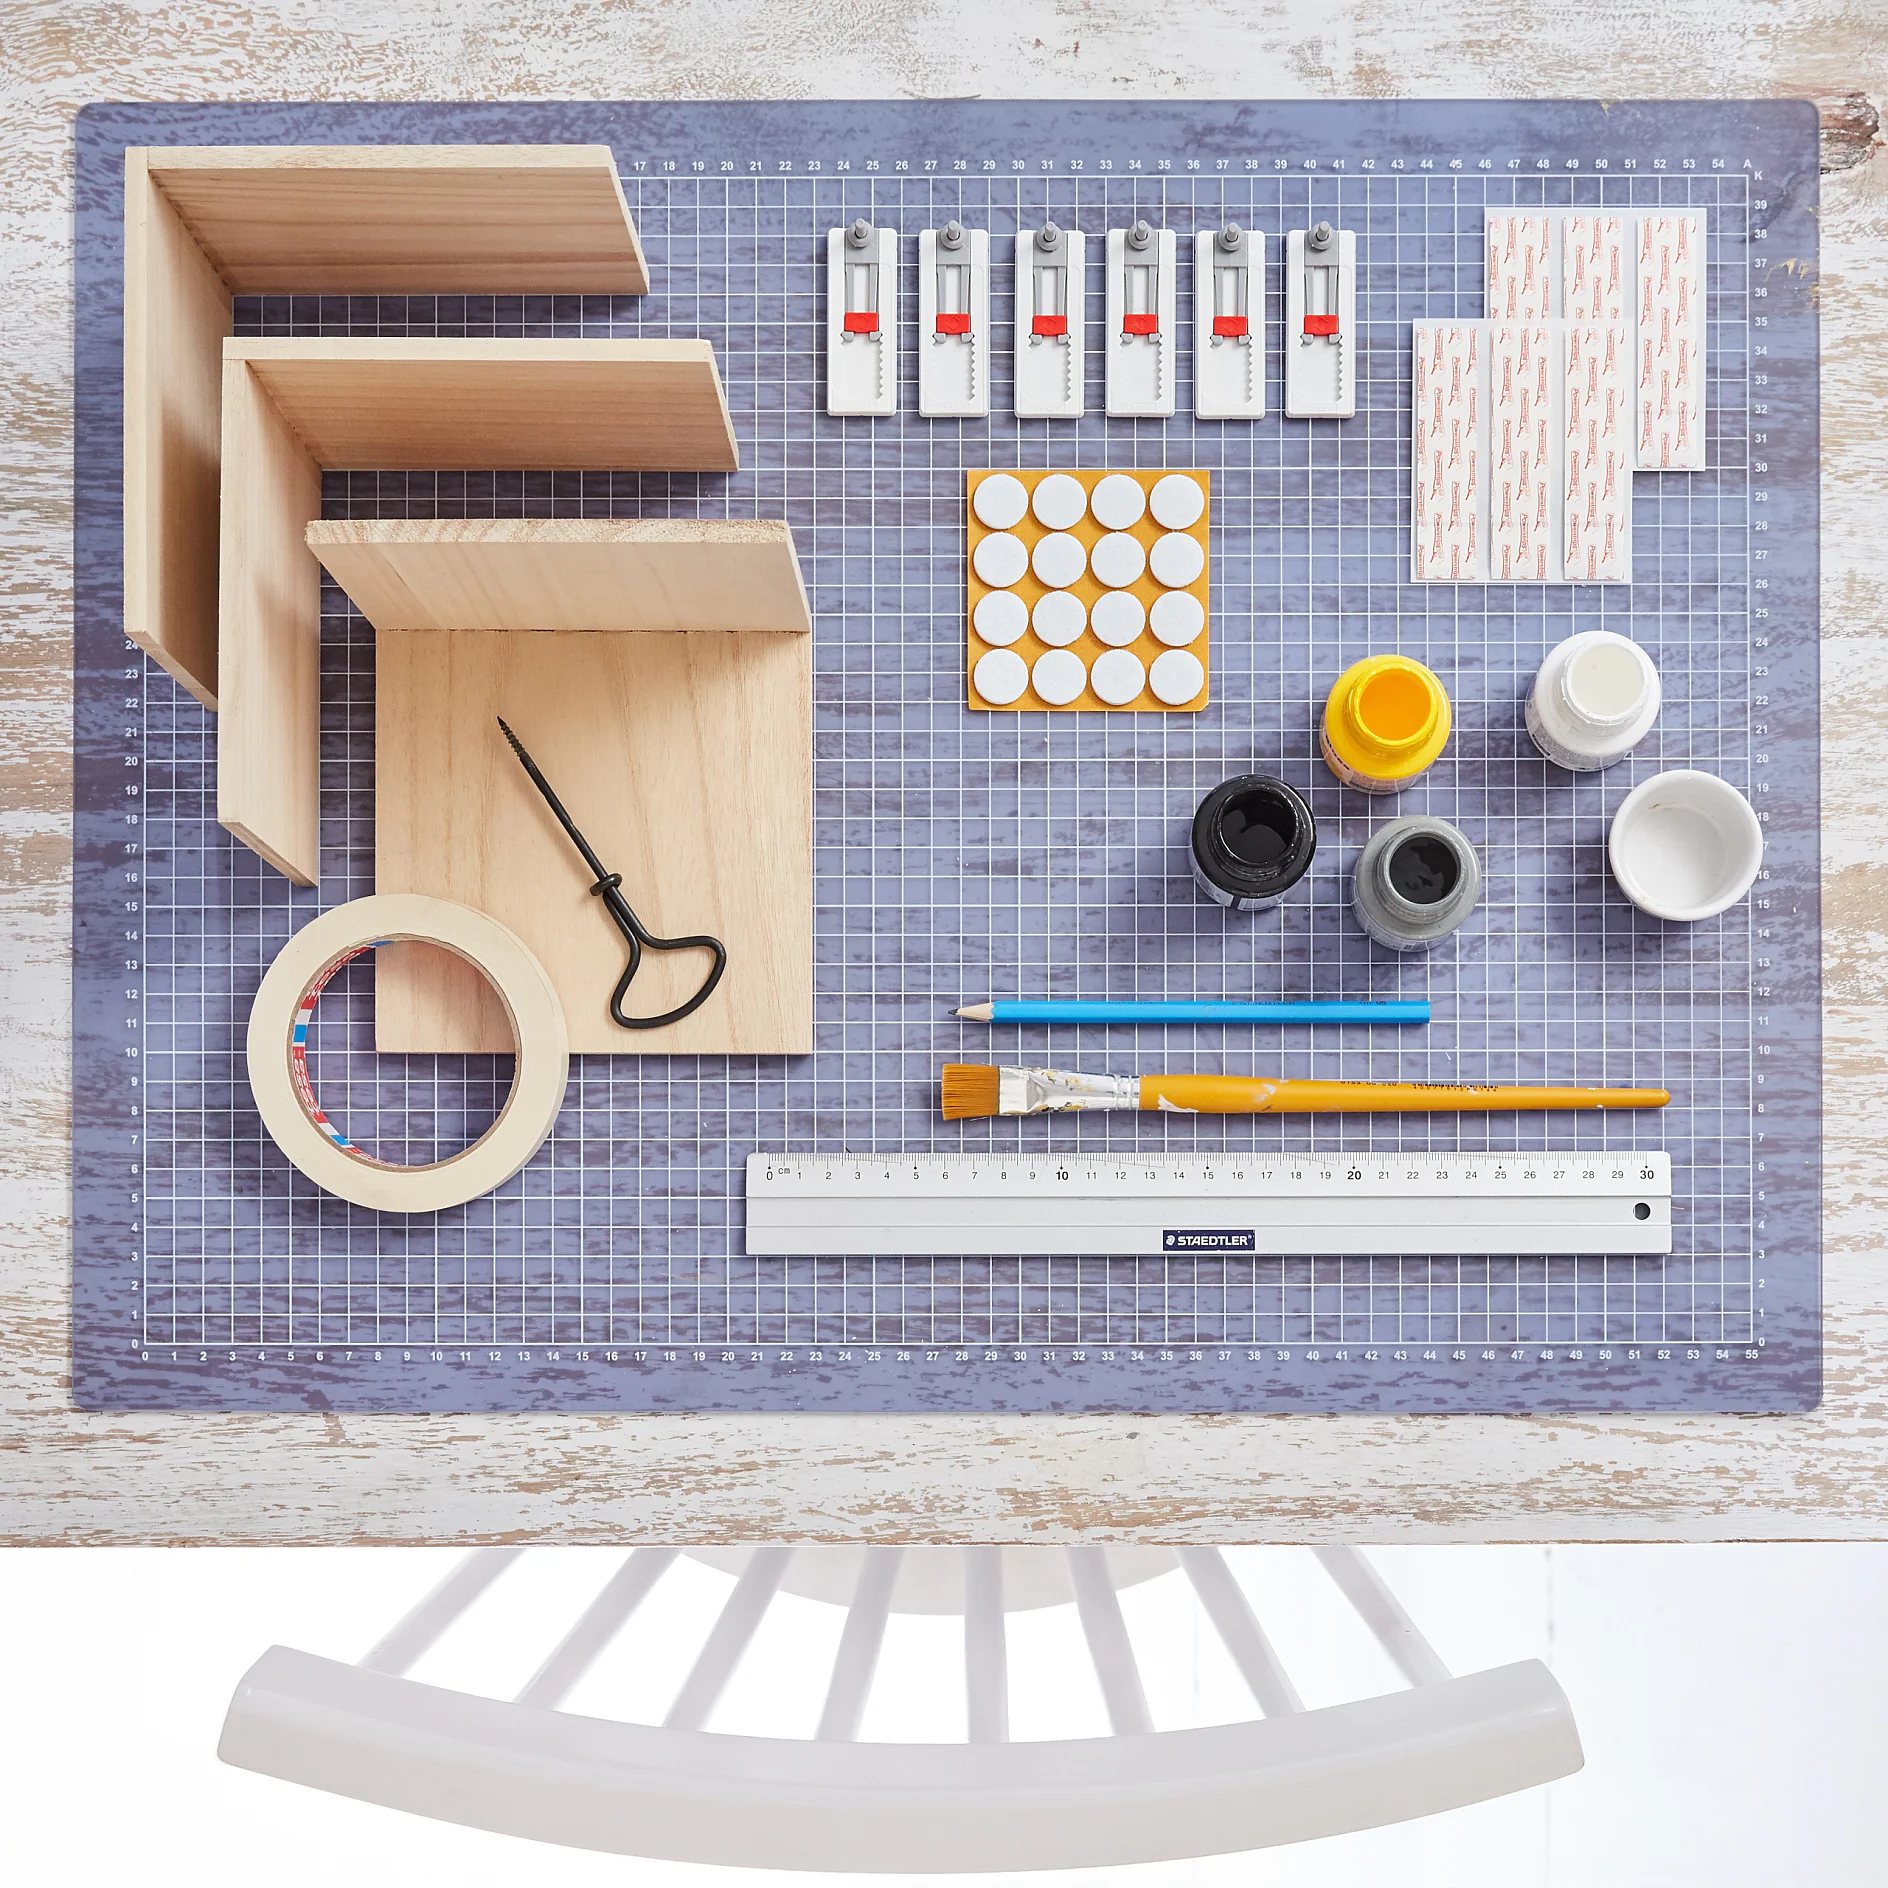
Dekorative gør det selv-boghylder / trin 2
02

Measure the drill holes on one surface of each bookend and use a pencil to mark: 1 cm on the upper border and 1.5 cm on the side edge. Drill holes into the bookends.

01tesa_GHBA_Buchstuetze_003
03

Prime the bookends using the acrylic varnish in the desired Color.

01tesa_GHBA_Buchstuetze_004
04

Allow to dry, then trace a diagonal line on the vertical backside using the masking tape. If you make more than one bookend, you may color the triangles alternately. If the lower triangle is to be painted, cover the edge of the shelf board.

01tesa_GHBA_Buchstuetze_005
05

Paint the triangular surface with priming varnish in a lighter shade (by adding white paint).

01tesa_GHBA_Buchstuetze_006
06

On the backside of the bookends, glue the felt pads to the left and right bottoms as a spacer (adjustment for the adhesive screws).

01tesa_GHBA_Buchstuetze_007
07

Place your unique bookends on the desired spot on the wall and mark the area for the Adhesive Screws using a pencil.

01tesa_GHBA_Buchstuetze_008
08

Clean the wall from any dust and dirt. Peel-off a Powerstrip® from the the sheet …

01tesa_GHBA_Buchstuetze_009
09

… and place it on the desired spot on the wall. Press firmly on different parts for at least five seconds.

01tesa_GHBA_Buchstuetze_010
10

Remove the protective film.

01tesa_GHBA_Buchstuetze_011
11

Place the Adhesive Screw on the Powerstrip® and press firmly on different parts for at least five seconds.

01tesa_GHBA_Buchstuetze_012
12

Mount the bookends on the screws. If necessary, adjust the height of the screws. Fix it with the rubber nuts.