Estantes de pared decorativos

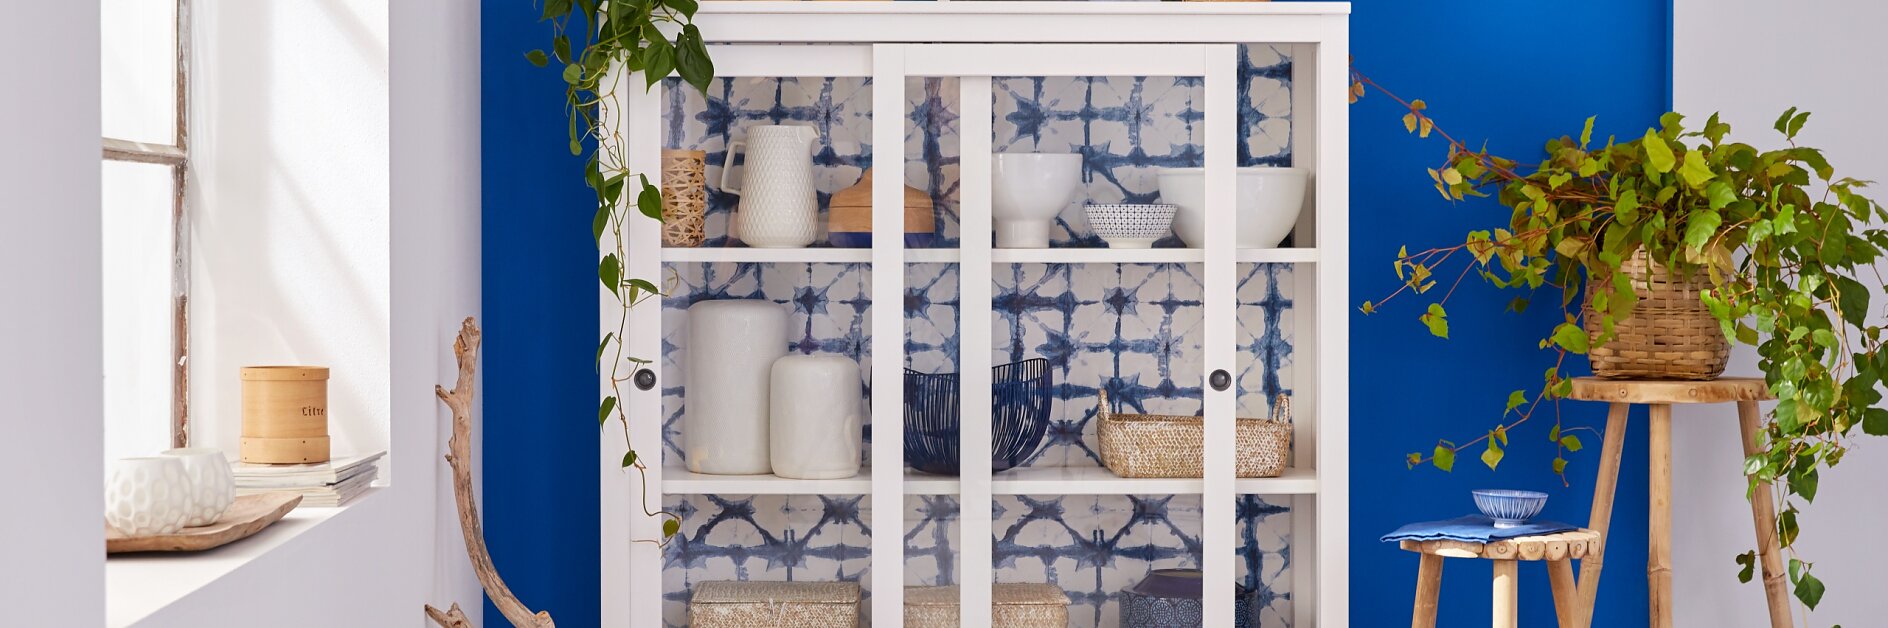
Una estantería de vidrio blanco no es ciertamente el mueble más emocionante, a menos que su pared posterior esté cubierta con un hermoso papel tapiz. Es muy fácil: ¡crea tu propio diseño de estantes de pared!

Nivel de dificultad Original y rápido
Duración 30

Qué necesitamos:

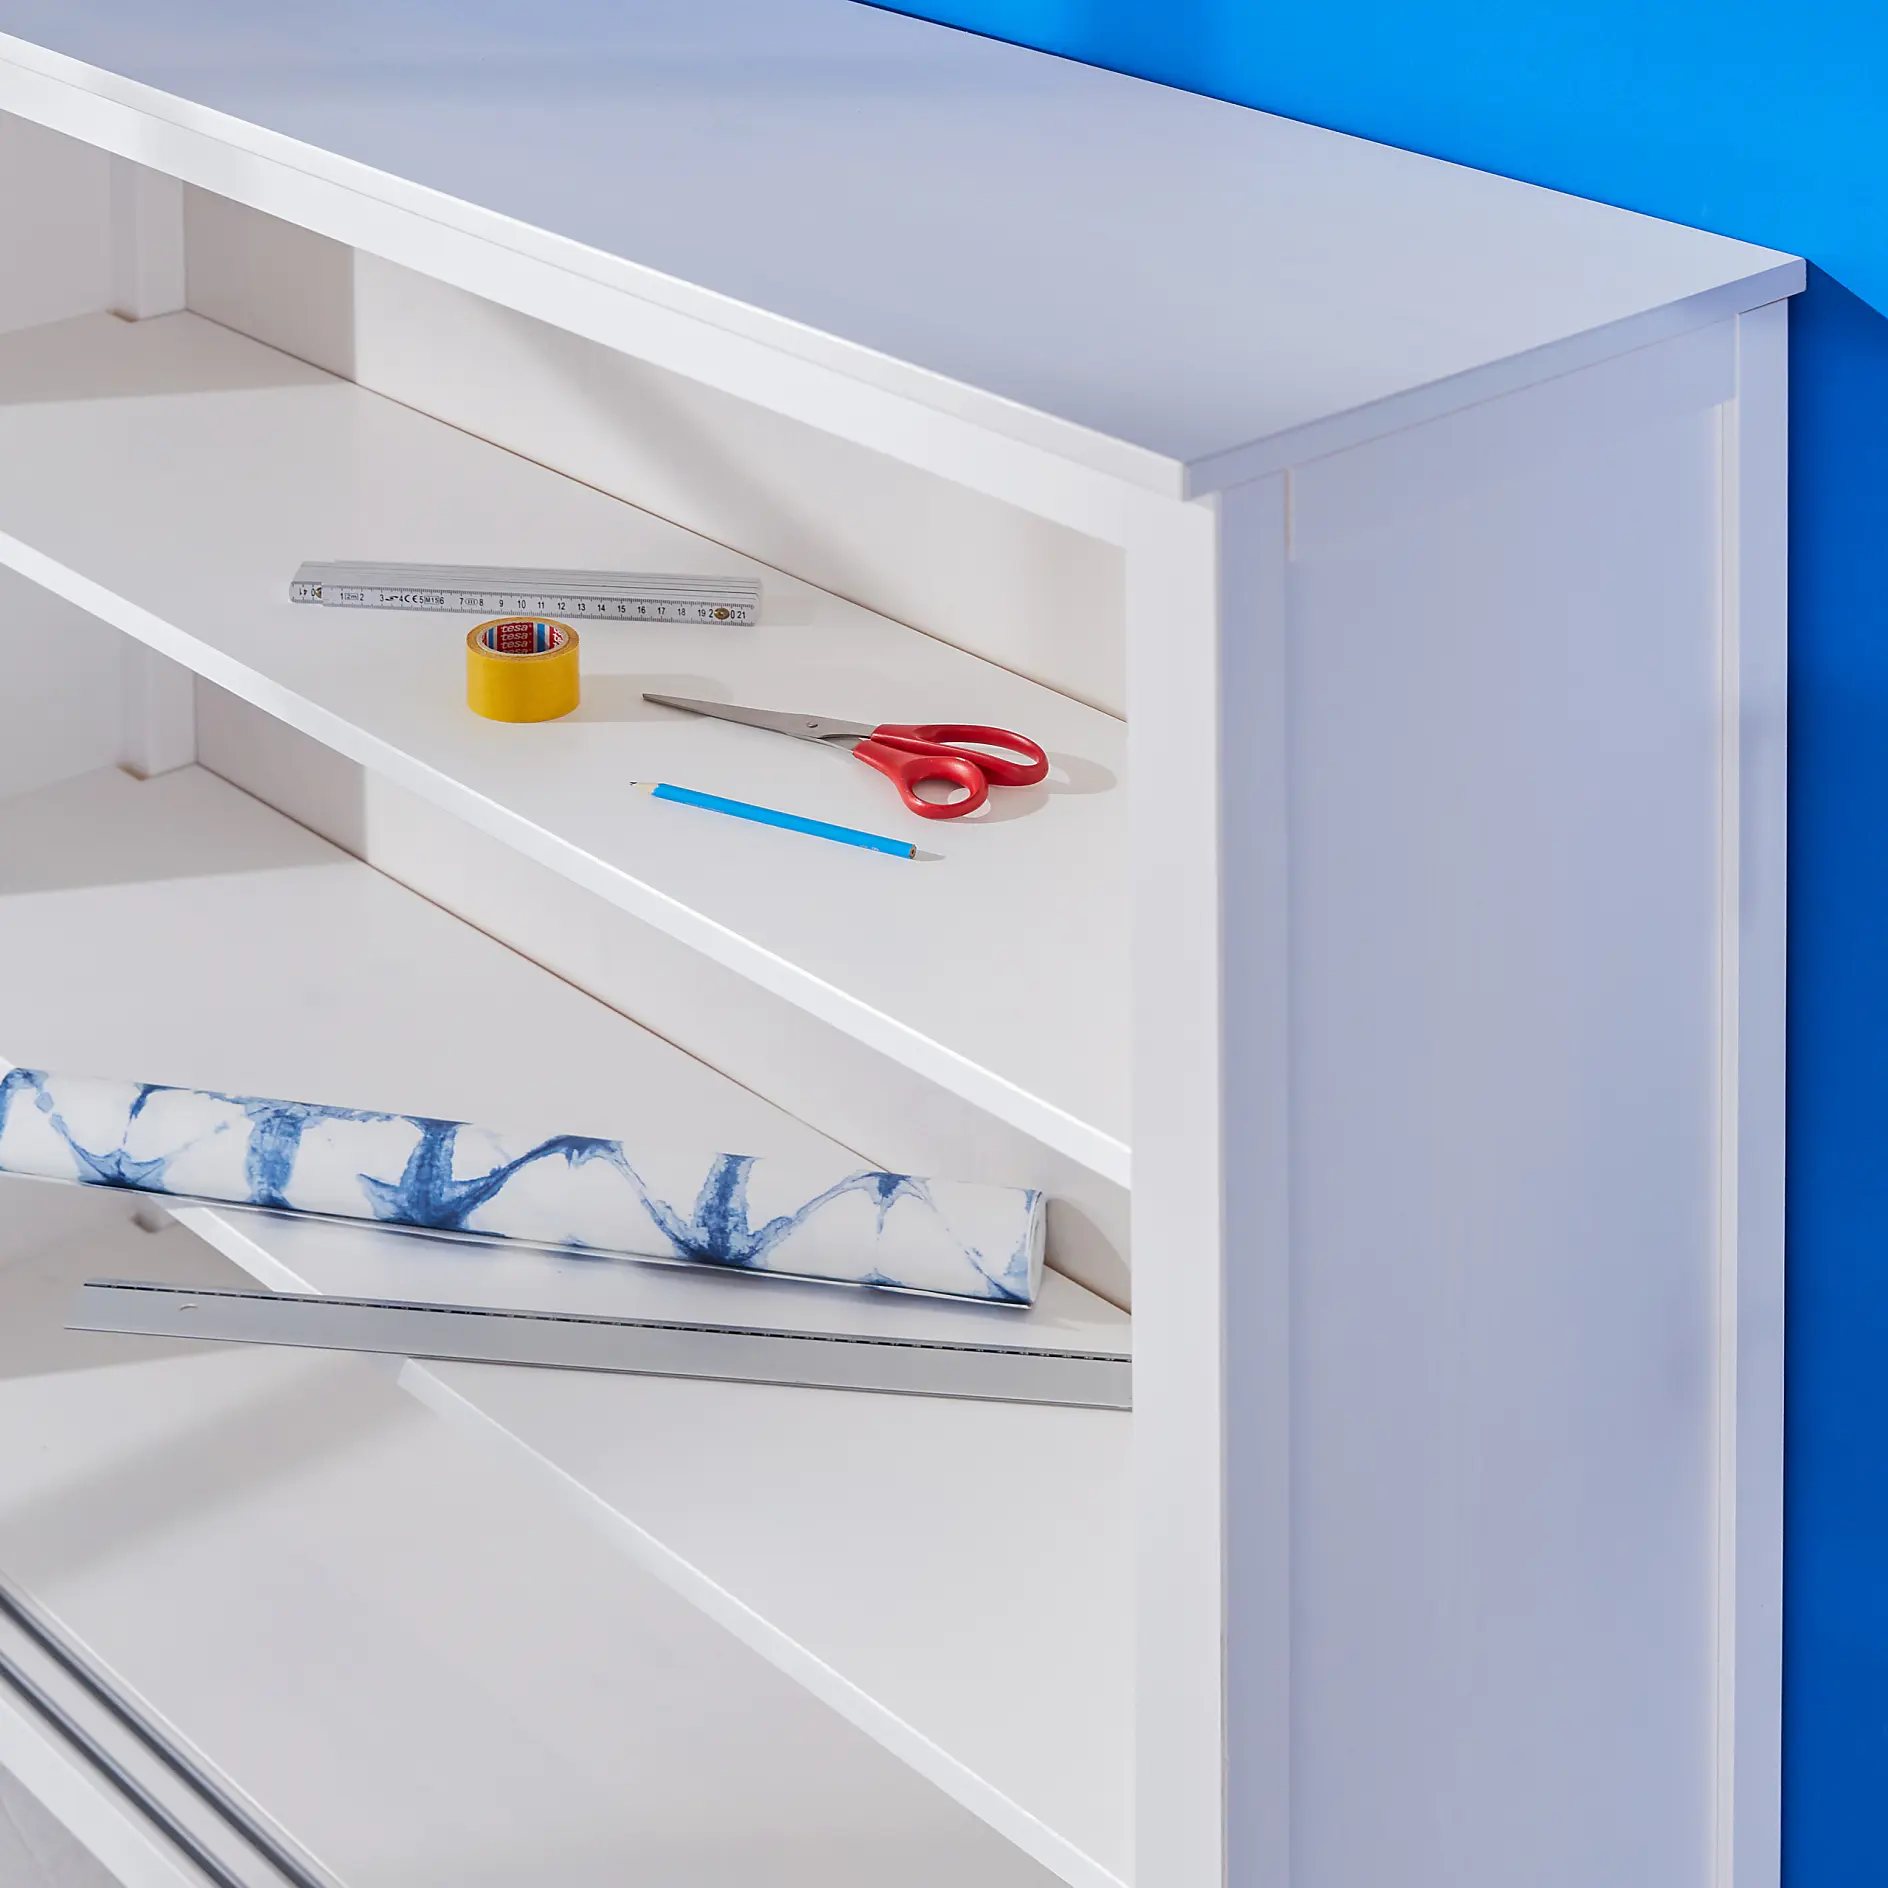
estante blanco o vitrina fondo de pantalla con el patrón azul-blanco (aquí "Indigo Wallpaper blue" de Graham & Brown) vara de medir lápiz regla tijeras Cinta tesa® de manualidades

Cómo lo hacemos:

A white bookshelf against a blue wall with items on the top shelf, including a metal ruler, yellow tesa tape with a red center, red scissors, and a blue colored pencil. A folded, blue and white fabric or paper is on a lower shelf. (This text has been generated by AI)
01

¡Recoge todos los artículos y empecemos!
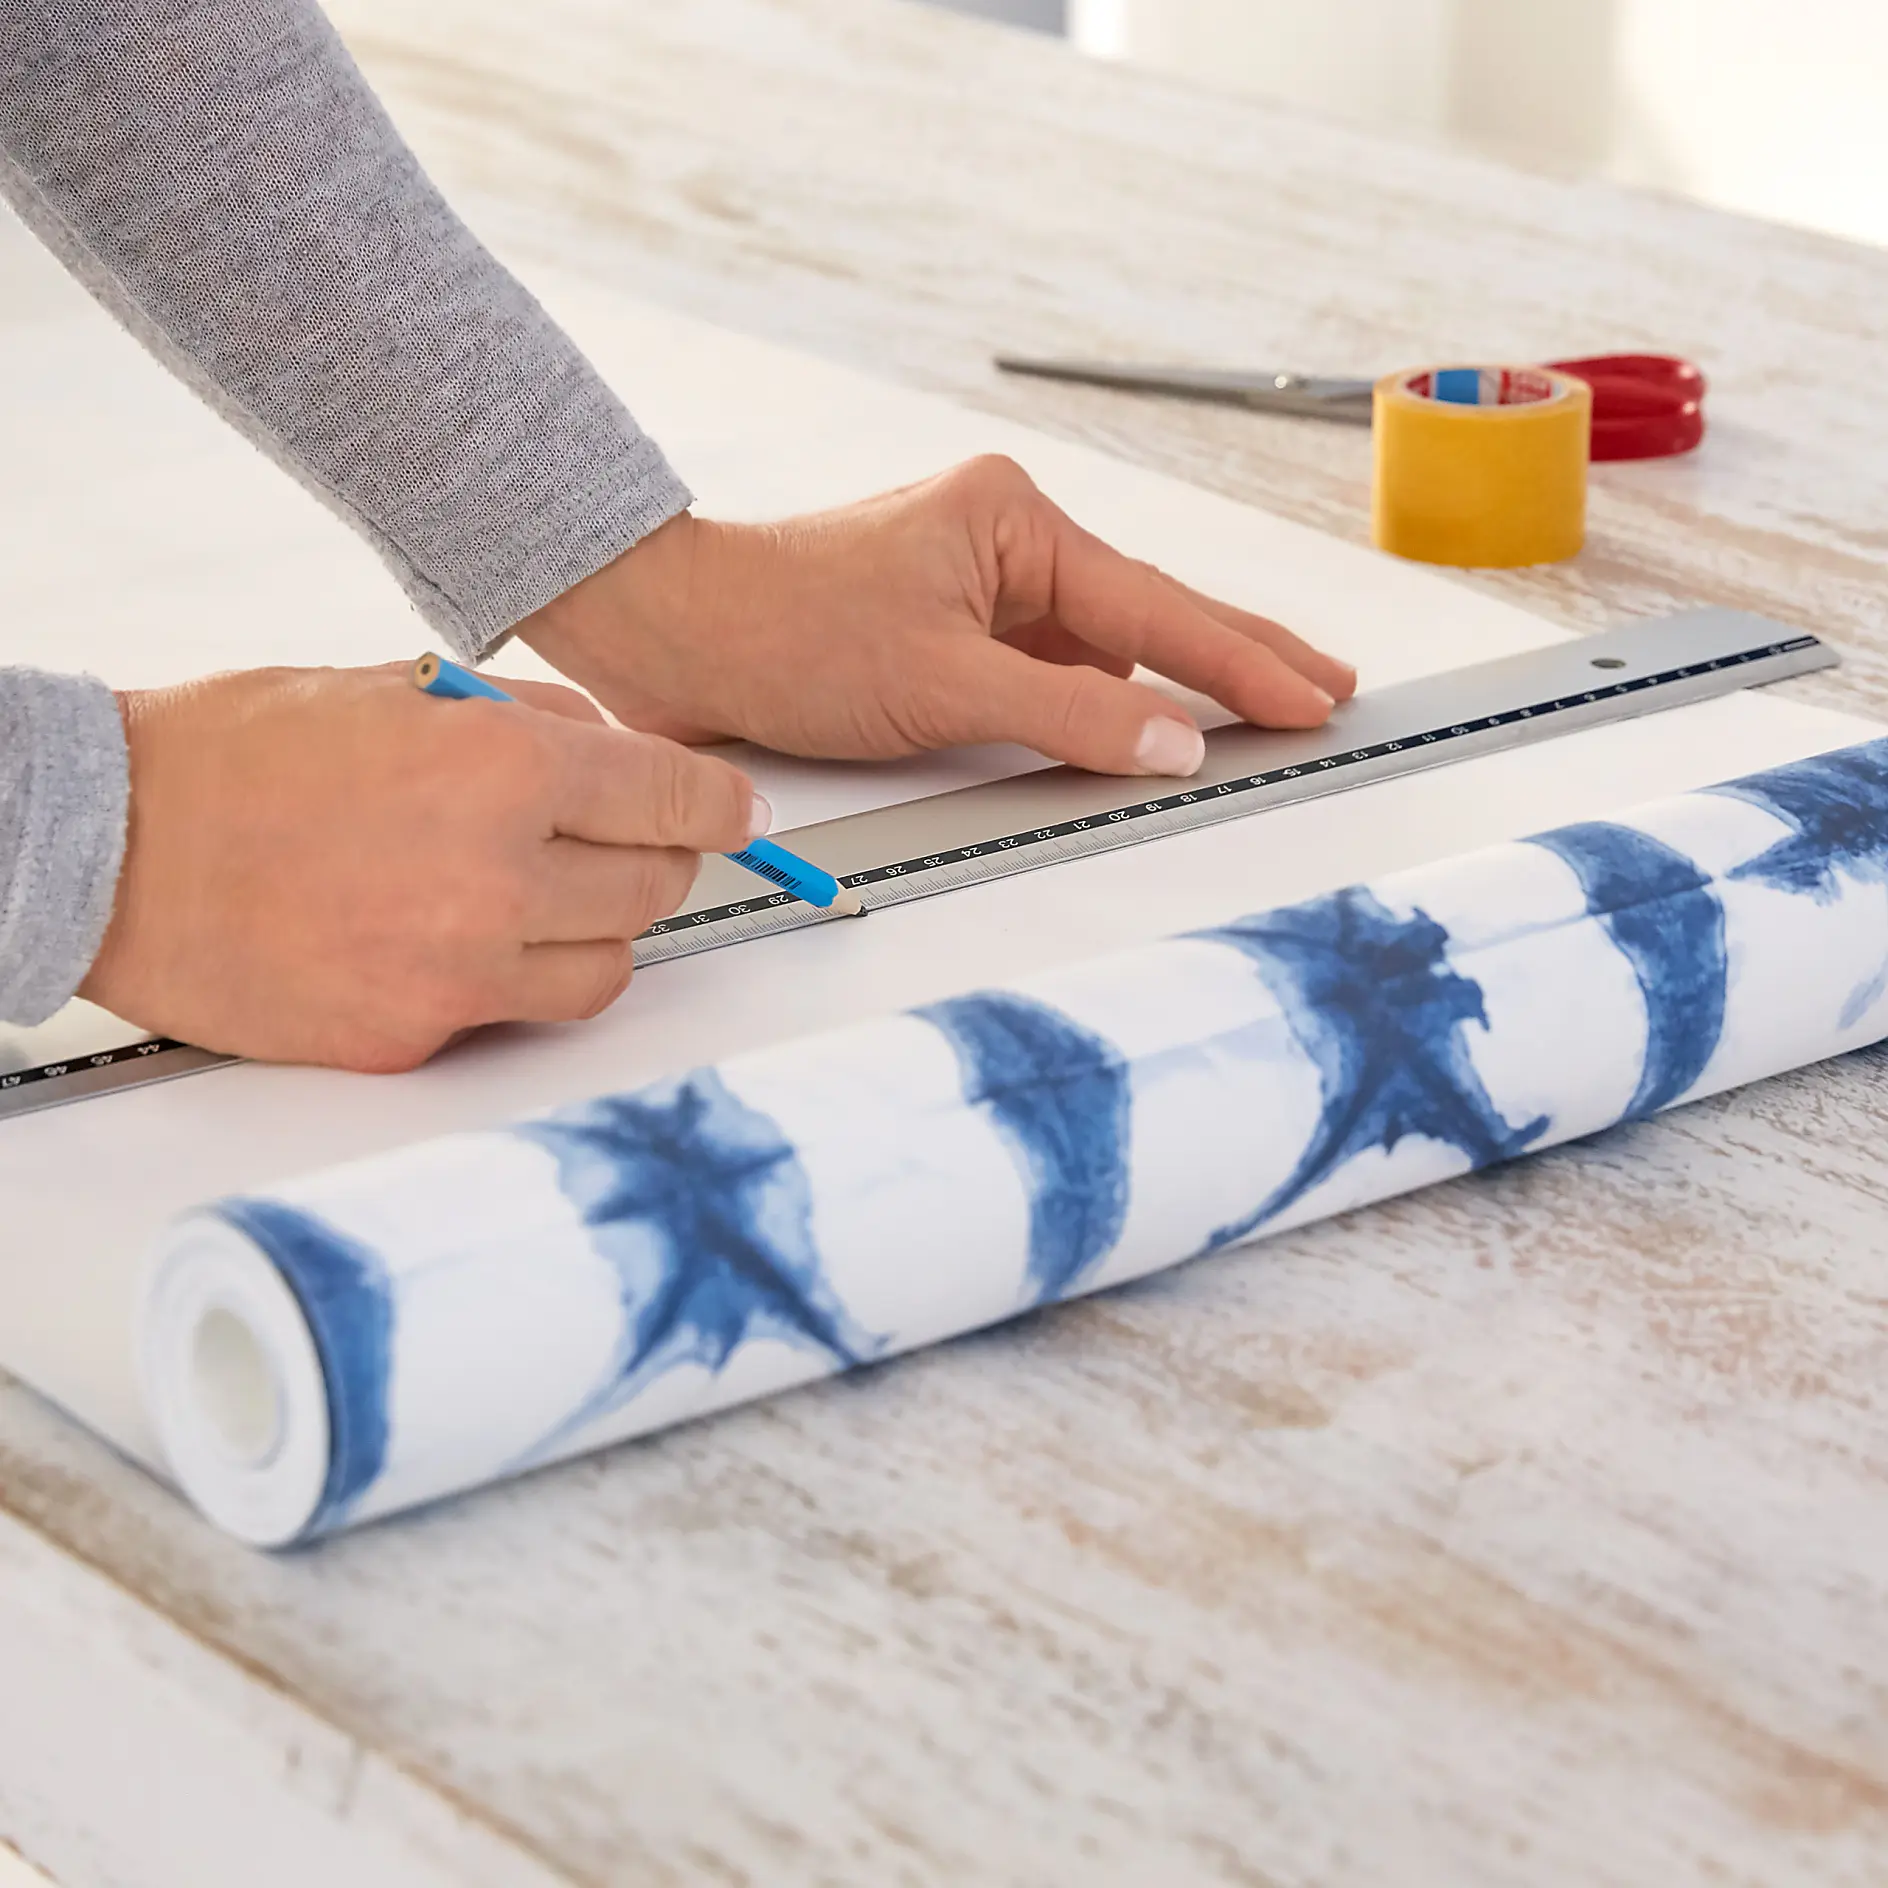
Hands measuring and marking wallpaper with a ruler and pencil on a wooden table. A roll of blue and white patterned wallpaper, scissors, and tesa tape are visible. (This text has been generated by AI)
02

Mide la superficie del fondo del estante, y transfiera las medidas a la parte posterior del papel tapiz usando la regla y el lápiz. Corta el fondo de pantalla.
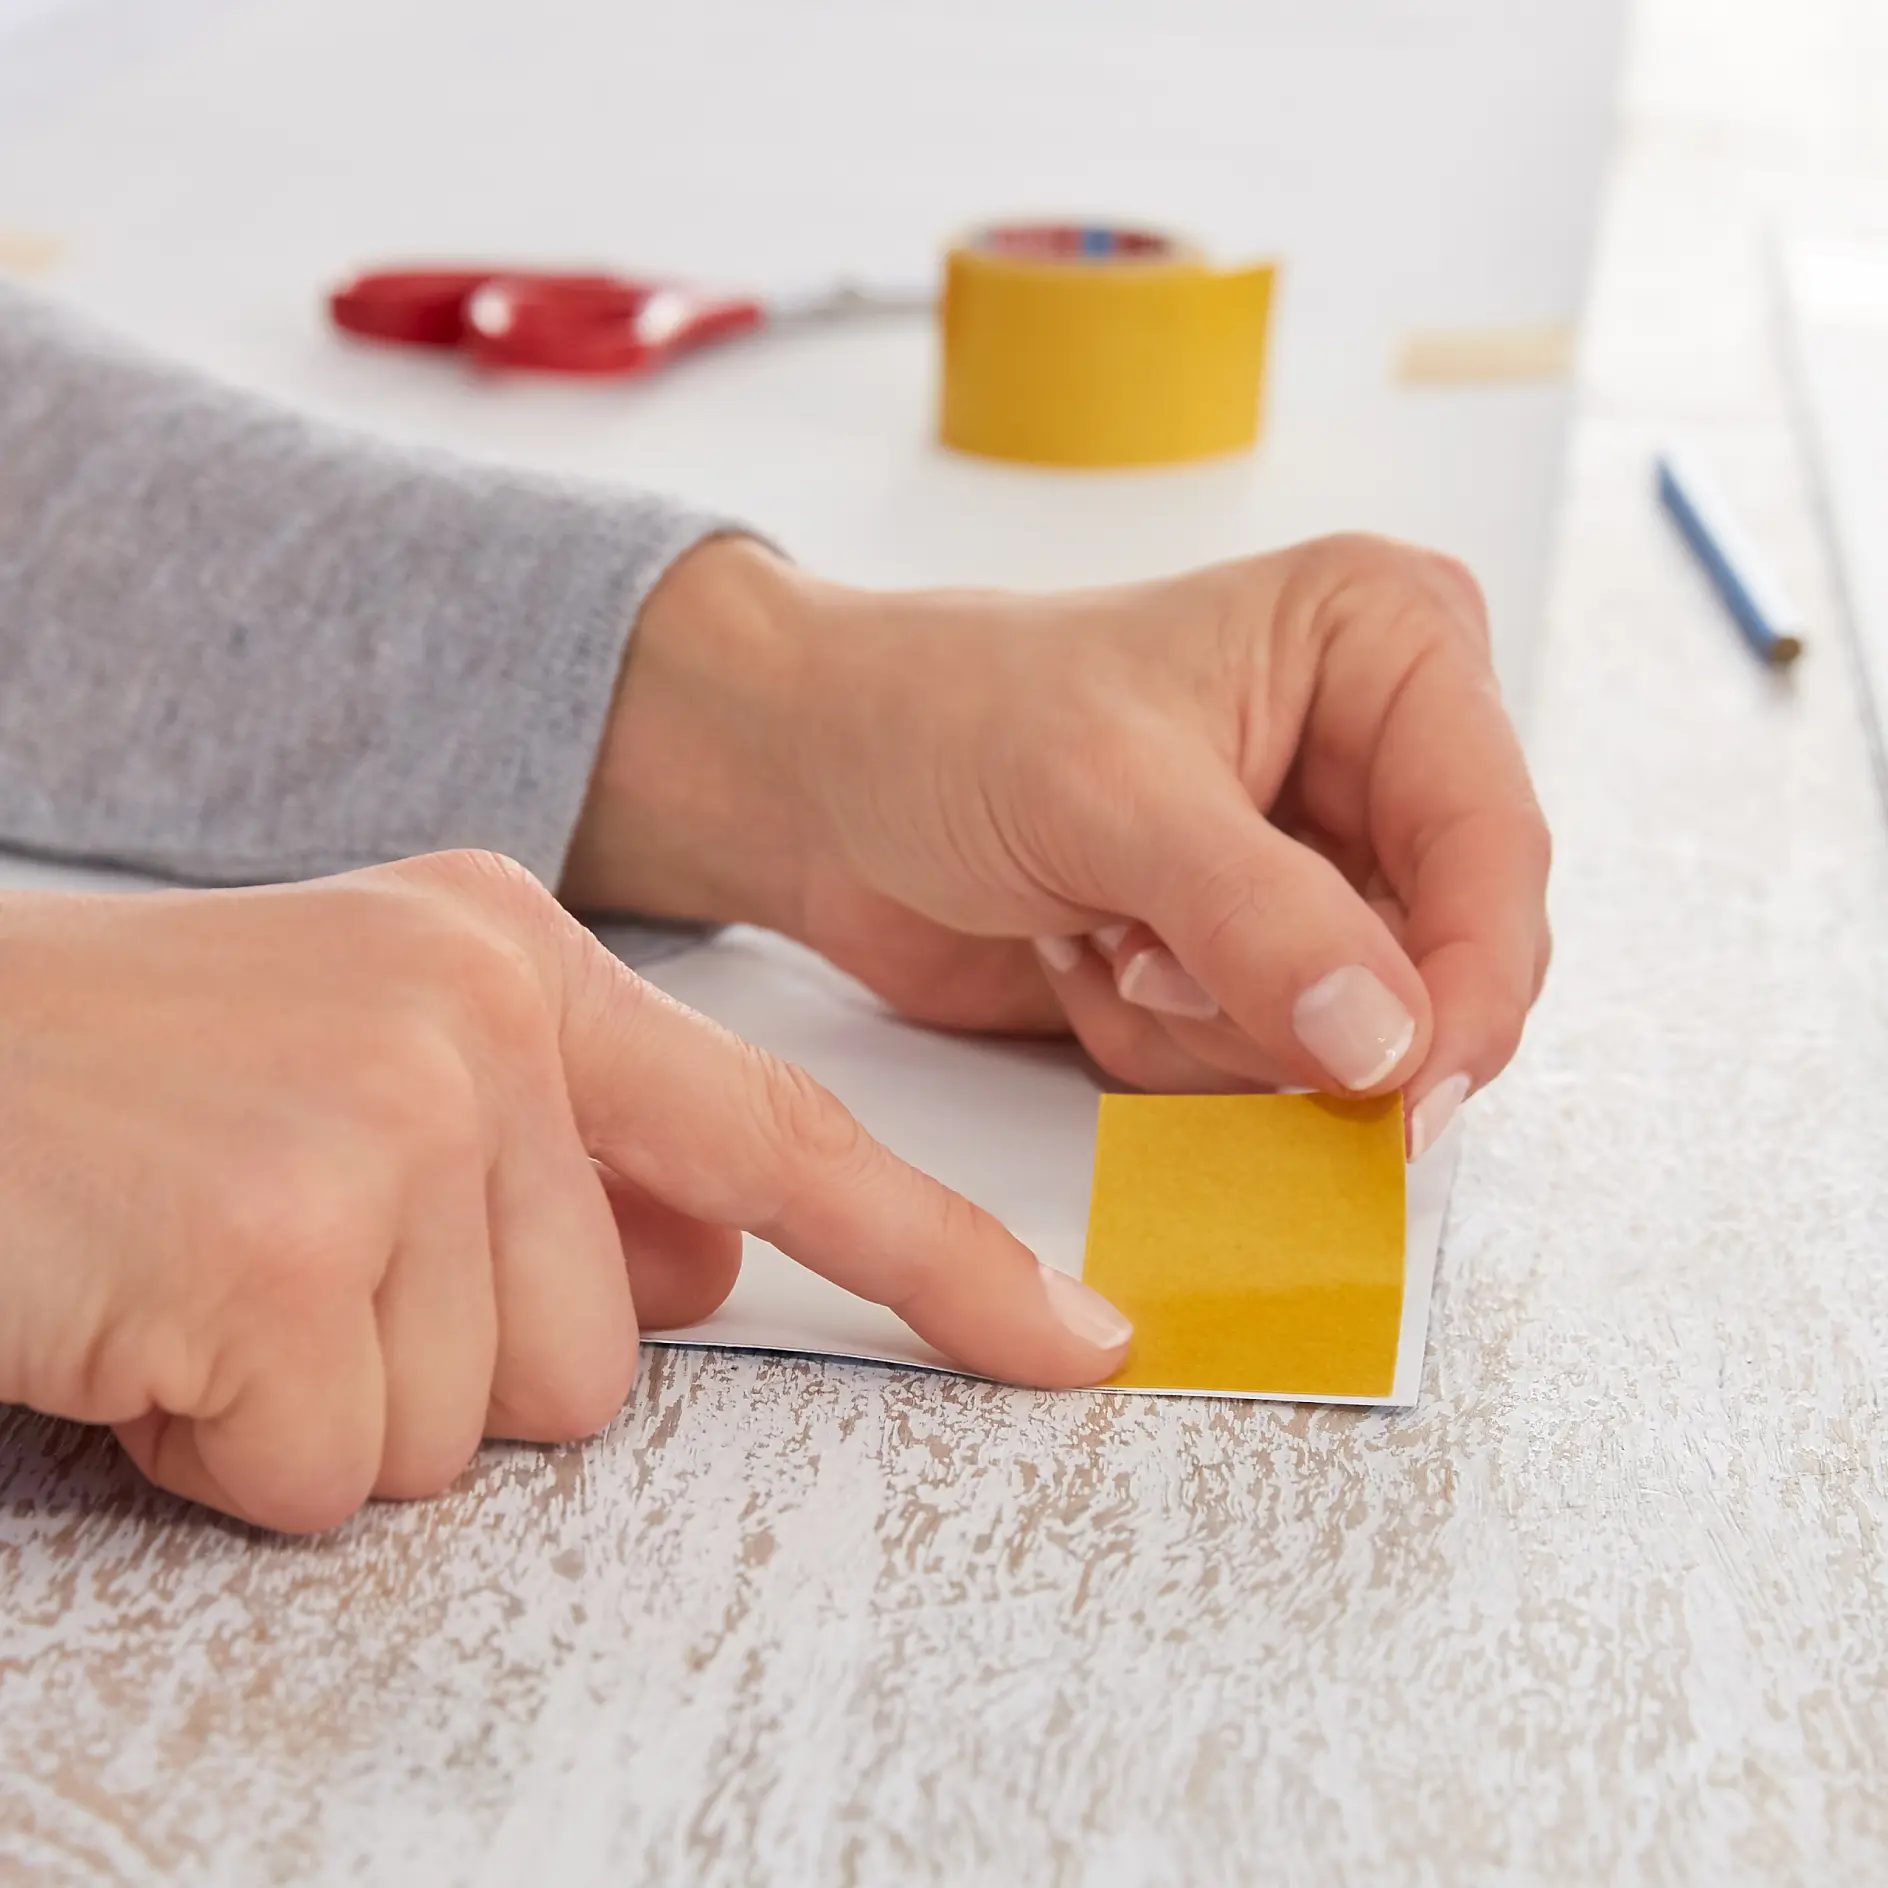
Close-up of hands peeling the backing off a piece of yellow tesa tape on a white surface. A roll of tesa tape, red scissors, and a pencil are on the wooden table in the background. (This text has been generated by AI)
03

Dependiendo del tamaño de la superficie, aplica al menos seis trozos de cinta de 5 cm en las esquinas y en el centro de los lados más largos.
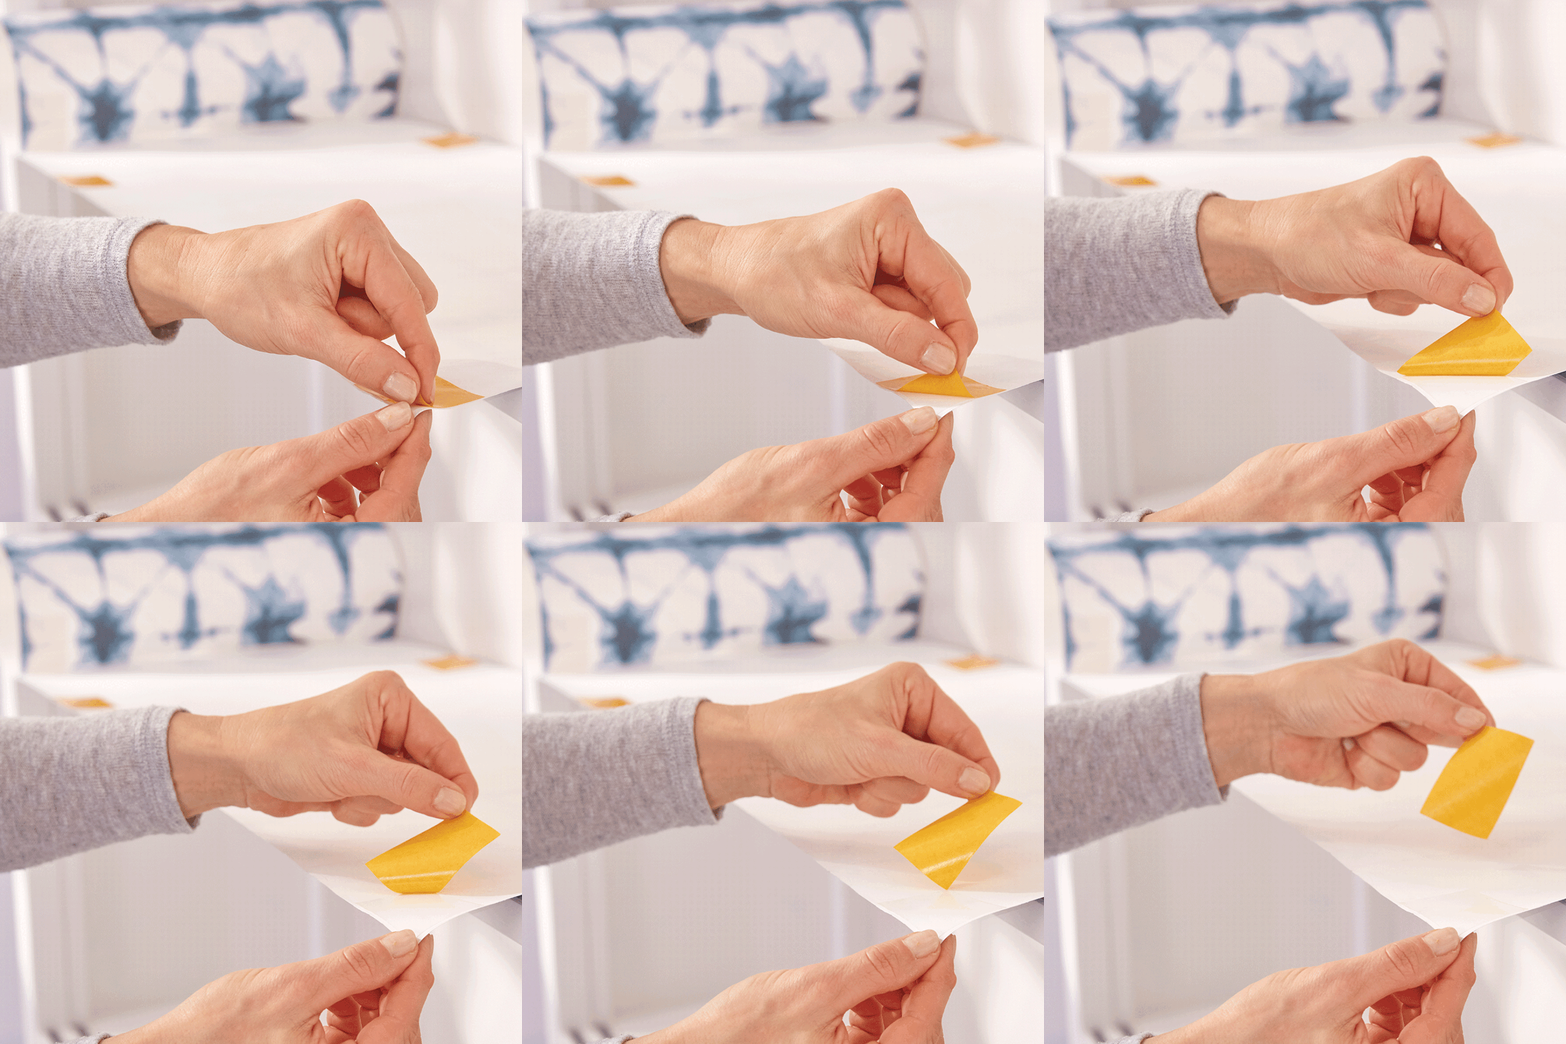
A person is peeling the adhesive backing from the corner of a sheet of white paper. A roll of blue and white patterned tesa tape is visible in the background. The person is wearing a gray long-sleeved shirt. (This text has been generated by AI)
04

Retira las películas protectoras del borde superior.
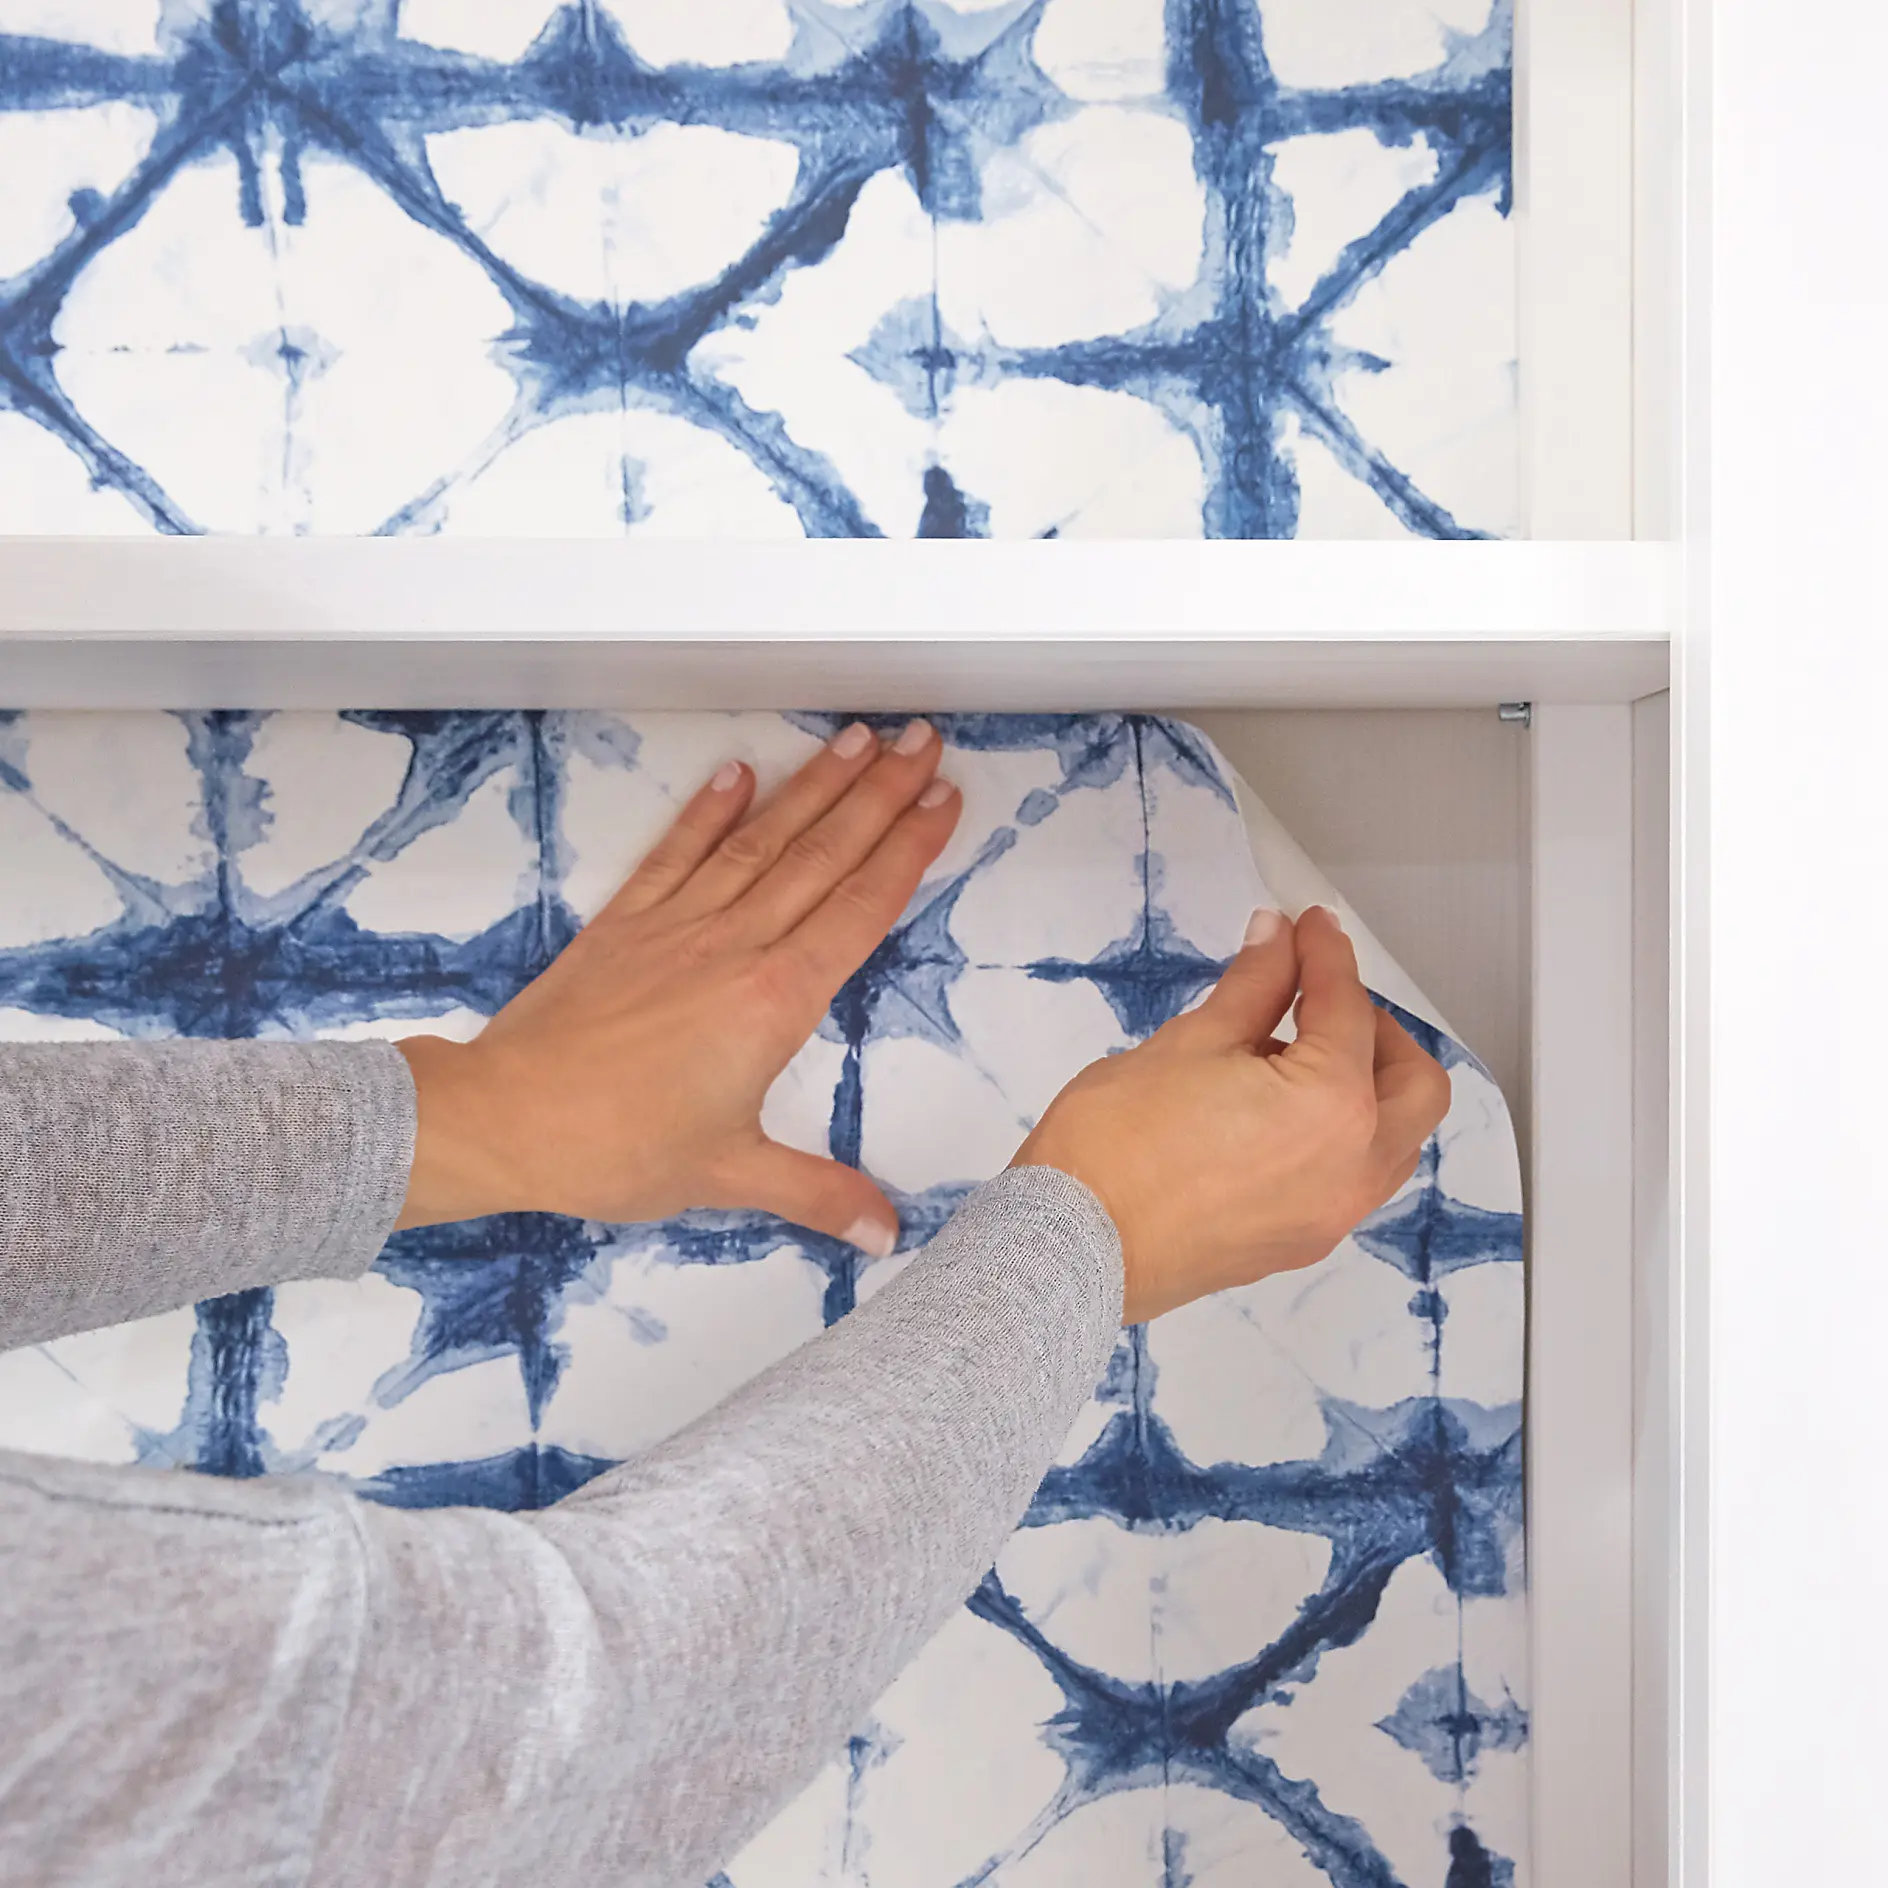
Two hands peel off blue and white patterned adhesive wallpaper from a wall. The pattern features dark blue intersecting lines on a white background. The persons sleeves are light gray, and the background includes a white, smooth surface. To assist in the process, they use tesa tape for additional precision and ease of removal. (This text has been generated by AI)
05

Pega el borde superior del fondo de pantalla en la pared posterior.

Despega las películas protectoras en el borde inferior y pega el papel tapiz libre de pliegues en la pared, presiona firmemente.

Última actualización el 7/10/2026