01Get the surface nice and clean
Scrub off as much dirt and grit as you can from the surface. The less there is, the better the adhesive works.
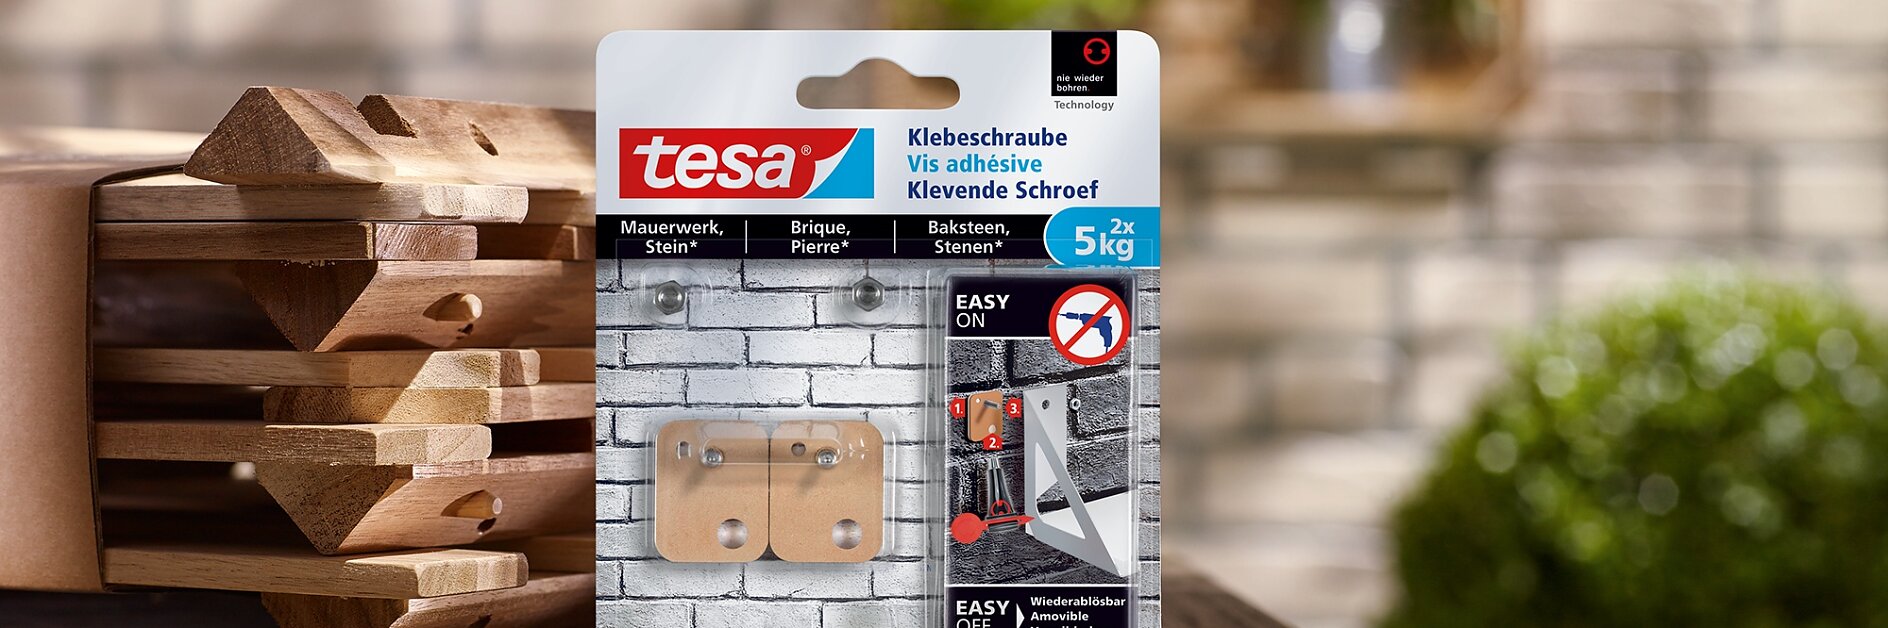
A reliable, reversible & unobtrusive way to mount objects on rough surfaces.
Click through the tabs above this step-by-step video to see how quick and easy it is to get your projects – and your possessions – off the ground.
There’s a drill-free, fuss-free way to put up shelves wherever you want. And the best bit is you won’t damage your surfaces. Take a look at our step-by-step guide to find out how, with Adhesive Screws.

Scrub off as much dirt and grit as you can from the surface. The less there is, the better the adhesive works.

Remove the foil from the base of the each screw to expose the adhesive circumference. Stick the screws where you want to mount them (find the smoothest, most even spot you can), pressing just hard enough so that they stay in place.
Pierce the tube’s nozzle with the key provided then slip the key over the other end of the tube.

Insert the nozzle into the larger hole on each screw and squeeze the formula in until it starts to emerge from the smaller hole. You don’t have to press down on the screws - simply leave the nie wieder bohren. Technology for 12 hours (or overnight) to do its thing. The moisture in the air reacts with the formula and gives it its sticking power.

Remove the nuts from the bolts, thread the brackets of your shelf onto them, and tighten up the nuts. You can mount just about anything – you’re not limited to shelves. Think exterior or interior lights, tool racks or hooks for your gardening tools. Because each screw can hold up to 5kg, simply use two of them for objects up to 10kg.

It’s amazingly easy to remove an Adhesive Screw. We’ve developed nie wieder bohren. Technology to be strong when you need it to be and not when you don’t. Just take wrench or a suitable pair of pliers, grip the screw and then slowly but firmly twist it away from the surface.