How to use the tesa® Adhesive Nail for Tiles & Metal 2kg.

Using the tesa® Adhesive Nail for Tiles & Metal 2kg

The smart way to mount or hang objects on smooth and solid surfaces.

Cleaning the surface.

01Make sure the surface is nice and clean

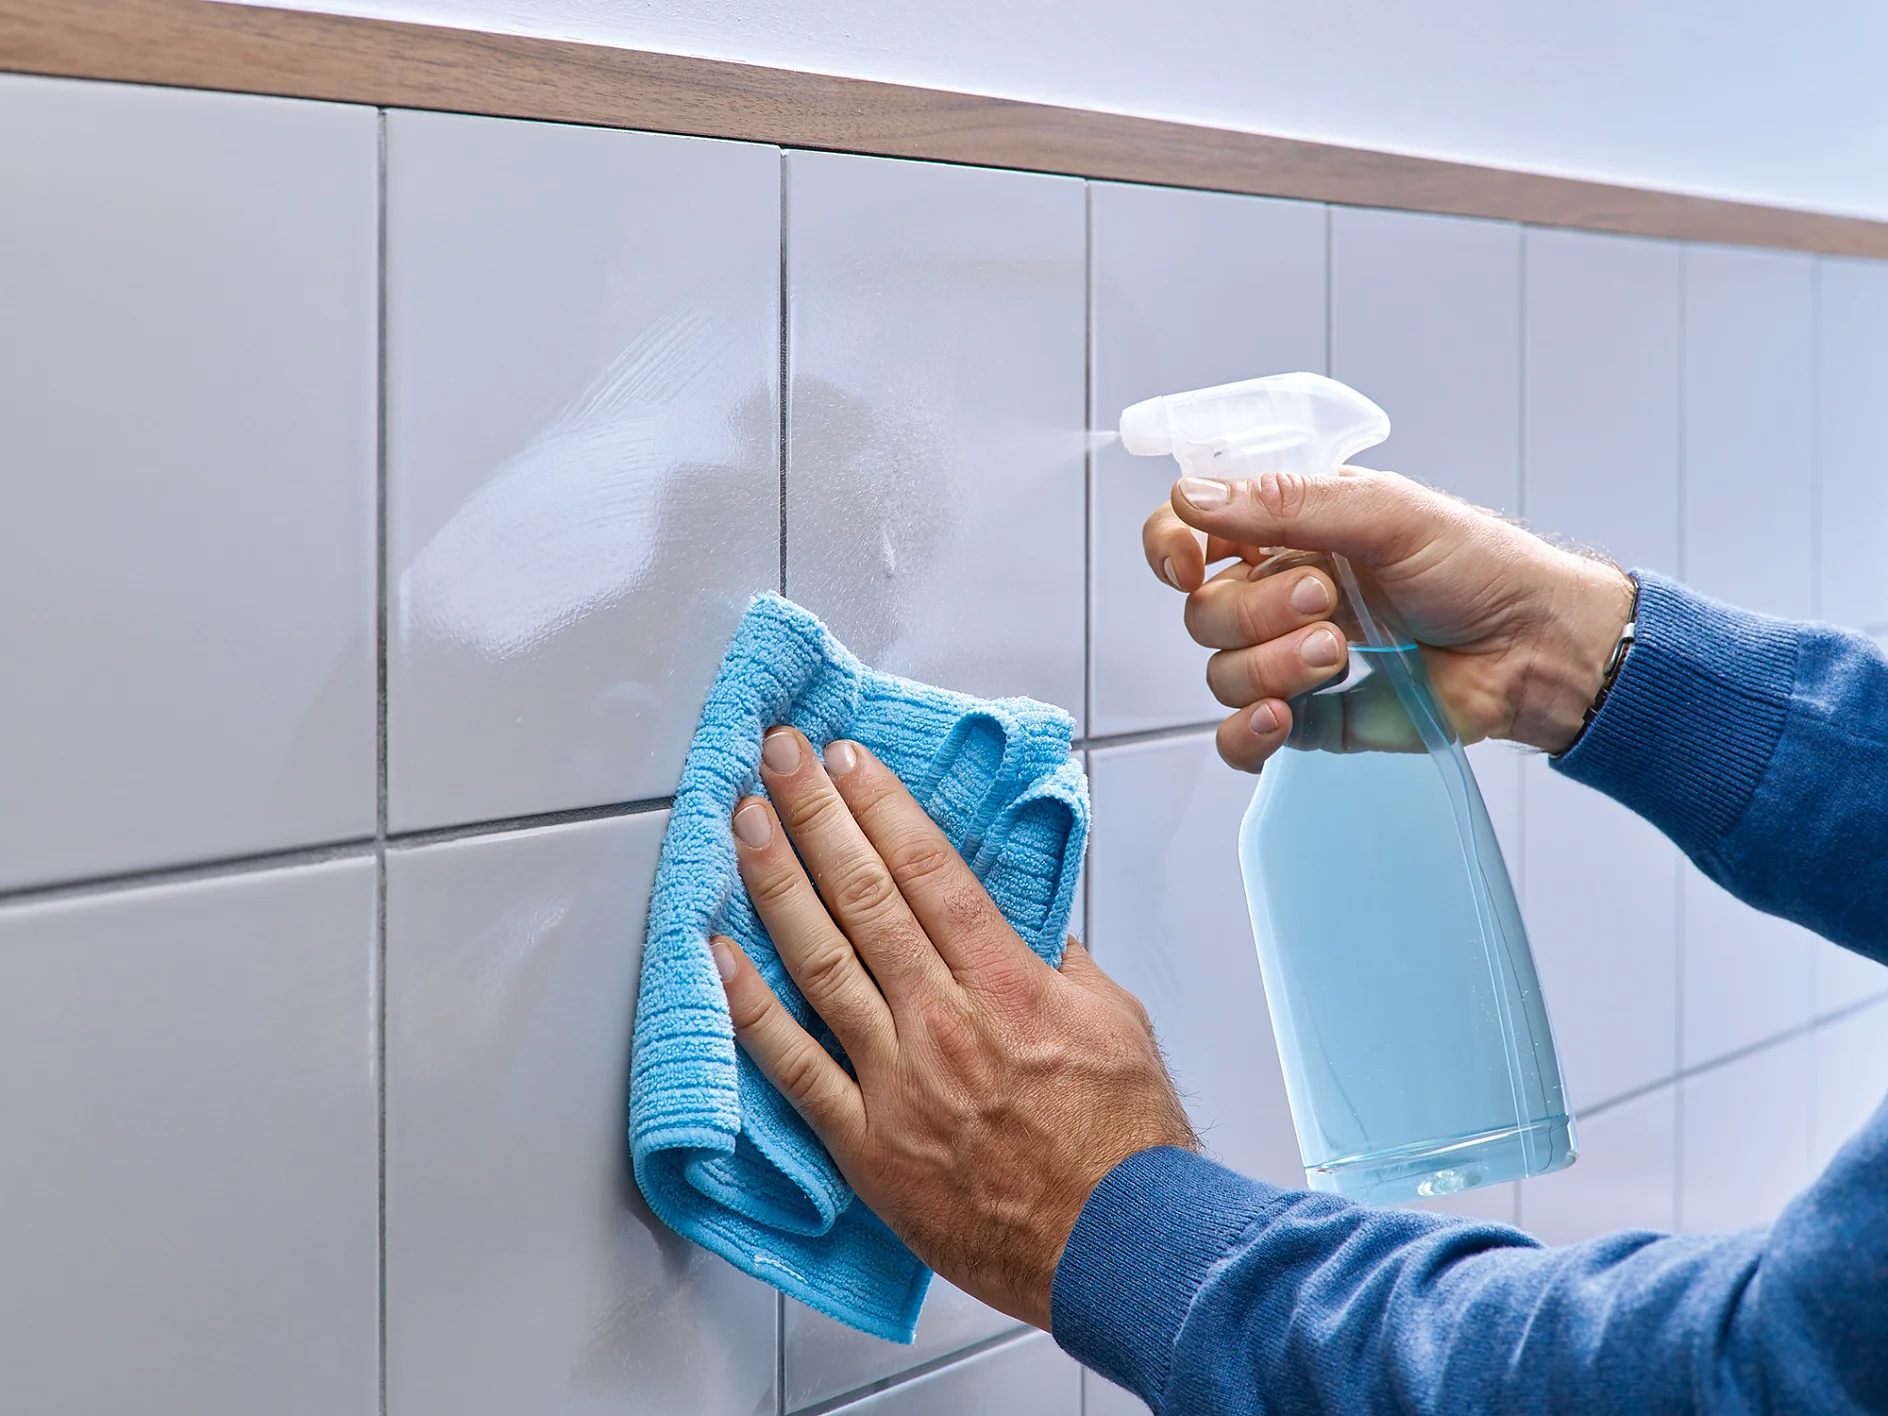
Use a clean cloth and a little rubbing alcohol or methylated spirit to remove any dust, dirt or grease that might interfere with the nail’s adhesive surface. For the same reason, avoid using detergents that contain silicone. Make sure your surface is completely dry before you begin.

Applying an Adhesive Strip.

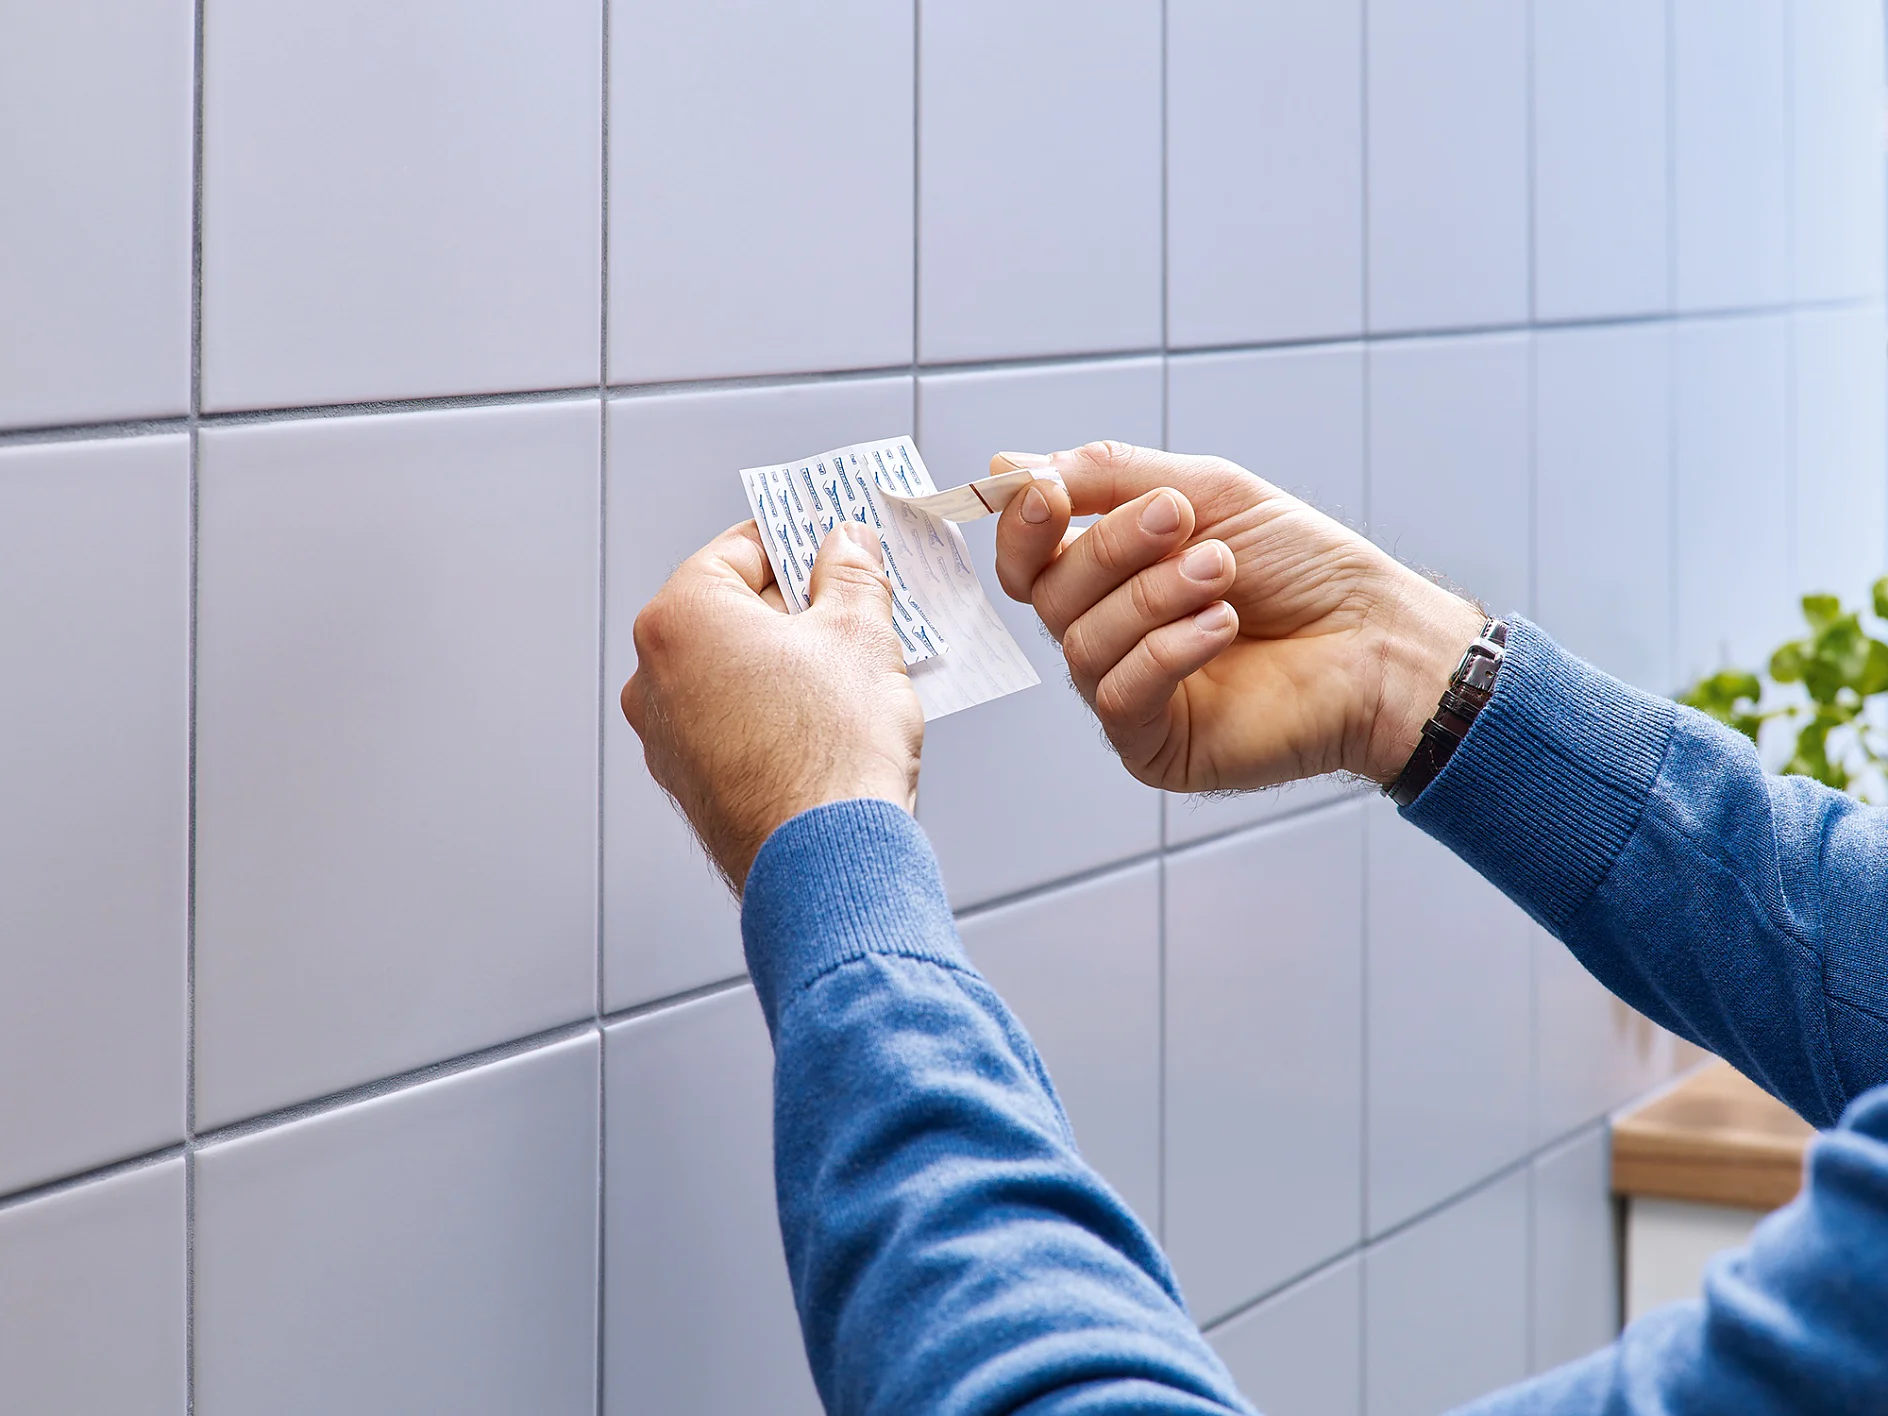
02Remove the Adhesive Strip from its backing

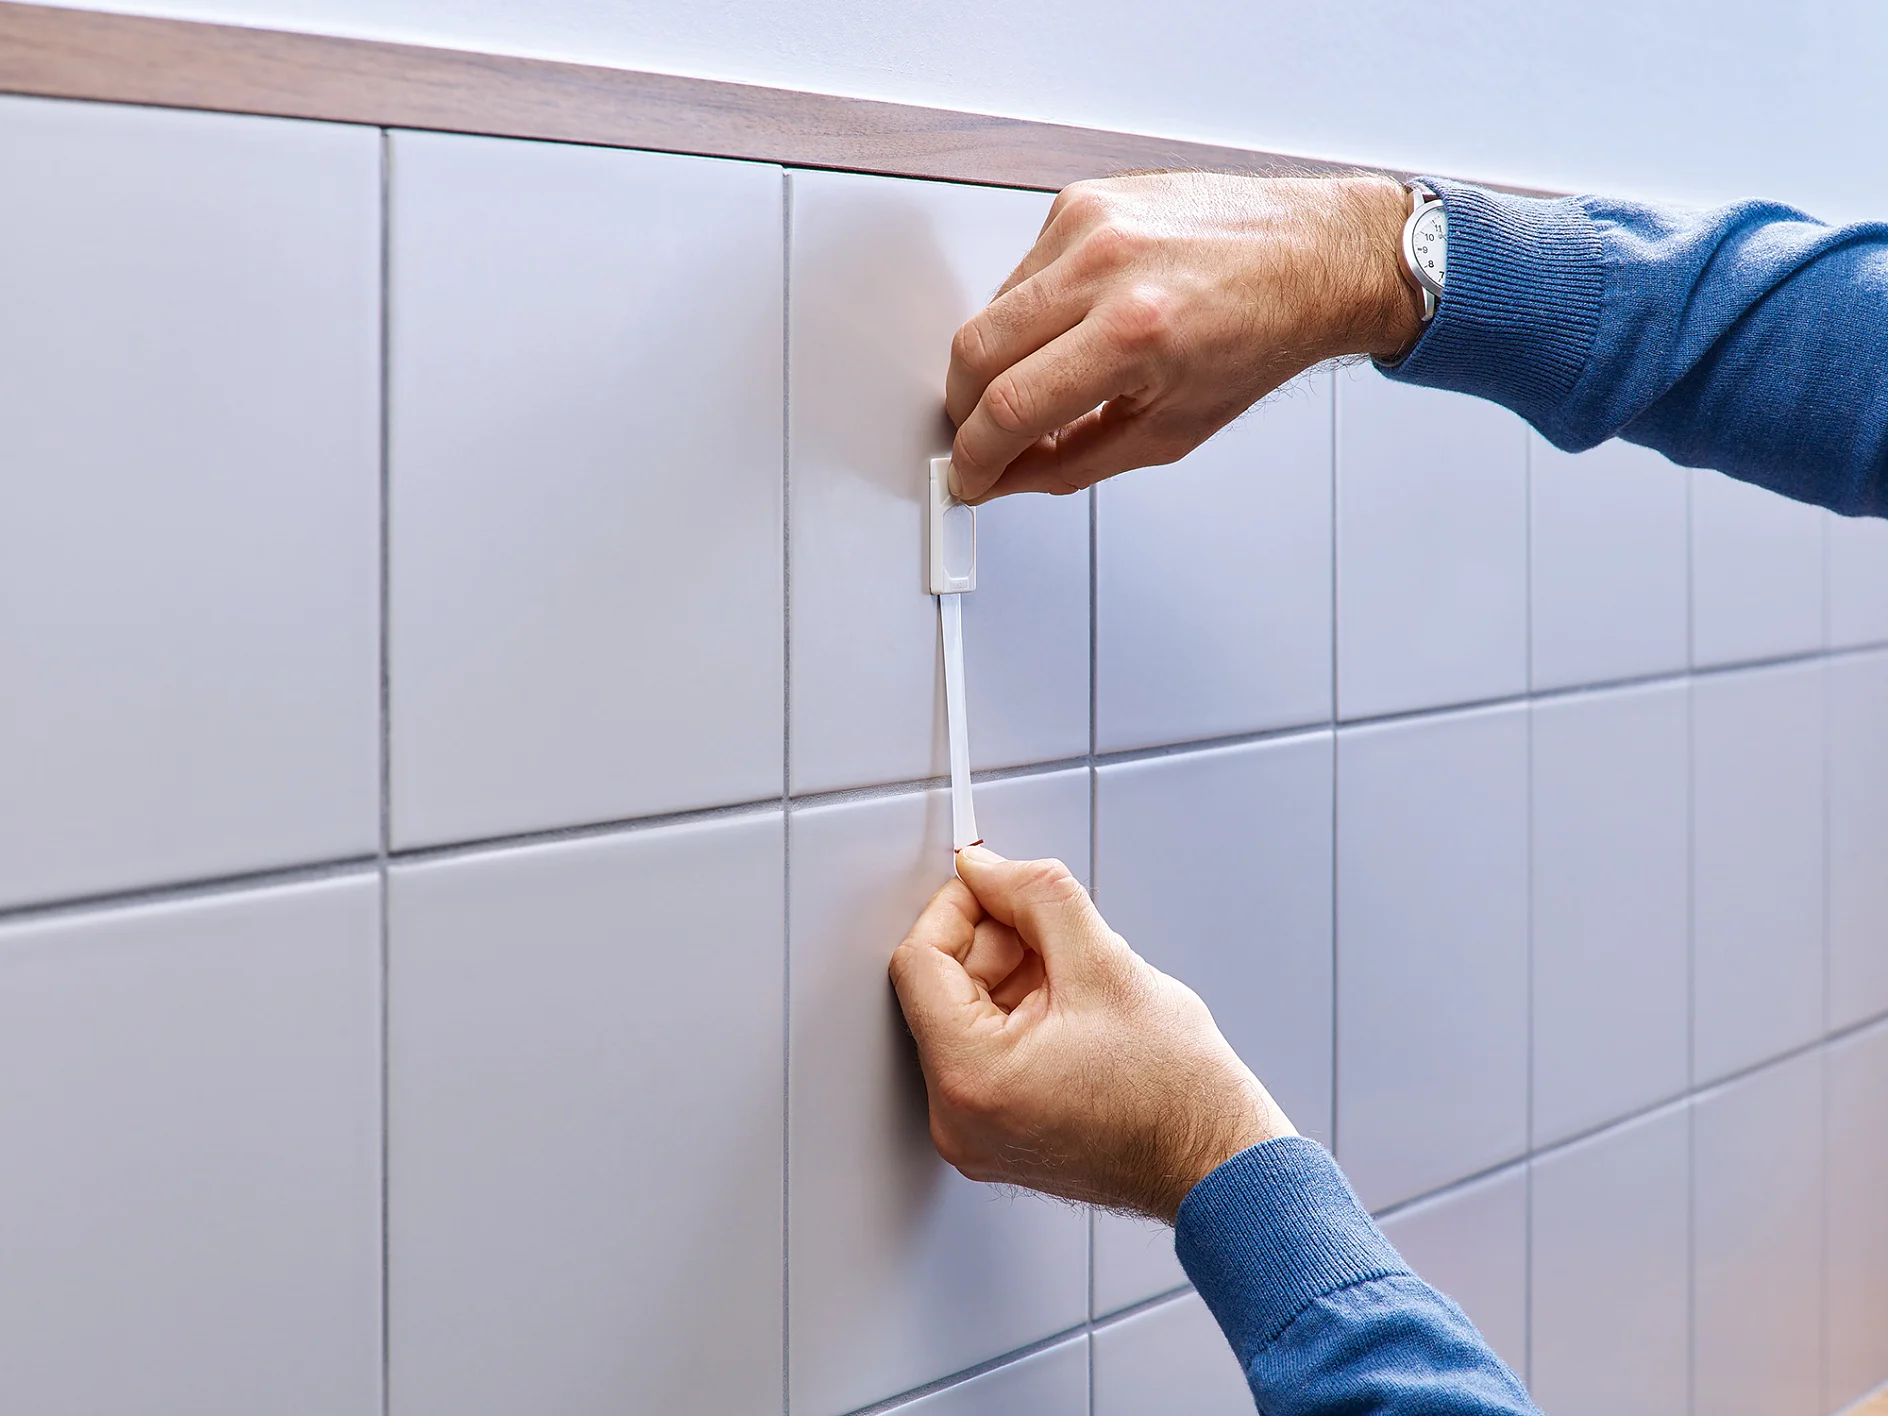
Remove the Adhesive Strip using the handle, making sure not to touch the adhesive surface itself. Apply the strip vertically to your freshly cleaned and dry surface.

Engaging the Powerstrips® Technology.

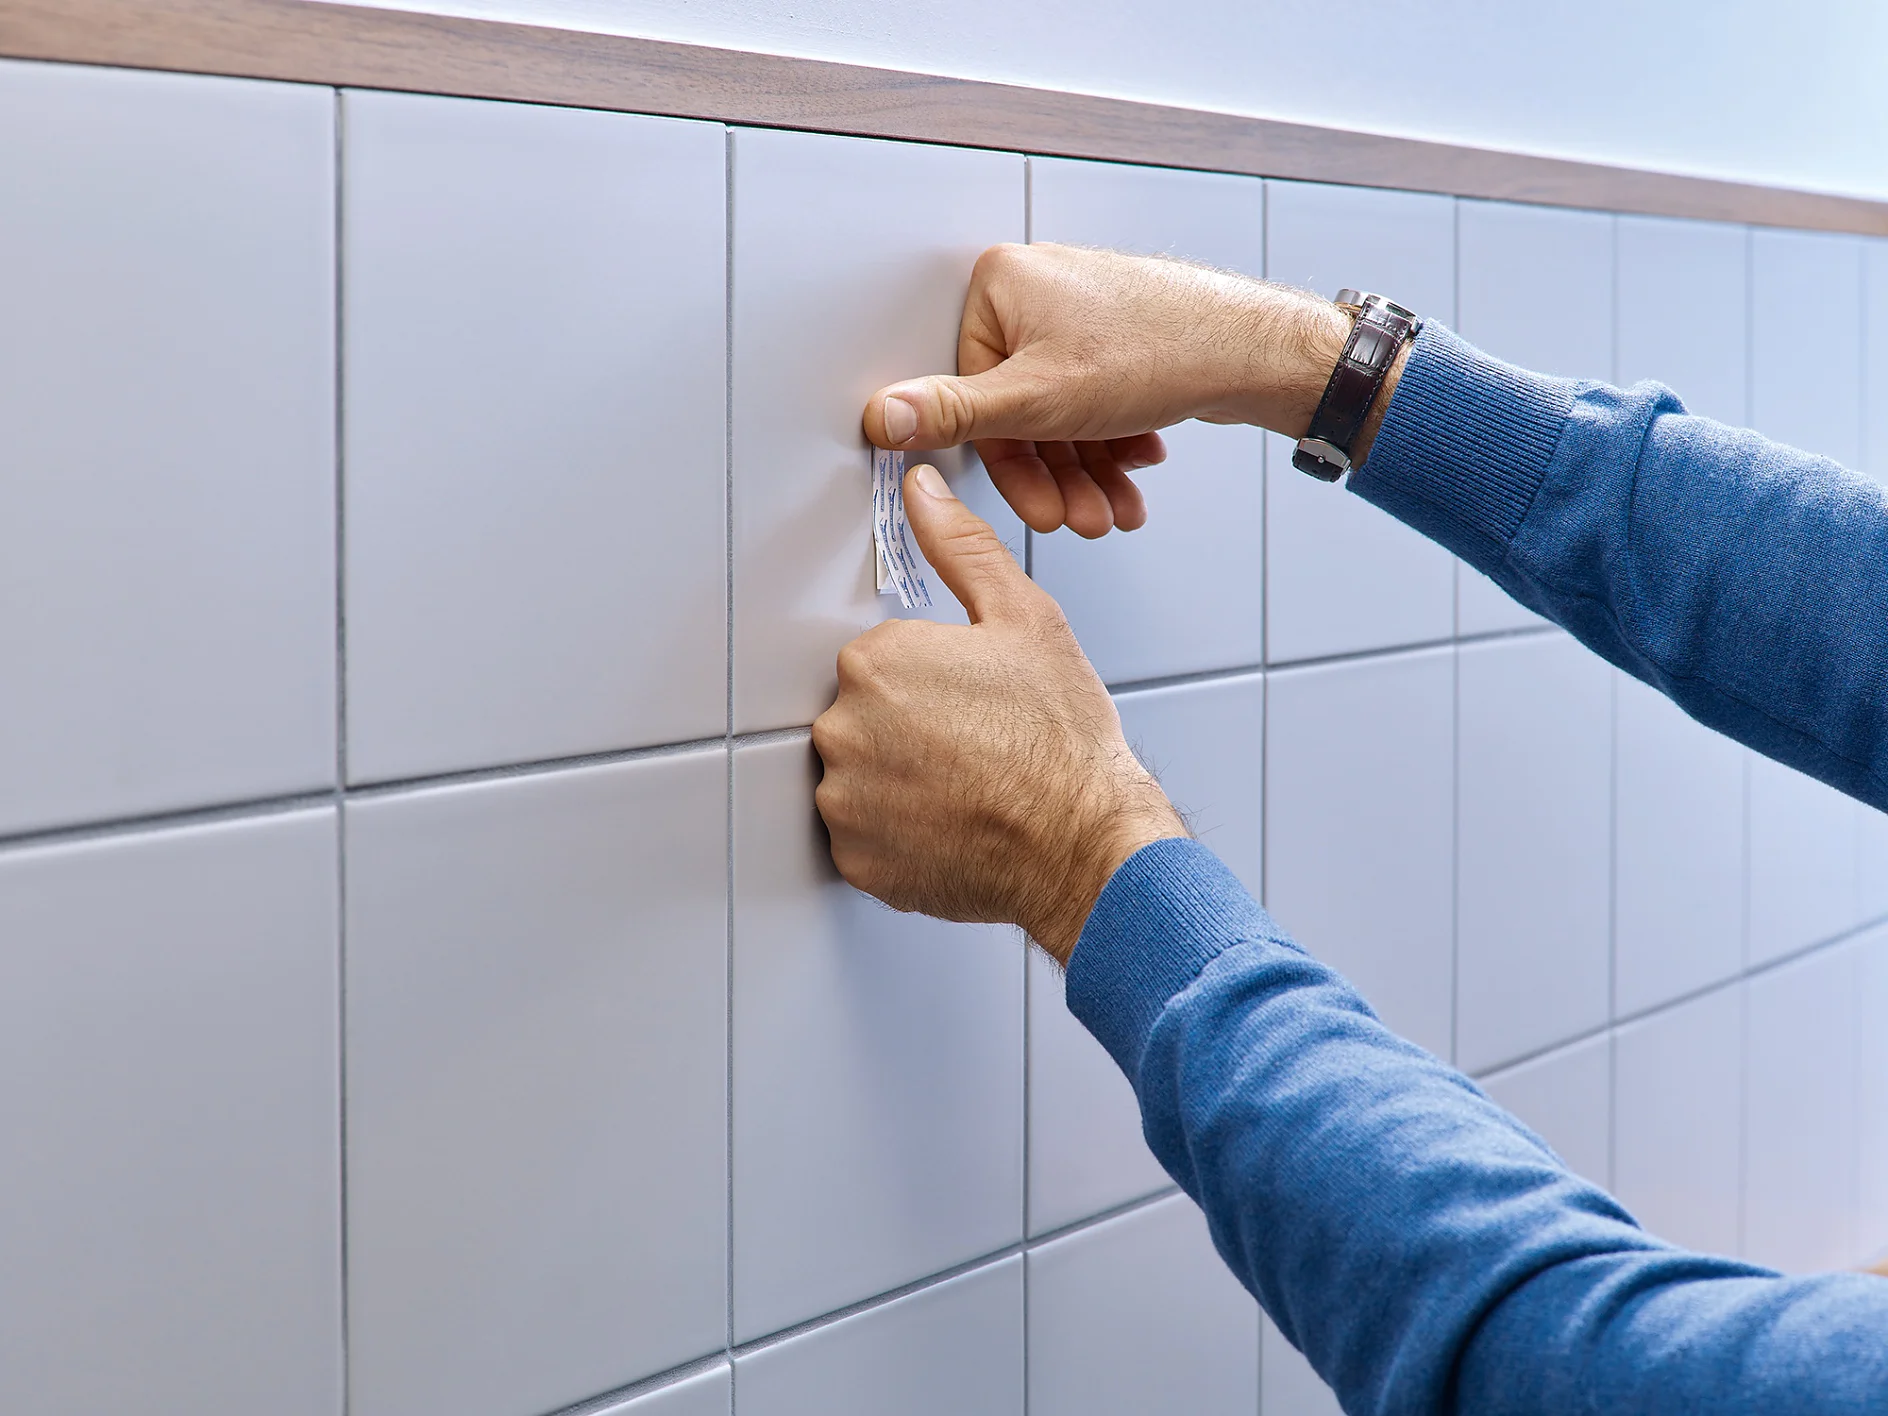
03Engage the Powerstrips® Technology

The adhesive bond in the Powerstrips® is activated by pressing the strip firmly all over for at least 5 seconds.

Attaching tesa® Adhesive Nails for Tiles & Metal 2kg.

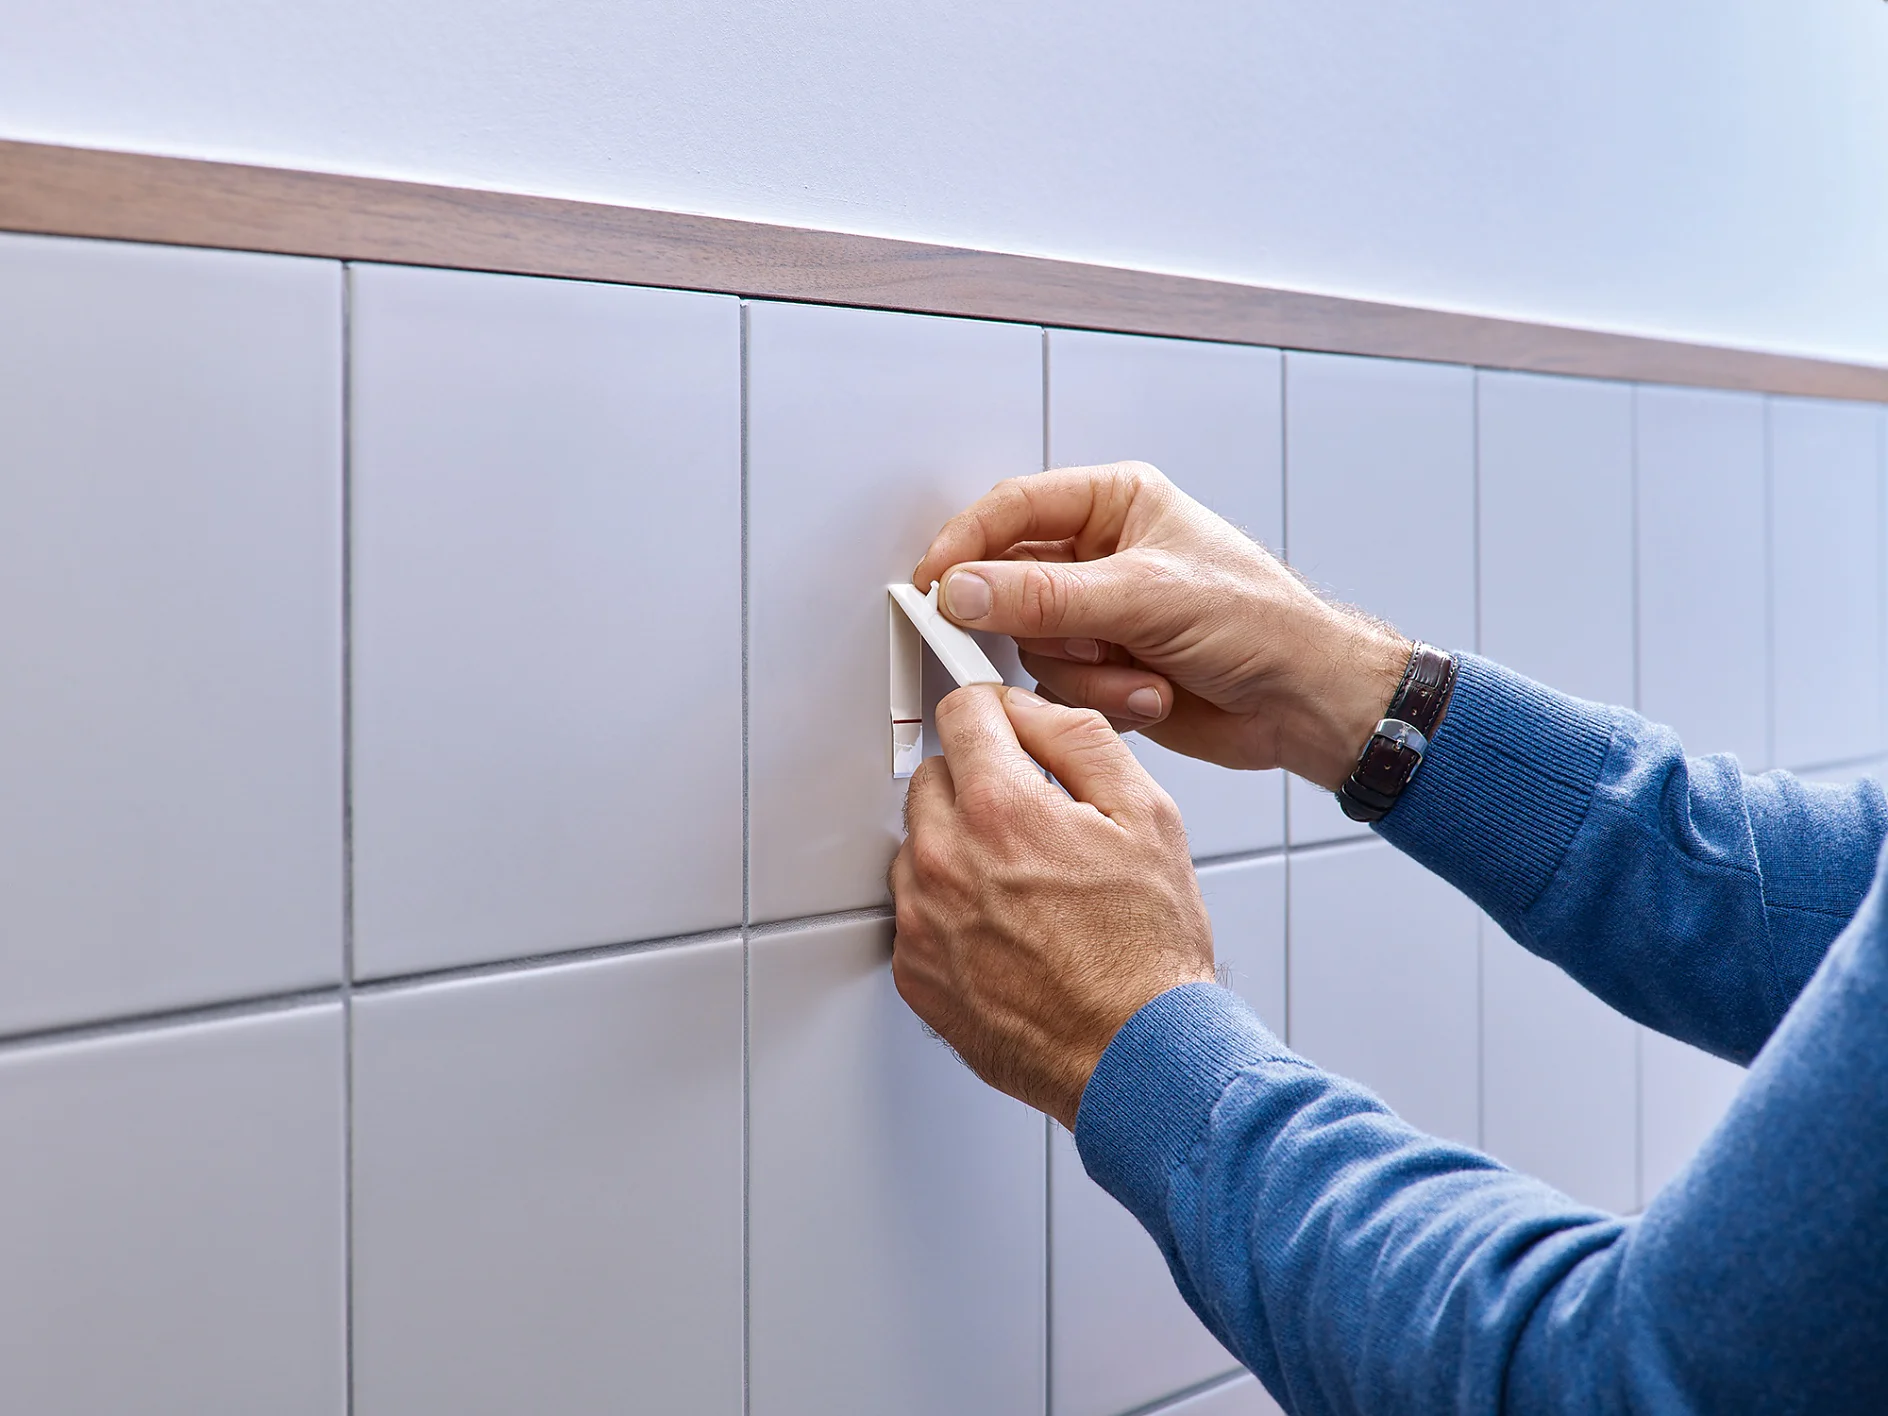
04Now it’s time to attach the nail

Remove the protective foil and carefully align the nail with the top edge of the strip – ensuring that the head of the nail is at the top – then fold the nail down onto the adhesive area right above the red line.

Securing tesa® Adhesive Nails for Tiles & Metal 2kg.

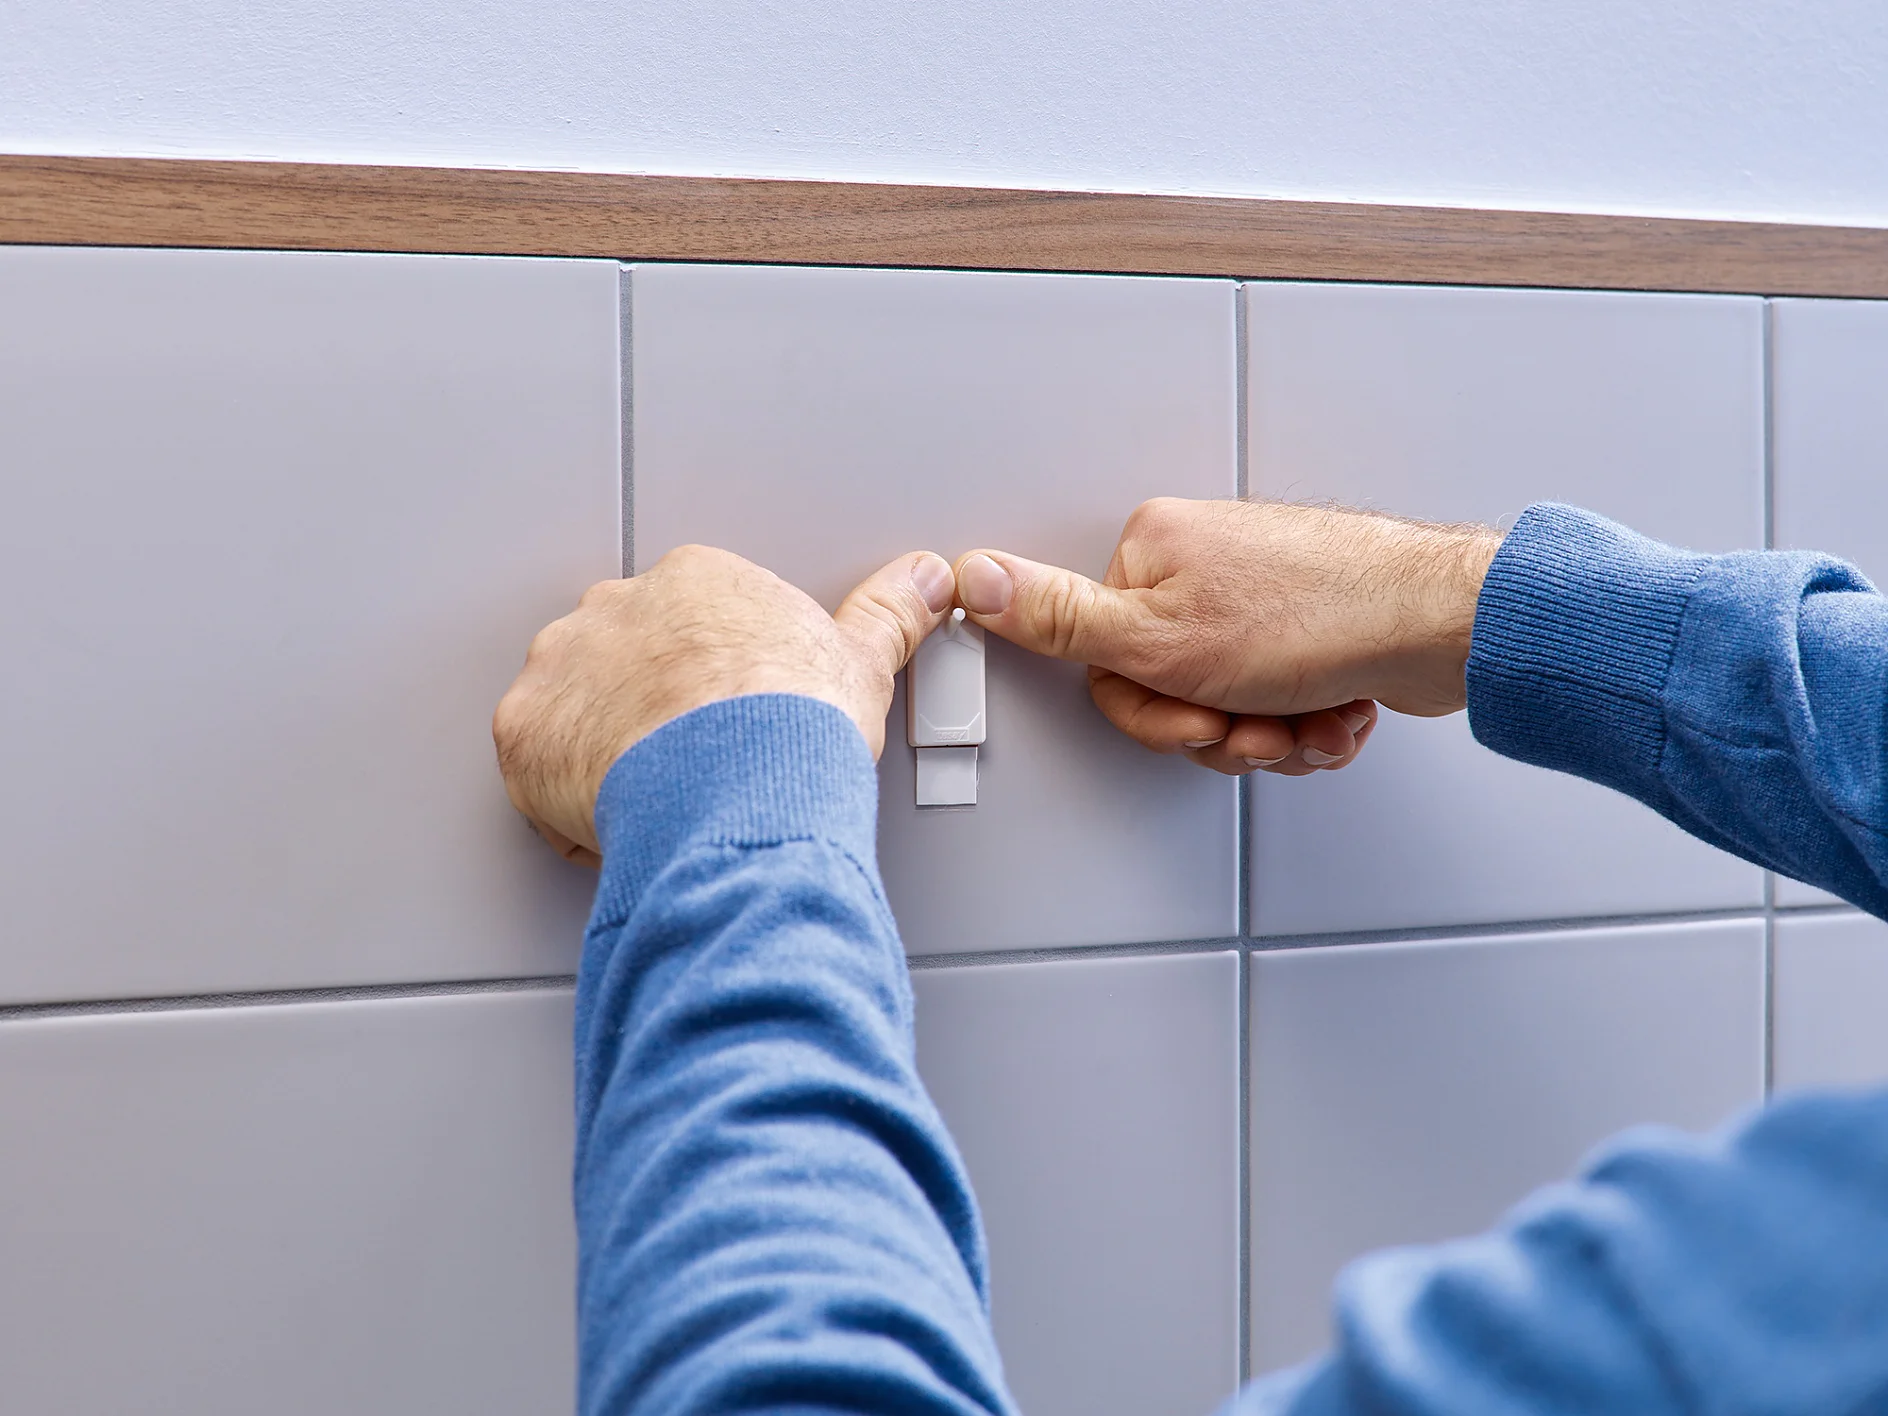
05Secure the nail

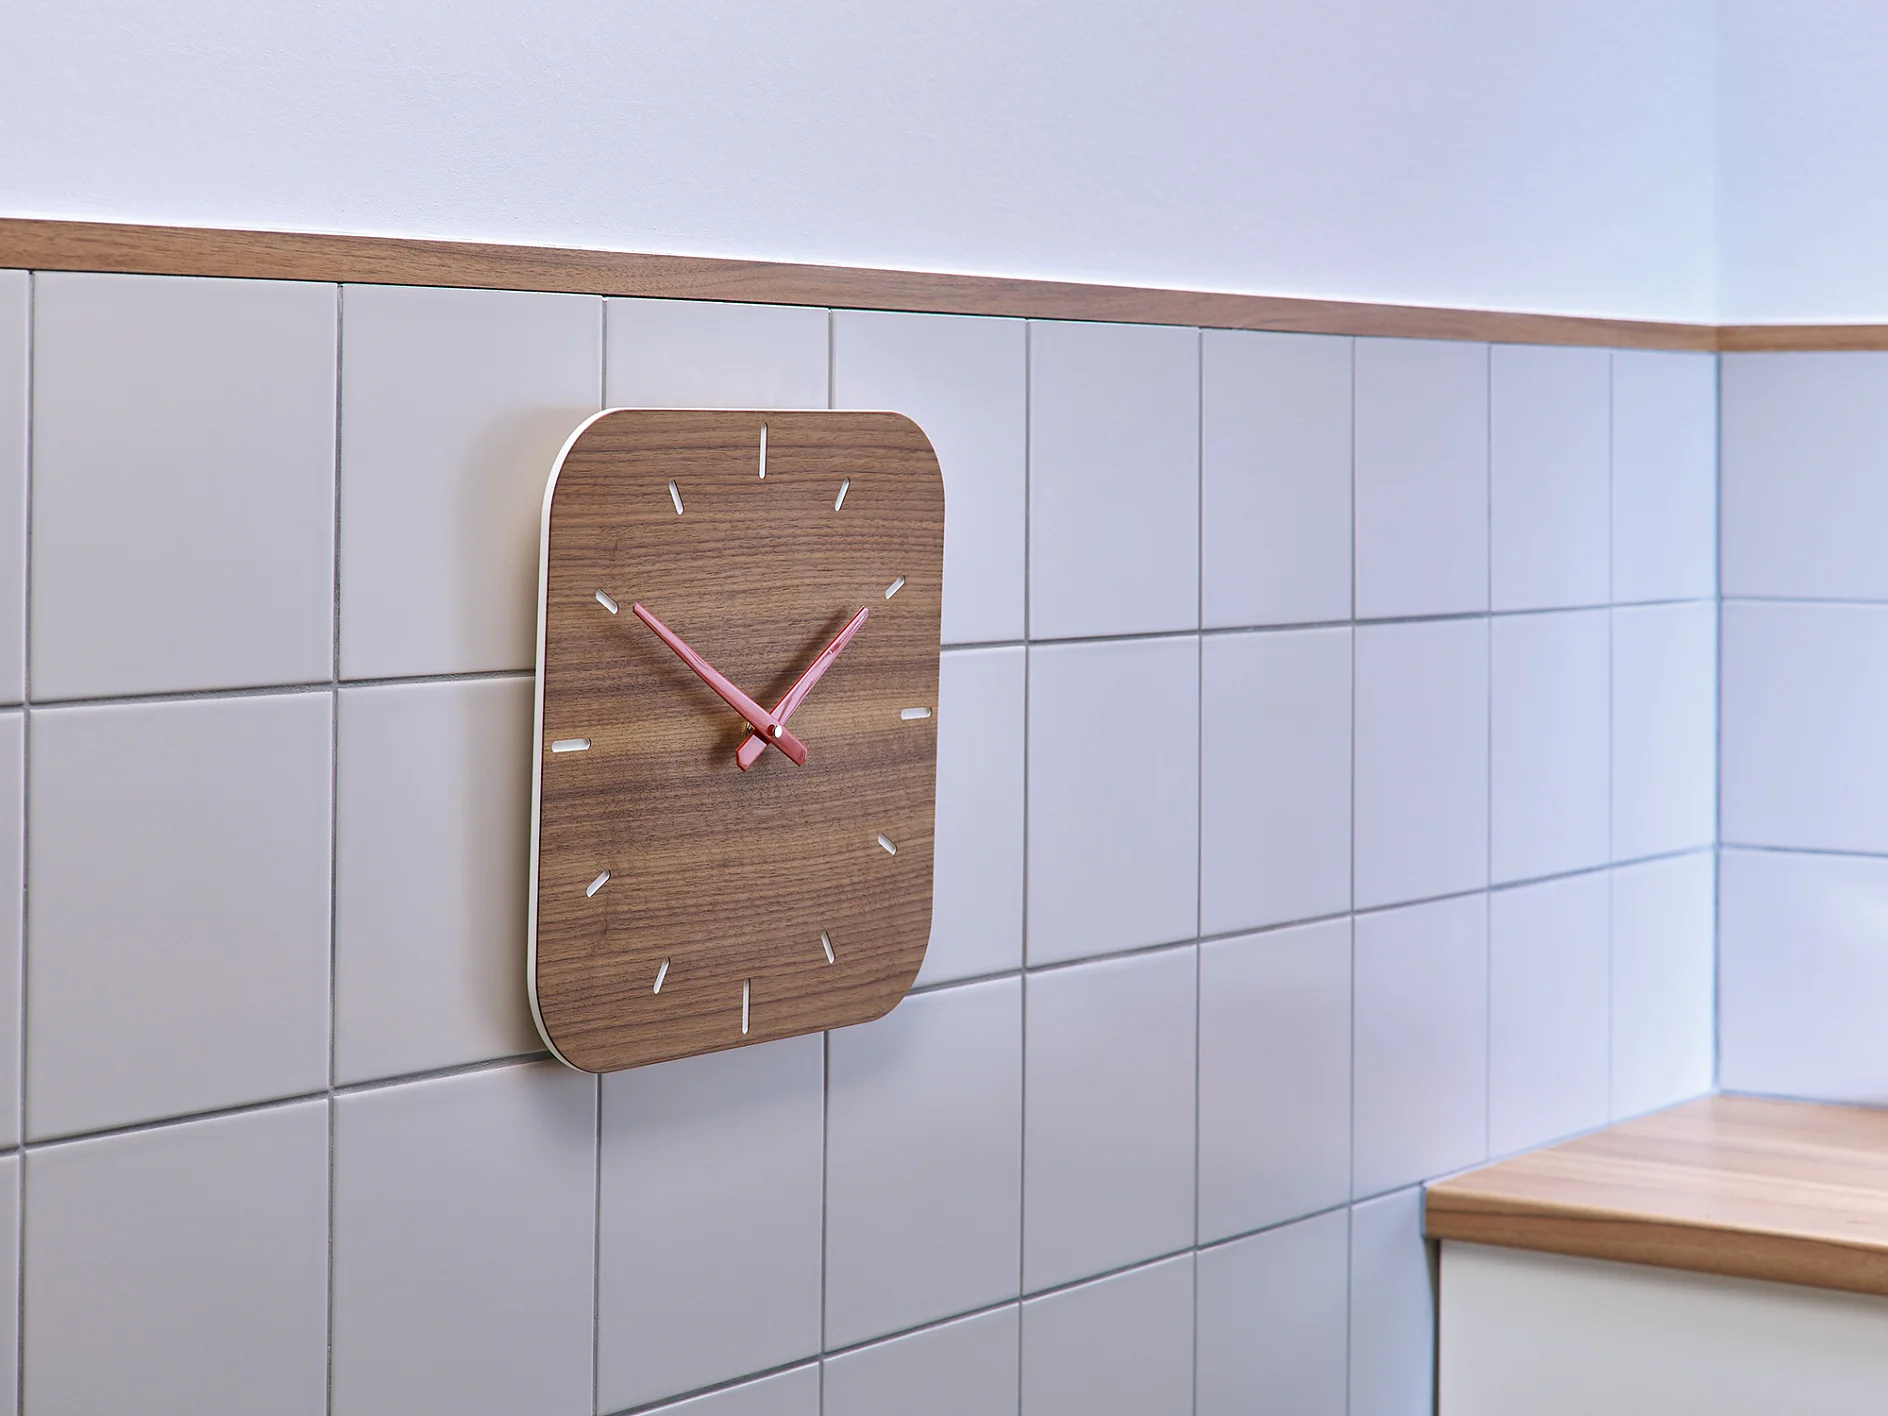
Press down firmly with both thumbs at the top of the nail for 5 seconds and for another 5 seconds at the bottom of the nail. You’ll find that you’ve very quietly, rather neatly and without any fuss got a nail on which to hang your clock.

Mounting with tesa® Adhesive Nails for Tiles & Metal 2kg.

06Mount the object

Your Adhesive Nail is great for anything up to 2kg, not just clocks. Use two nails to mount objects up to 4kg. Because they’re removable, you can mount or take down your photo frames, paintings and ornaments as often as you like.

Removing tesa® Adhesive Nails for Tiles & Metal 2kg.

07Removing the Adhesive Nail

If and when you want to move or remove an Adhesive Nail, you’ll find it couldn’t be easier. Grip the head of the nail between thumb and forefinger and with your other hand take hold of the exposed tab. Now here’s the important bit: without pressing the nail to the surface, gently stretch the Adhesive Strip down in parallel to the surface and NOT away from it. This action releases the thousands of tiny individual bonds that make up the adhesive surface.