How to use tesa® Mounting Tape for Tiles & Metal 100kg/m.

Using tesa® Mounting Tape for Tiles & Metal 100kg/m

Using tesa® Mounting Tape for Tiles & Metal 100kg/m. The extra-strong wall-mounting solution for smooth and solid surfaces like tiles.

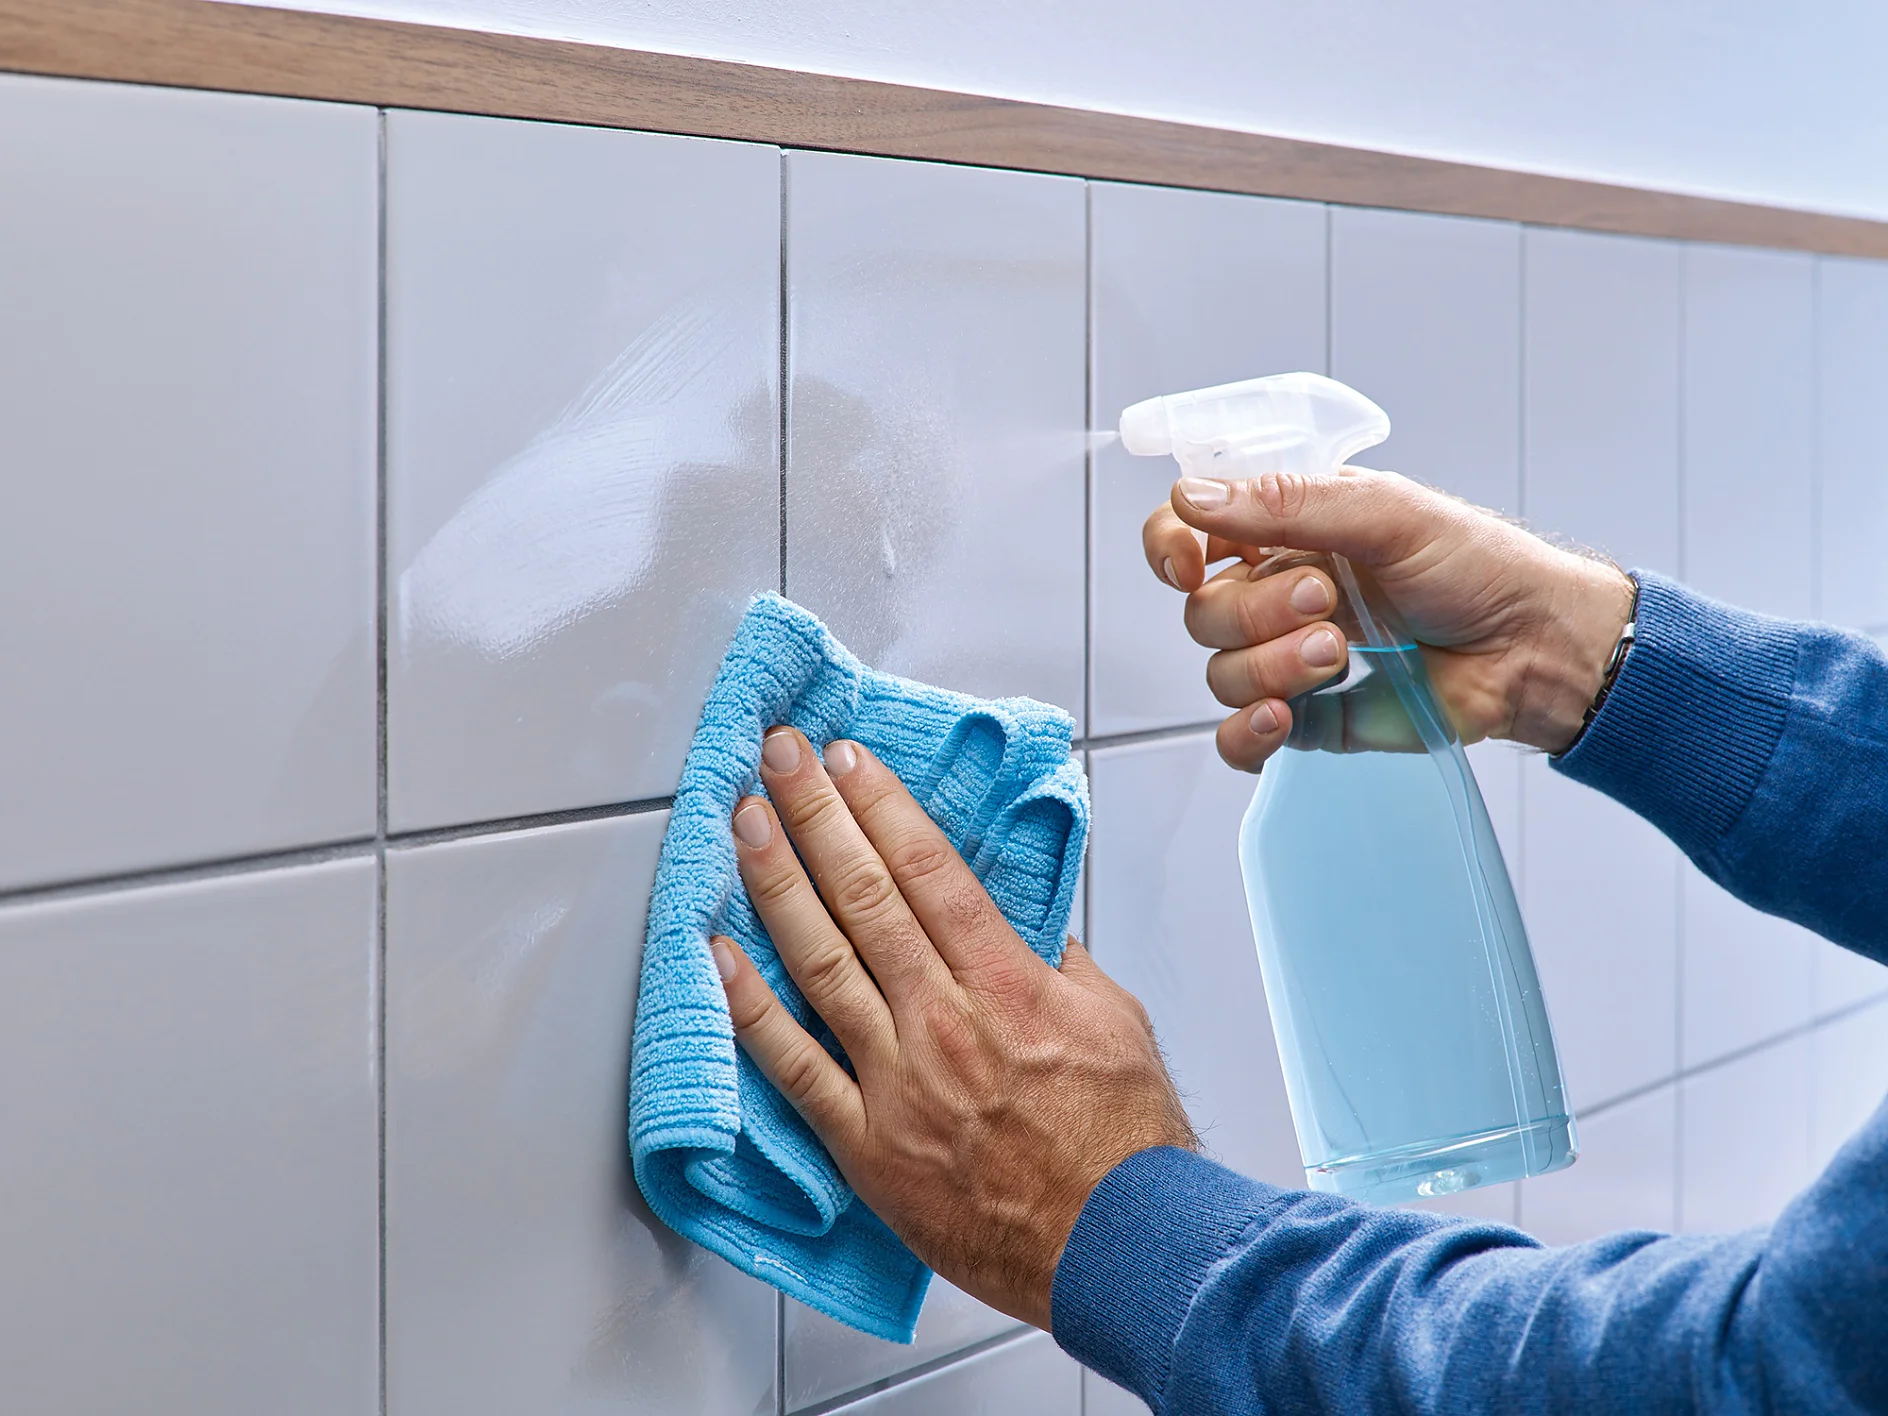
Cleaning the surface.

01Clean the surfaces

Use a silicone-free cleaner, rubbing alcohol or methylated spirit and a dust-free cloth to get rid of any dirt on the mounting surface and the back of the object you’re mounting. Silicon’s the enemy of adhesion because it’s non-stick. And sticking stuff to non-stick so that it stays stuck is tricky. Make sure your surface is dry before you start.

Applying tesa® Mounting Tape for Tiles & Metal 100kg/m.

02Apply the Mounting Tape

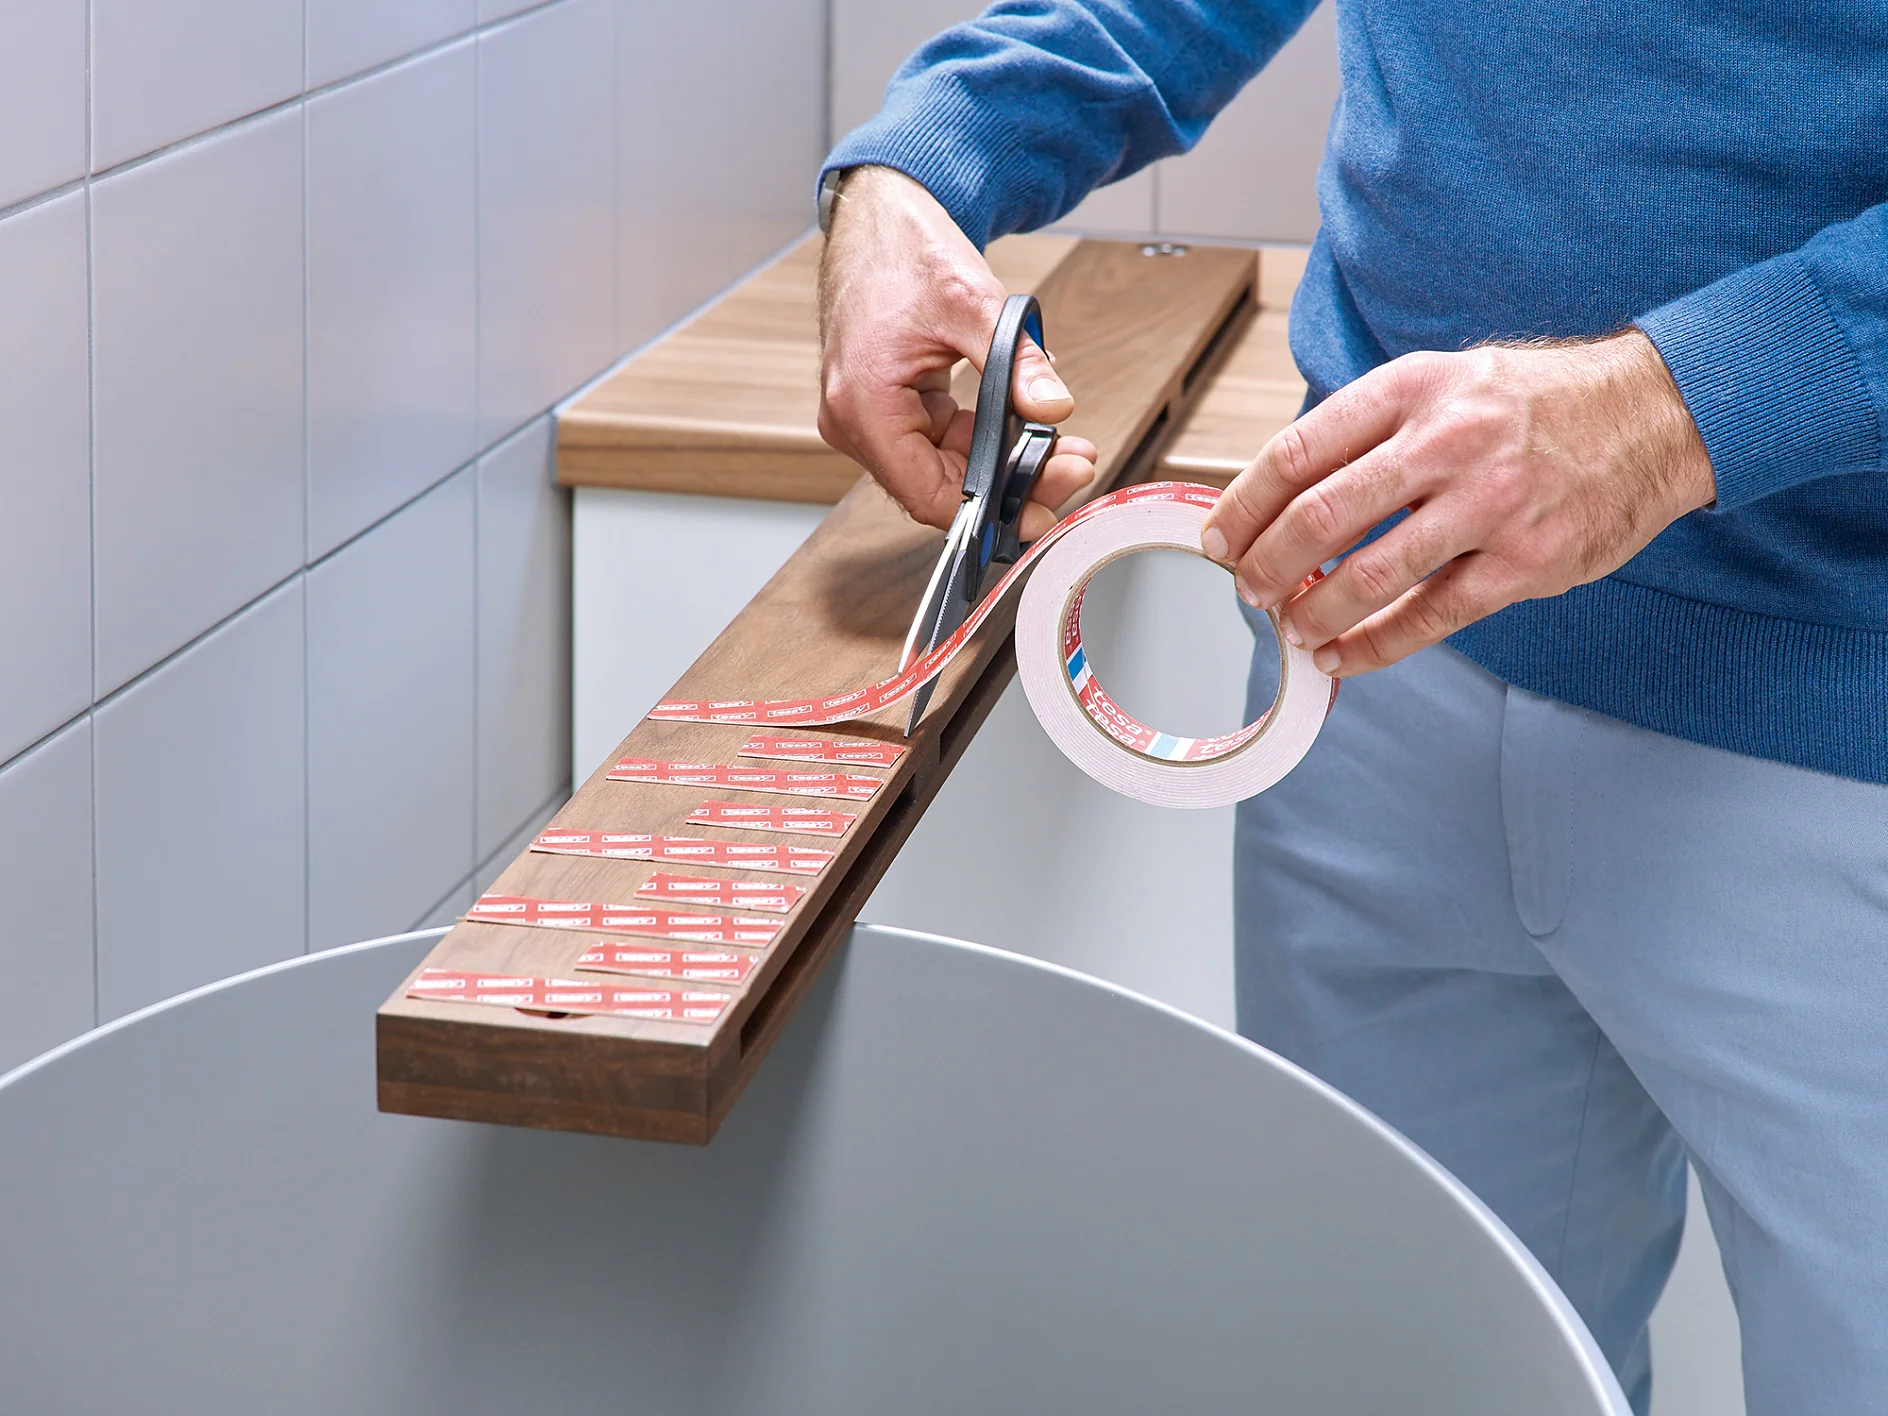
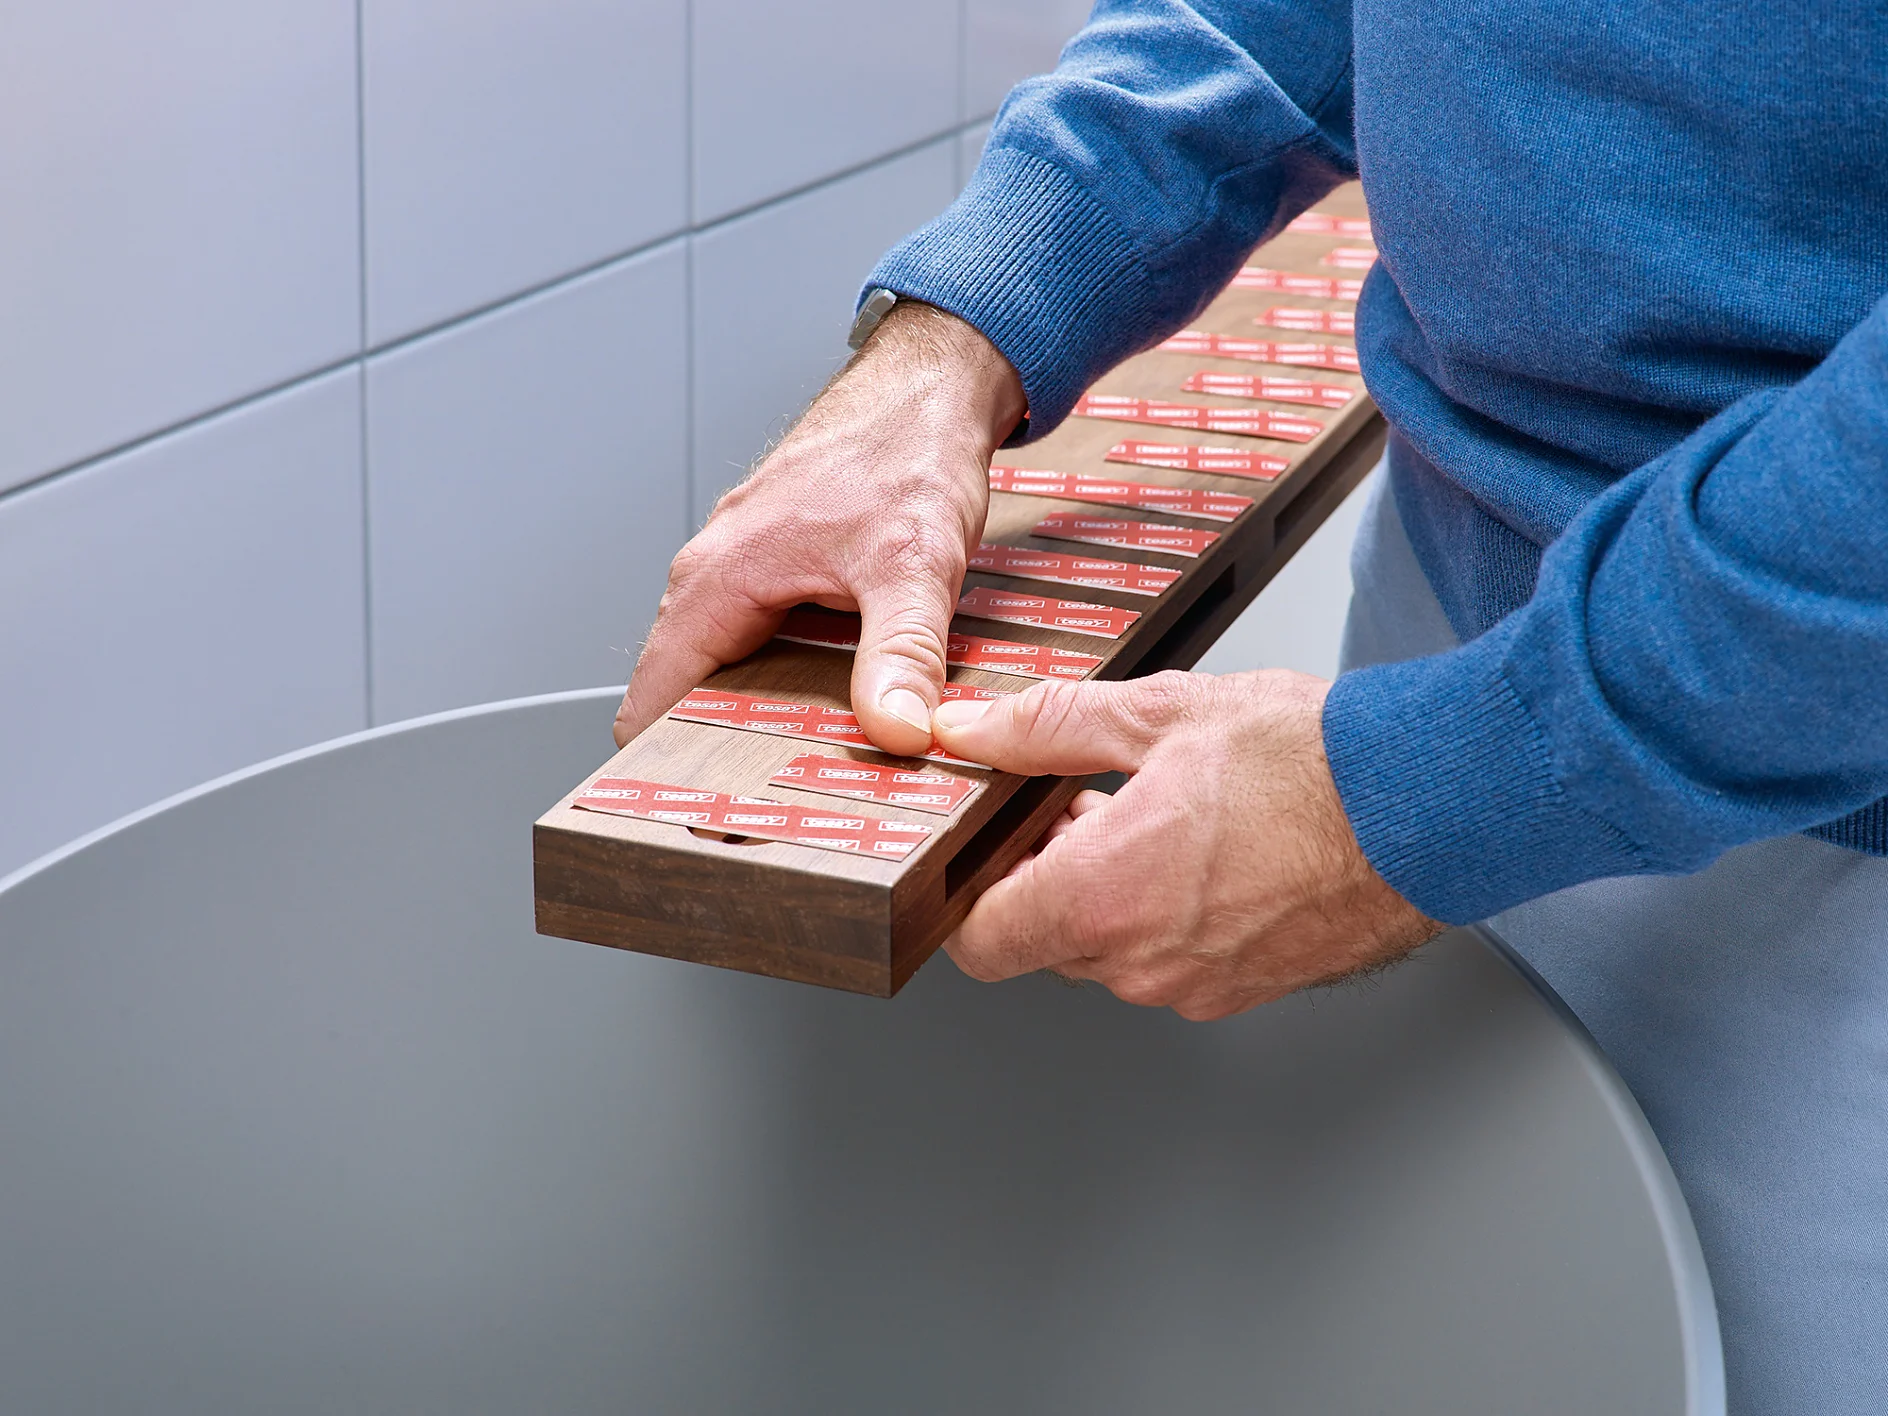
Cut lengths from the roll and apply them vertically to your object, if that’s the rougher surface. Since the load will be greater at the top of the hanging area, use more tape here. It’s best to do it this way round rather than apply the tape to smoother surface because the Powerbond® Technology needs pressure applied to activate…

Activating the Powerbond® Technology.

03Activate the Powerbond® technology

…And that’s why you need to press or rub firmly along the back of each length of tape for at least 5 seconds.

Mounting with tesa® Mounting Tape for Tiles & Metal 100kg/m.

04Mount your item

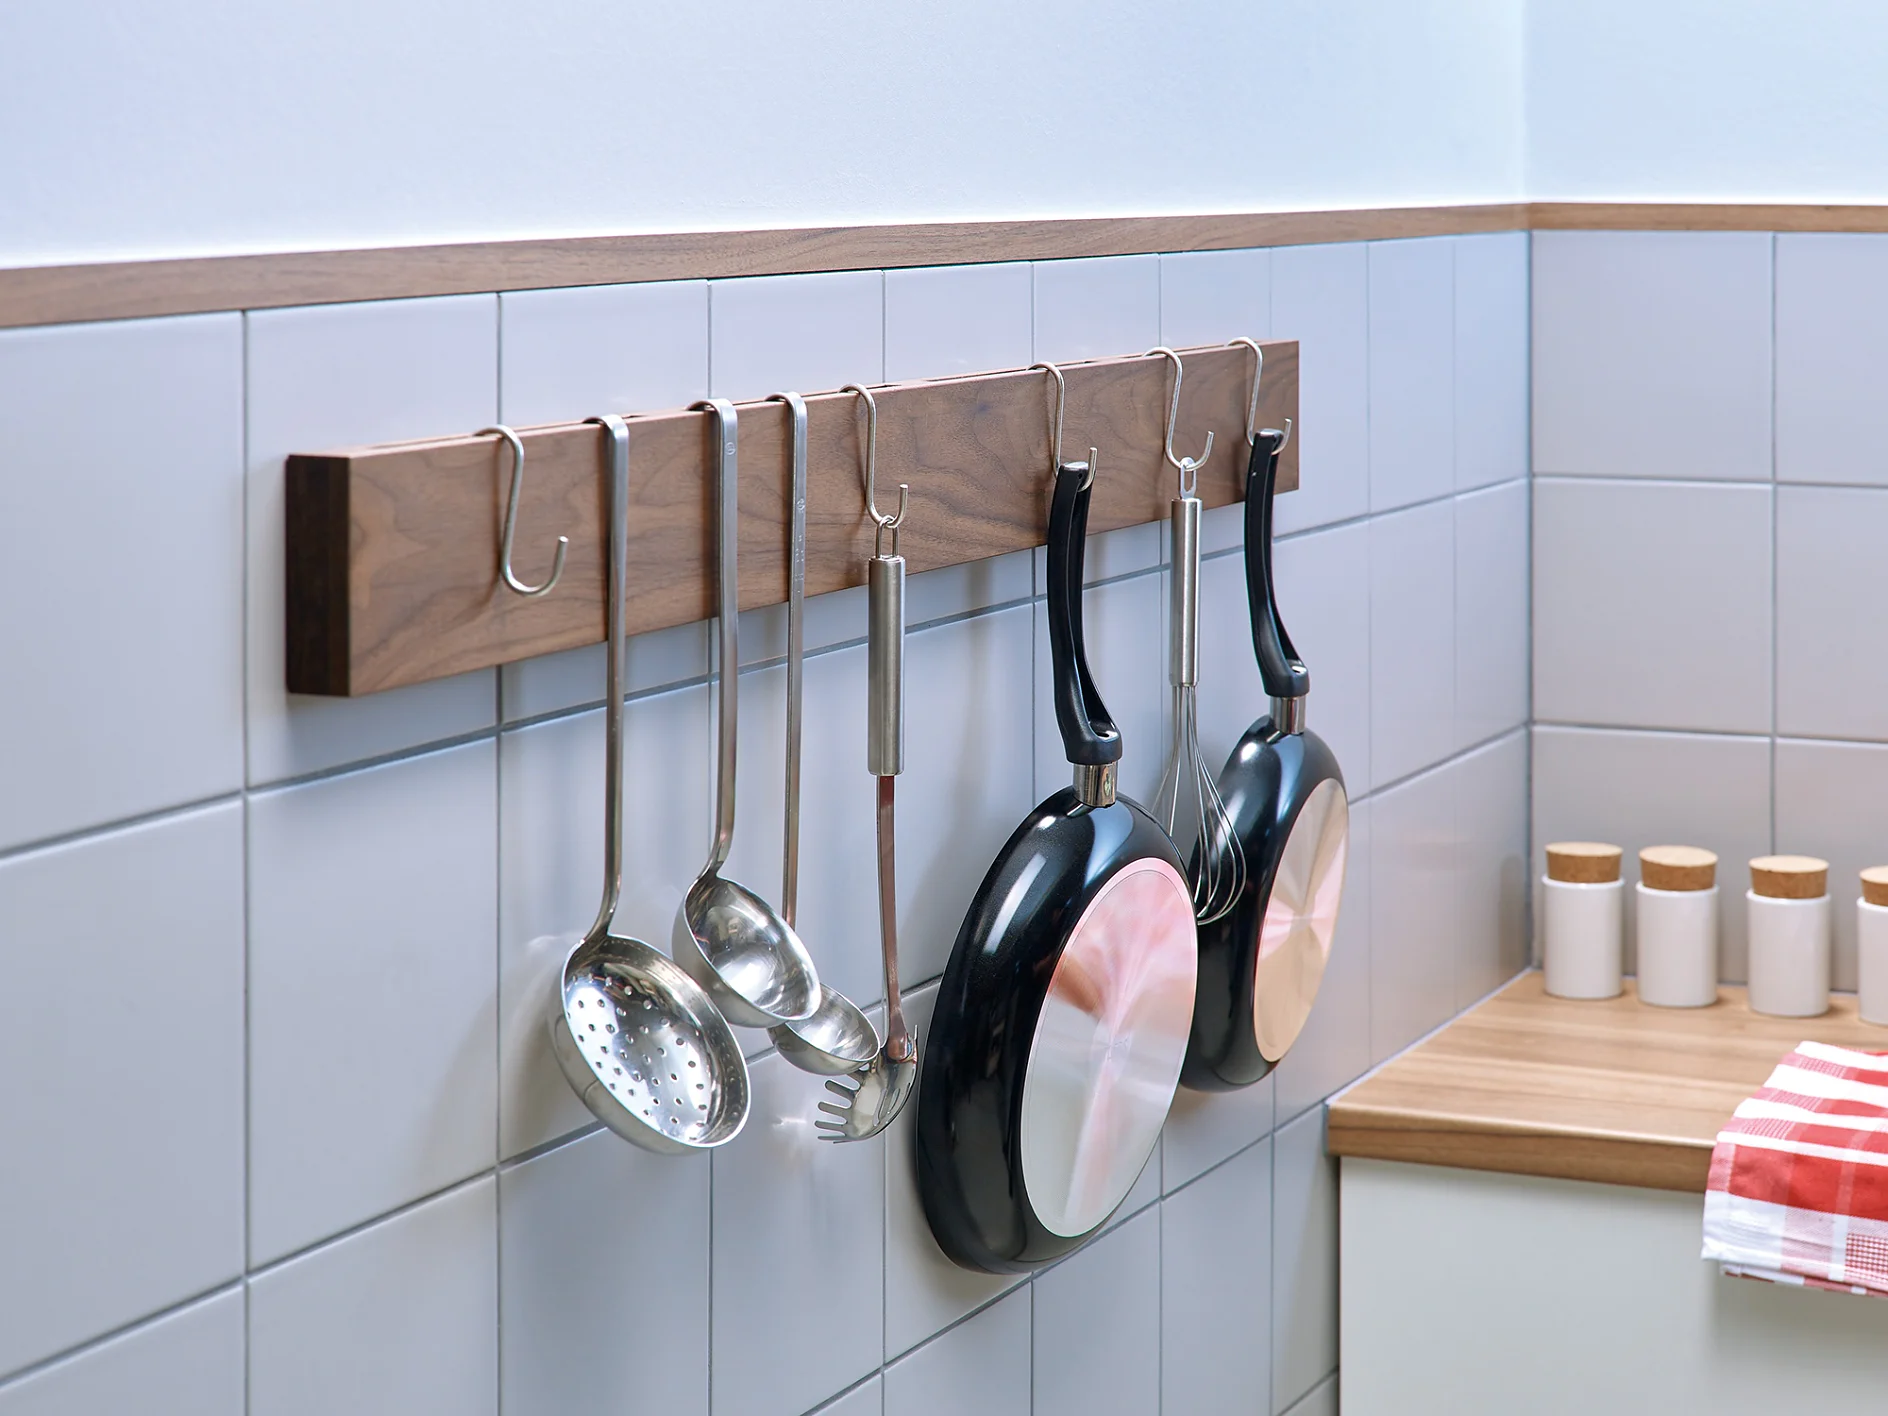
Next, peel off the protective foil and align the pan rack (it doesn’t have to be a pan rack of course. It could be a mirror, a knife rack or a coat rack – pretty much anything at all) and press it to the surface. Take at least another 5 seconds to press down over the entirety of the object’s surface to make sure the bond is perfect.