01
First, the door frame needs to be measured, so that the fly screen can be cut to the right size. To do this, it is best to spread the fly screen out on a large surface.
Our fly screens for windows and doors allow you to protect your windows so that insects can't get in. All fly screen solutions for windows and doors can be mounted in a snap and require no drilling.
Tutorial Video - Magnetic Curtain
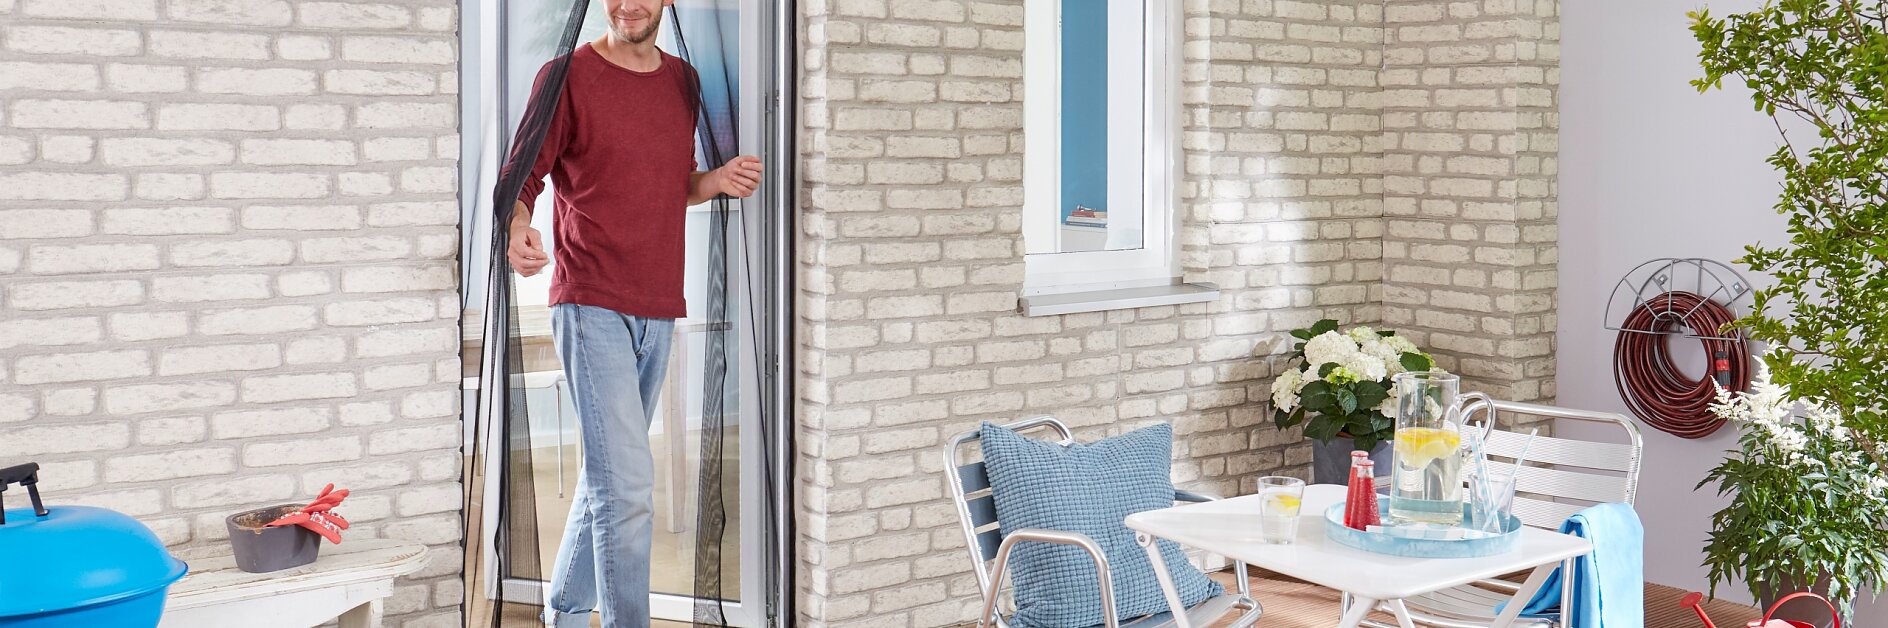
Take a look at our step-by-step video and convince yourself of how simple it is to use our mounting tape and to implement your projects. The tesa® Insect Stop Magnet curtain automatically closes thanks to its continuous magnetic strip and can be opened easily. Our adhesive solutions allow the insect protection to be mounted very easily without the need for drilling, removed without leaving residue, reused and can even be combined with blinds, roller shutters and patio doors and individually cut to size.
First, the door frame needs to be measured, so that the fly screen can be cut to the right size. To do this, it is best to spread the fly screen out on a large surface.
Once the measurements are known and the fly screen is measured out, it can be cut to size. Take particular care to make calm and controlled cuts; it's best to use kitchen scissors for this.
The curtain is affixed on three sides: right, left and top. The bottom edge remains loose. The next step involves fixing the top side. To do this, the two included rails are taken from the packaging. The protective film of the double-sided adhesive tape can be removed.
The fly screen can then be placed carefully into the rails until a proper fit is achieved.
The rails can now be closed so that the fly screen is held by the rail.
Now both rails can be connected using the supplied connector to guarantee a firm hold on the top side. Then, the supplied fastening strip can be applied to the back and the protective film removed.
Please apply the white Hook&Loop Tape to the previously applied connector and remove the protective film.
Additionally, place the black Hook&Loop Tape on the previosly attached white Hook&Loop Tape.
Remove the protective film.
Clean the outside of the door frame and use a dust-free cloth with a little alcohol or denatured alcohol to remove dirt and grease. If you would prefer to use a cleaning agent, you should choose one which is silicone-free. Silicone has non-stick properties and therefore prevents adhesion. Before continuing with the next step, the surface should be dry.
The fly screen can be attached to the top door frame with the rails. Press the rails down firmly onto the outer door frame. The curtain must not come into contact with the lower door frame or the floor. The magnets must swing freely so that they can close again cleanly.
To ensure adhesion to both outer sides, the white fastening strip can be applied to the outer door frame. To do this, remove the protective film and stick the fastening strip to the door frame.
The black fastening strip included in the package is now applied to the white fastening strip with the fine side.
In the next step, the outer sides of the fly screen can be pressed onto the black fastening strip.
Another fastening strip is now applied to the same spot to ensure that the fly screen adheres to the side door frame.