01
We need: plain wooden nest boxes, acrylic paint in white and blue, paint brush, masking tape, tesa® adhesive screw triangular for brick & stone 10kg
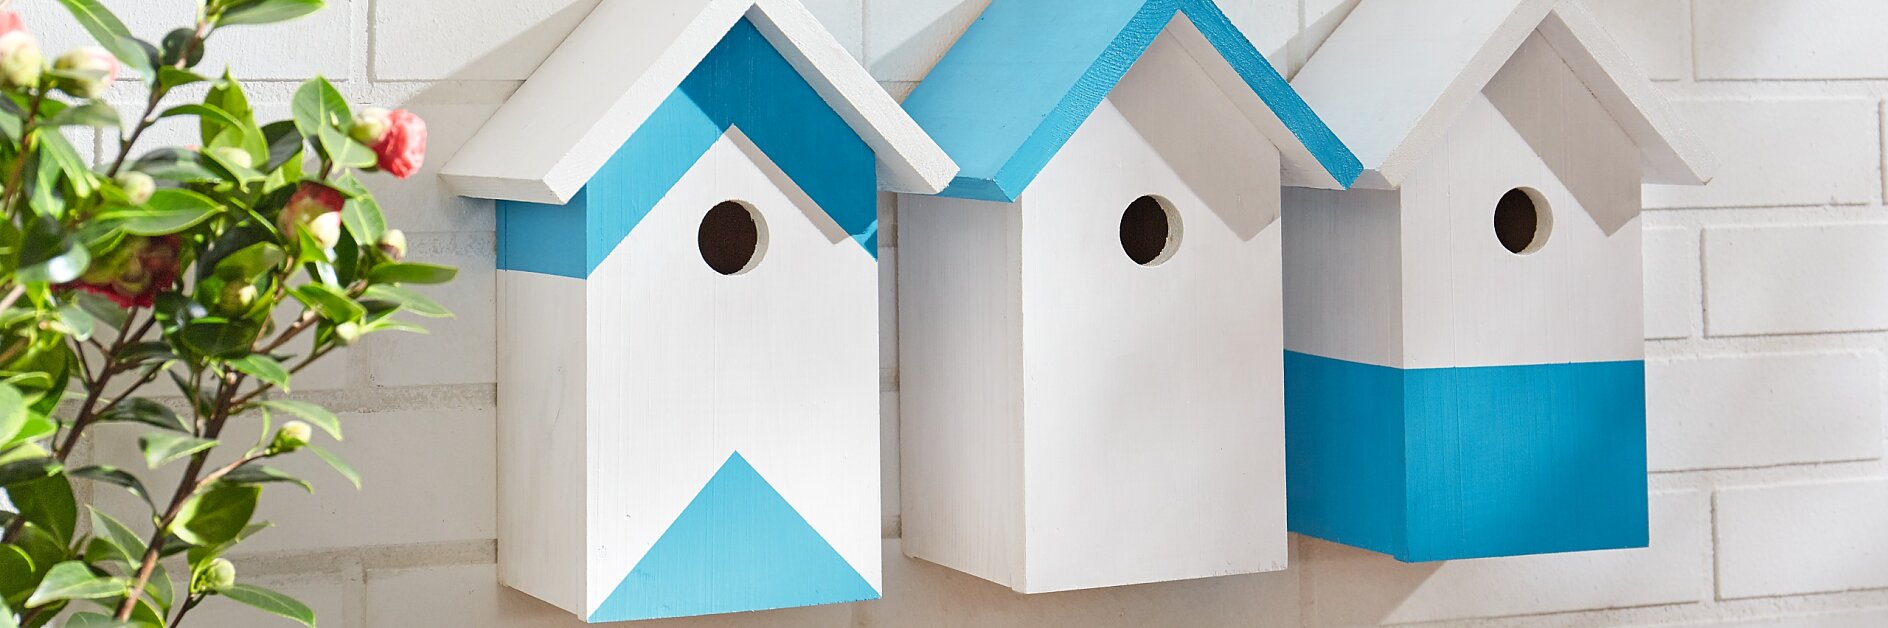
Give your feathered friends a cosy and chic place to call home. These wooden bird houses can be painted in the colours of your choice to create an attractive focal point in the garden. You won’t need any tools to makeover or wall-mount these sweet wooden bird houses, just a few simple craft supplies. Why not try them now?
Wooden bird houses.mp4
tesa SE

We need: plain wooden nest boxes, acrylic paint in white and blue, paint brush, masking tape, tesa® adhesive screw triangular for brick & stone 10kg

Start by painting the nest boxes white.

Create a graphic design using the masking tape. This is where the blue stripe design will go.

Now apply the blue paint inside the masked area.

When the paint is half dry, carefully remove the masking tape.

Following the instructions in the pack, apply your tesa® adhesive screw triangular for brick & stone 10kg to the wall – one for each wooden bird house.

Enjoy your new outdoor design feature that’s environmentally conscious as well as stylish!
![[en-en] tesa Smart Mounting System ADHESIVE SCREW SQUARE 10KG BRICK](/en/files/images/202402/0/medium-11177522,11177522_padded1x1_18.webp "tesa_4042448351197_77908-00001_LI407_front_pa")