01
Make sure to clean the surface thoroughly for the four screws, using a cloth with pure alcohol or water. No grease or dust may be left.
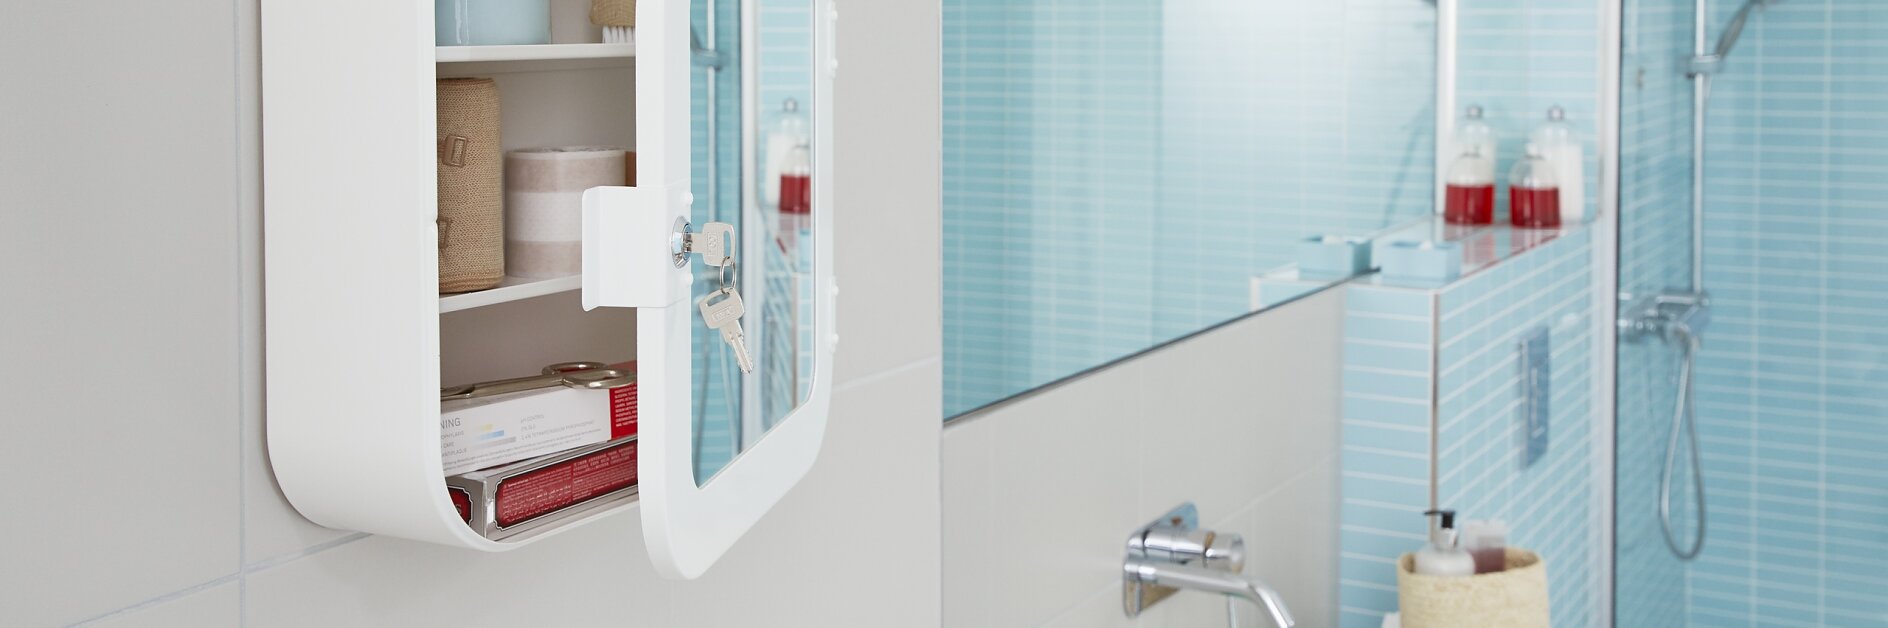
Put up your own bathroom cabinet without drilling There’s no need to damage your bathroom tiles with a drill when you want a bathroom cabinet wall-mounted. The tesa® adhesive screws work perfectly, and you can securely mount the cabinet. It’s solidly connected so your toiletries will be safe inside.
Make sure to clean the surface thoroughly for the four screws, using a cloth with pure alcohol or water. No grease or dust may be left.
Use the cabinet to see where the screws should go. For each of the adhesive screws, first remove the protective film.
Put each on the wall, so that the cabinet can be connected.
Pour the adhesive into the larger hole of each screw until it starts exiting the smaller hole.
Wait 12 hours for the adhesive to set and reach its optimum strength.
Mount the cabinet on the screws.
And you’re done! Your toiletries have a safe home, just where you want and need them.
Removing the screws is also easy. After detaching the accessory, use pliers to twist each screw off sideways.
Any remaining adhesive can be removed with a scraper, leaving your tile just as it was before mounting.
![[en-en] tesa Smart Mounting System ADHESIVE SCREW SQUARE 5KG BRICK](/en/files/images/202402/0/medium-11182788,11182788_padded1x1_18.webp "tesa_4042448353931_77905-00002_LI450_front_pa")